Wood-burned gifts: a beginner's pyrography project
Turn a plain board, box or ornament into a personal keepsake with a basic wood-burning pen. Here is how to pick the wood, transfer a design, burn it cleanly and finish it safely.
Quick answer
A beginner-friendly wood-burned gift is a simple design (initials, a date, a short phrase or a leaf outline) traced onto smooth, light-colored, untreated solid wood and burned in with a basic pyrography pen. Practice on scrap first, work in a ventilated room, never burn treated, painted or man-made boards, and finish the piece with a suitable clear coat. For cutting boards, keep the burning off the cutting face and use a finish the maker recommends for food contact.
- Time 2 – 4 hours for a simple design, plus finish drying time
- Difficulty Easy to moderate; steady hands matter more than drawing skill
- Cost About $20 – $45 for a starter pen kit and blanks; $5 – $20 per extra blank
- Makes One personalized piece such as a board, plaque, ornament or set of coasters
Pyrography (literally "writing with fire") turns plain wood into something that looks made for one person. The appeal as a gift is that the result is permanent and personal: a family name on a serving board, a couple's wedding date on a keepsake box, a child's drawing traced onto a plaque. It is forgiving for beginners because you trace rather than draw freehand.
Gift ideas that suit a first project
Pick something flat, smooth and pale so the lines show clearly. Good first gifts include:
- Serving or charcuterie board: burn a name or monogram near the handle or on the back. See below for why the cutting surface should stay plain.
- Coasters: a matching initial or small motif on each. Our wood slice coasters tutorial covers sanding and sealing.
- Ornaments or gift tags: thin rounds with a name and year; a quick way to practice lettering.
- Keepsake box lid or recipe box: unfinished craft boxes take burning well.
- Small plaque or sign: a short quote or house number. For a larger painted or stenciled sign, see how to make a personalized wooden sign.
- Wooden spoons or spatula handles: keep the design on the handle, away from the part that touches food.
Light, fine-grained woods are the usual choice. Basswood, birch, sycamore, beech and maple are commonly used because their even grain does not fight the design; pine and oak work too, though resinous or open grain makes smooth lines harder.
What you need
- Wood-burning pen with a stand (a basic solid-point pen is fine to start; a variable-temperature model gives more control)
- A few tips: a universal or writing point, a shading tip and a flow or calligraphy point
- Untreated, unfinished solid wood blanks plus a few scrap pieces of the same wood for practice
- Sandpaper in 150 and 220 grit
- Pencil, tracing paper or graphite transfer paper, and a printed design
- Needle-nose pliers and a small metal or ceramic dish for hot tips
- Masking tape and a soft eraser
- A small fan positioned to pull smoke away from you, or an open window
- Clear finish suited to the item (see step 7) and lint-free cloths
How to wood-burn a gift, step by step
Choose and prepare the wood
Use bare solid wood only. Sand the surface with 150 grit, then 220 grit, until it feels smooth; burned lines skip and wobble on rough grain. Wipe off the dust. Skip anything that has been painted, stained, sealed or pressure-treated, and avoid MDF, plywood and other glued boards.
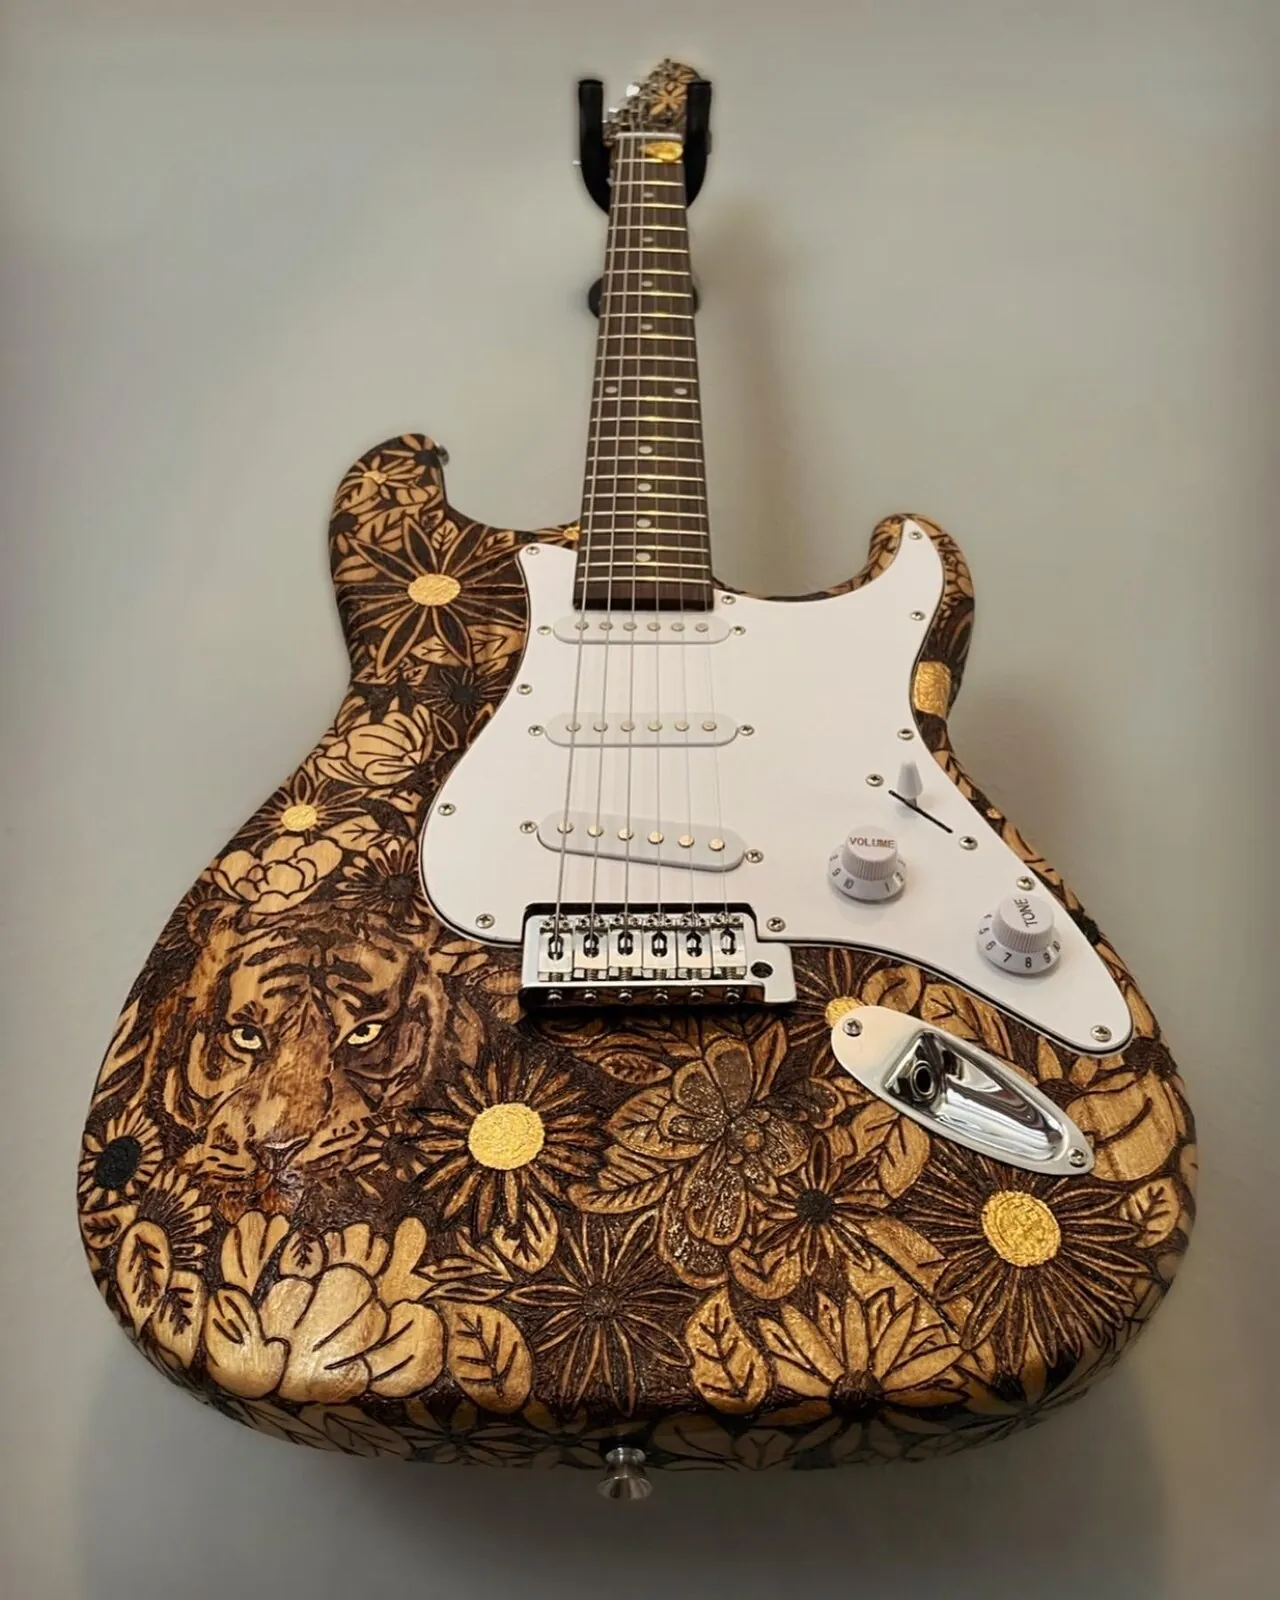
Pyrography shading on a guitar body Plan a simple design
Keep it bold: one to five words in a clear font, a monogram, or a simple line drawing. Print it at the exact size you need. Thin script fonts and tiny details are the hardest part for beginners, so save those for a later project.
Transfer the design
Tape graphite transfer paper under your printout and trace firmly with a pencil. Without transfer paper, a common method is to trace the design onto tracing paper, flip it and go over the lines on the back, then lay it right side up on the wood and rub over it so the pencil transfers. Keep the lines light; heavy pencil can be hard to erase after burning.
Heat the pen and practice
Set the pen in its stand, plug it in and let it reach temperature (your manual gives the warm-up time). On a scrap of the same wood, try straight lines, curves and dots. Let the heat do the work: move slowly and evenly with light pressure, holding the pen like a pencil. Pressing harder or lingering makes dark blobs at the start and end of lines.
Burn the outlines
Go over the transferred lines in short, steady strokes, pulling the pen toward you rather than pushing it into the grain. Lift the tip at the end of each stroke while still moving to avoid a heavy dot. Turn the piece rather than your wrist so you always work at a comfortable angle. Rest the pen in its stand whenever you pause.
Add shading and fill (optional)
Use the flat shading tip to fill letters or darken areas with small overlapping circles or gentle back-and-forth strokes. Build darkness in layers rather than holding the tip still. When you are done, unplug the pen and leave it in the stand to cool completely.
Clean up and finish
Once the wood is cool, erase stray pencil marks and sand very lightly with 220 grit to lift fuzzy fibers. For decorative pieces, brush on a clear finish such as a water-based polyurethane and follow the label for coats and dry time. For a serving board, use a finish the maker recommends for food contact, such as food-grade mineral oil or an oil-and-wax board finish, and let it cure as directed before gifting.
Tip: Burn a test strip on the back or on scrap from the same board and then apply your finish to it too. Finishes deepen both the wood and the burn, and seeing the final contrast first helps you decide how dark to go.
Safety: heat, smoke and the right wood
- Burns and fire: the tip is hot enough to burn skin and scorch surfaces. Tip temperatures vary a lot by tool and setting, so follow your pen's manual. Use the stand, keep the cord out of the way, tie back long hair, and never leave a pen switched on unattended. Change tips only as your manual directs, using pliers, and drop hot tips into a metal or ceramic dish.
- Smoke: work in a well-ventilated room. A fan that pulls smoke away from your face, or an open window, is better than one blowing across the tip, which can cool it. Wear eye protection and take breaks.
- Never burn treated or coated wood: the National Pesticide Information Center advises never burning treated wood because the smoke and ash can contain toxic chemicals. Craft retailers also warn against painted or stained wood and glued boards such as MDF, whose binders should not be heated and inhaled.
- Sanding dust: OSHA notes that wood dust can cause respiratory symptoms, including allergic reactions. Sand outdoors or wear a dust mask.
- Kids and teens: manufacturers typically recommend wood-burning pens for teens and up with adult supervision; check the age rating on your tool. Younger children can choose the design and help sand while an adult does the burning.
A note on wood-burned cutting boards
Wood-burned cutting boards are popular gifts, but the burned surface is shallow and knives will wear it away, and charred fibers are harder to keep clean than smooth wood. The practical approach is to burn the design on the back, the handle or the edge, or to present the piece as a serving board for bread and cheese rather than a chopping surface. If you are making the board itself, our wooden cutting board tutorial covers glue and food-safe oil in detail. A finish being dry to the touch is not the same as fully cured, so check the product's food-contact guidance before the board is used.
How to package and present it
- Wait until the finish is fully dry, or cured for food-contact items, before wrapping.
- Wrap boards and plaques in a tea towel or kraft paper tied with twine; a tea towel doubles as part of the gift for a serving board.
- Add a small card with care instructions: hand wash only for boards, re-oil when the wood looks dry, keep decorative pieces out of strong sun to slow fading.
- A matching burned tag makes a nice touch; see how to make your own gift tags.
Wood-burned pieces suit fifth (wood) anniversaries, housewarmings and anyone who likes rustic decor. Browse more ideas in our wood DIY gifts collection and DIY gifts for loved ones.
Frequently asked questions
What is the best wood for a beginner wood-burning project?
Light, fine-grained, untreated solid woods such as basswood, birch, maple, beech or sycamore. They burn evenly and give good contrast. Avoid treated lumber, painted or stained wood, and glued boards like MDF or plywood.
Do I need an expensive wood-burning tool to make a gift?
No. A basic pen with a few tips is enough for lettering and simple outlines. Variable-temperature tools give finer control for shading and detail, which helps if you take up the hobby.
Should I seal a wood-burned gift?
Usually yes. A clear finish protects decorative pieces from dirt and handling. For anything that touches food, use a finish the maker recommends for food contact and let it cure as the label directs.
Can I fix a mistake in wood burning?
Light marks can often be sanded or gently scraped away with a craft knife, but deep burns are permanent. Practicing on scrap first and burning in light layers avoids most mistakes.
Sources
- National Pesticide Information Center (Oregon State University) — Regulation and Disposal of Treated Wood. npic.orst.edu
- Hobbycraft — Get started: pyrography. hobbycraft.co.uk
- Woodsmith — Facts about food-safe finishes. woodsmith.com
- Occupational Safety and Health Administration — Wood Dust. osha.gov
- Wikipedia — Pyrography. en.wikipedia.org
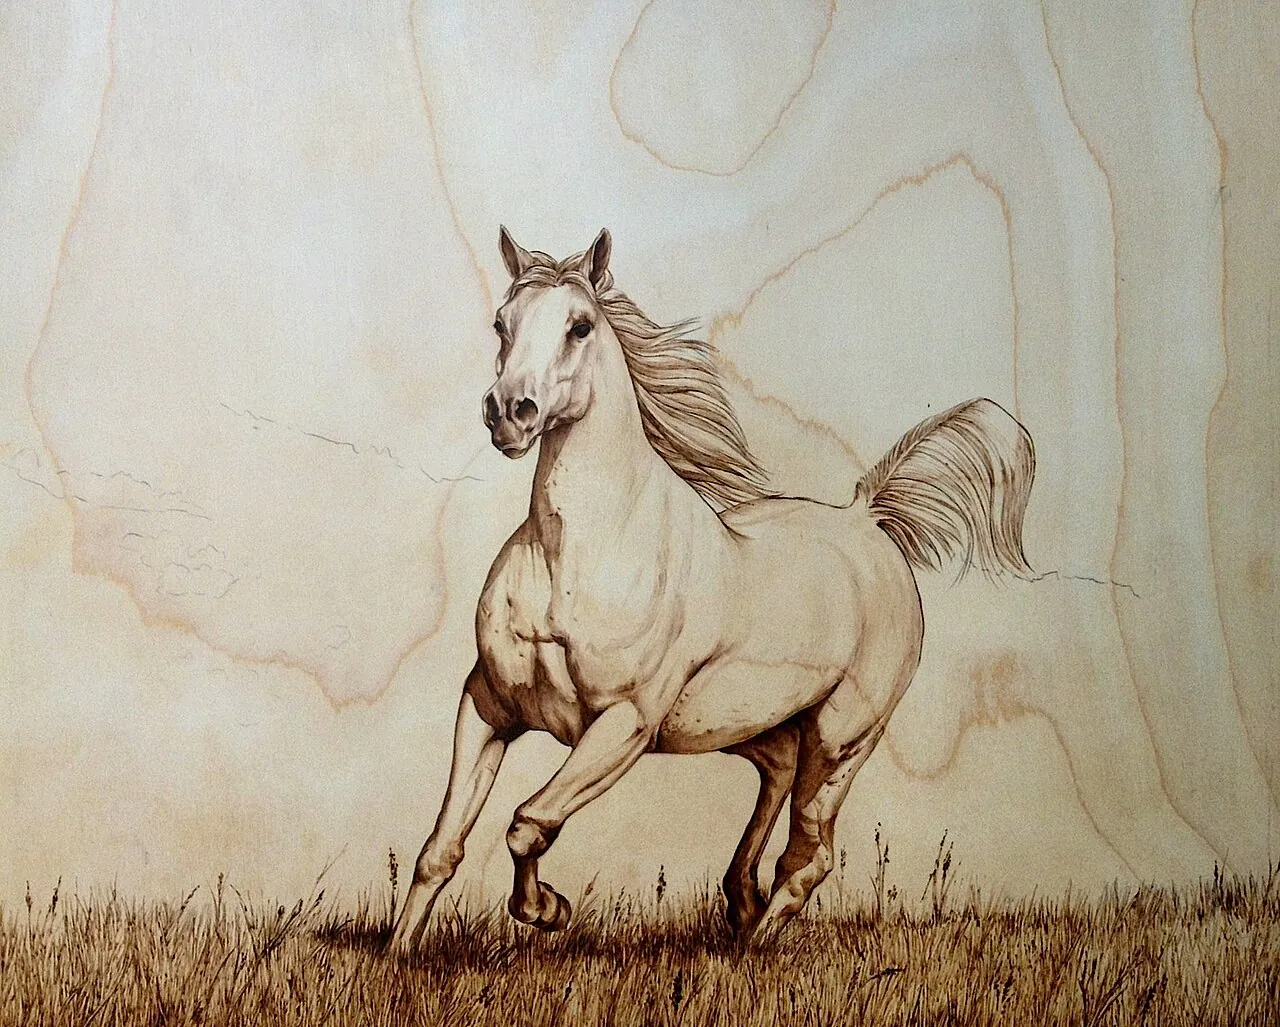
Image credits. Top image: Pyrography " Te Stallion" by Adinbegic, CC BY-SA 3.0, via Wikimedia Commons · In-article image: Pyrography Art by NicoleT1408, CC BY-SA 4.0, via Wikimedia Commons
Spotted something out of date or a gift that's no longer available? Tell our editors — we review every correction.