How to make wood slice coasters that don't crack
Wood slice coasters bring the outdoors to the coffee table. Here is how to avoid cracked slices, sand and decorate them, and seal them so they stand up to cold drinks.
Quick answer
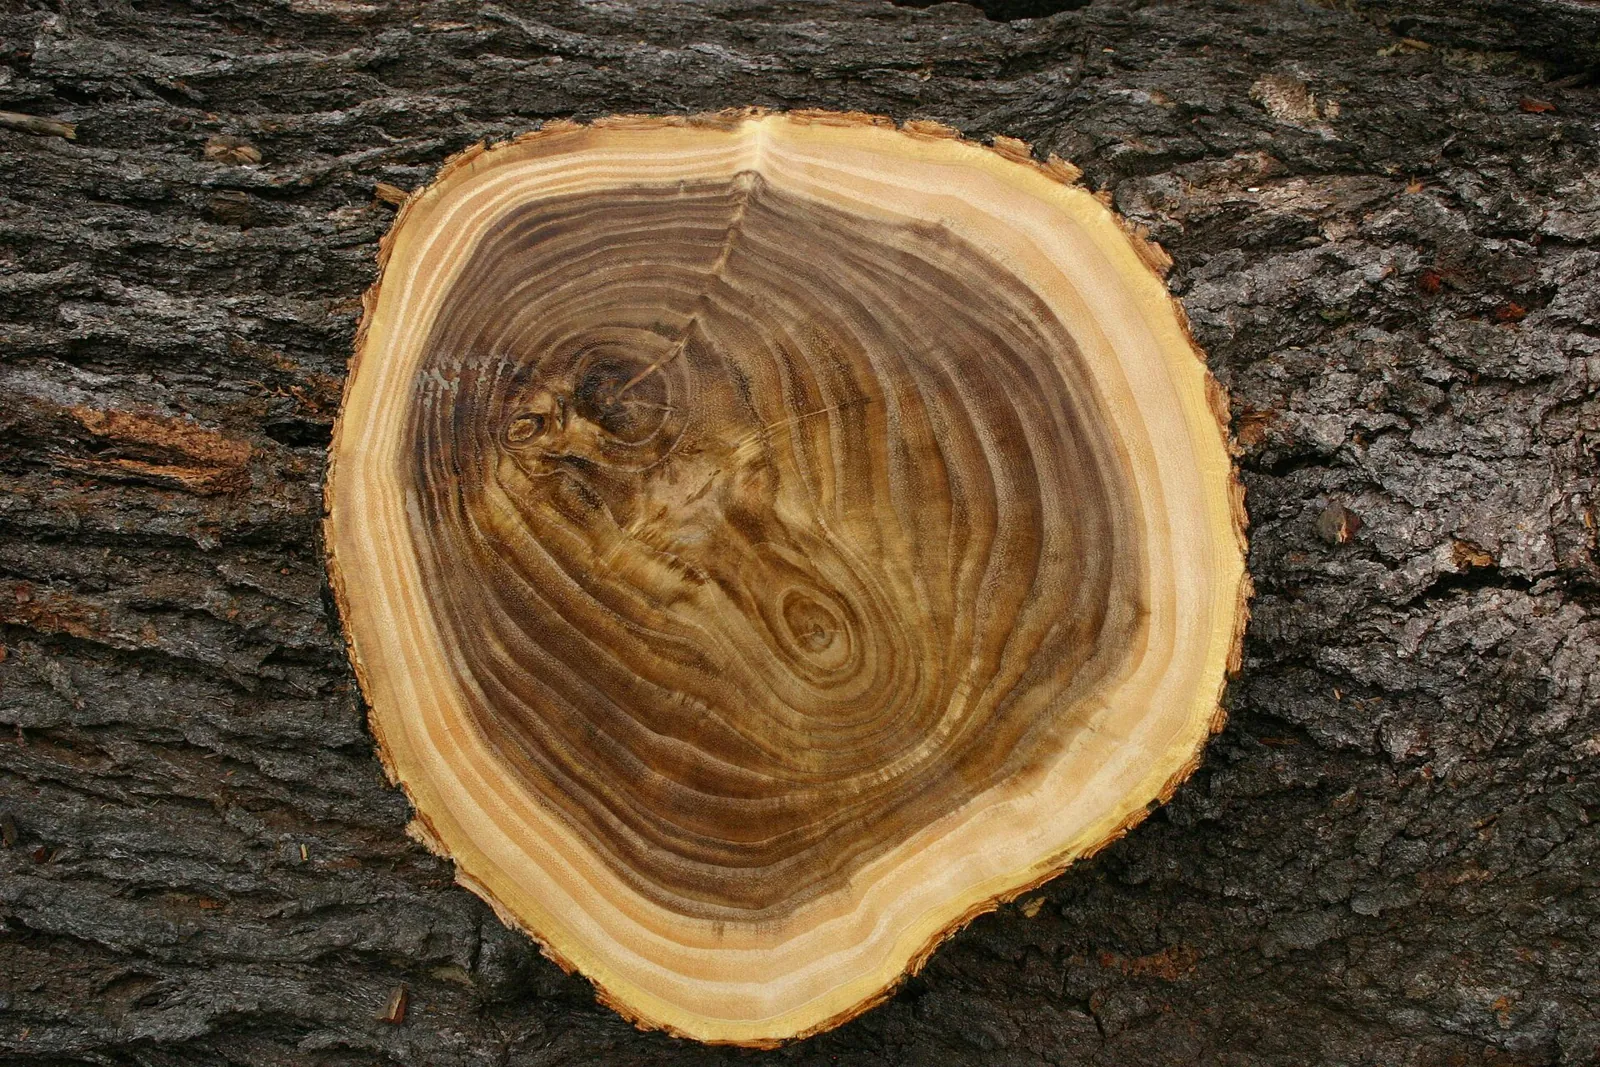
Wood slice coasters are thin rounds cut across a branch, sanded smooth, decorated if you like, and sealed with a water-resistant clear finish so cups do not leave rings. The simplest route is to buy pre-dried wood slices from a craft store. If you cut your own, use a dry branch rather than freshly cut wood, which is far more likely to crack as it dries. Seal every surface, add felt pads underneath, and let the finish cure fully before gifting.
- Time About 1 – 2 hours of work, plus drying and curing time for the finish
- Difficulty Easy with bought slices; moderate if cutting your own
- Cost About $10 – $25 for a set of 4 – 6
- Makes A set of 4 – 6 coasters, about 3 1/2 – 4 1/2 inches across
Wood slice coasters bring a bit of the outdoors to the coffee table. Every slice has its own rings and bark edge, so no two sets look alike. They are an easy gift for a new home, a cabin lover or anyone with a rustic or Scandinavian-style room, and they pair naturally with a mug or a bag of good coffee.
Bought slices or your own?
Pre-dried craft slices
Craft and hobby stores sell bags of wood slices that have already been dried. They are the fastest, most predictable option: you go straight to sanding and finishing. Look for slices that are flat, about 3/8 to 1/2 inch thick and free of big cracks.
Cutting your own
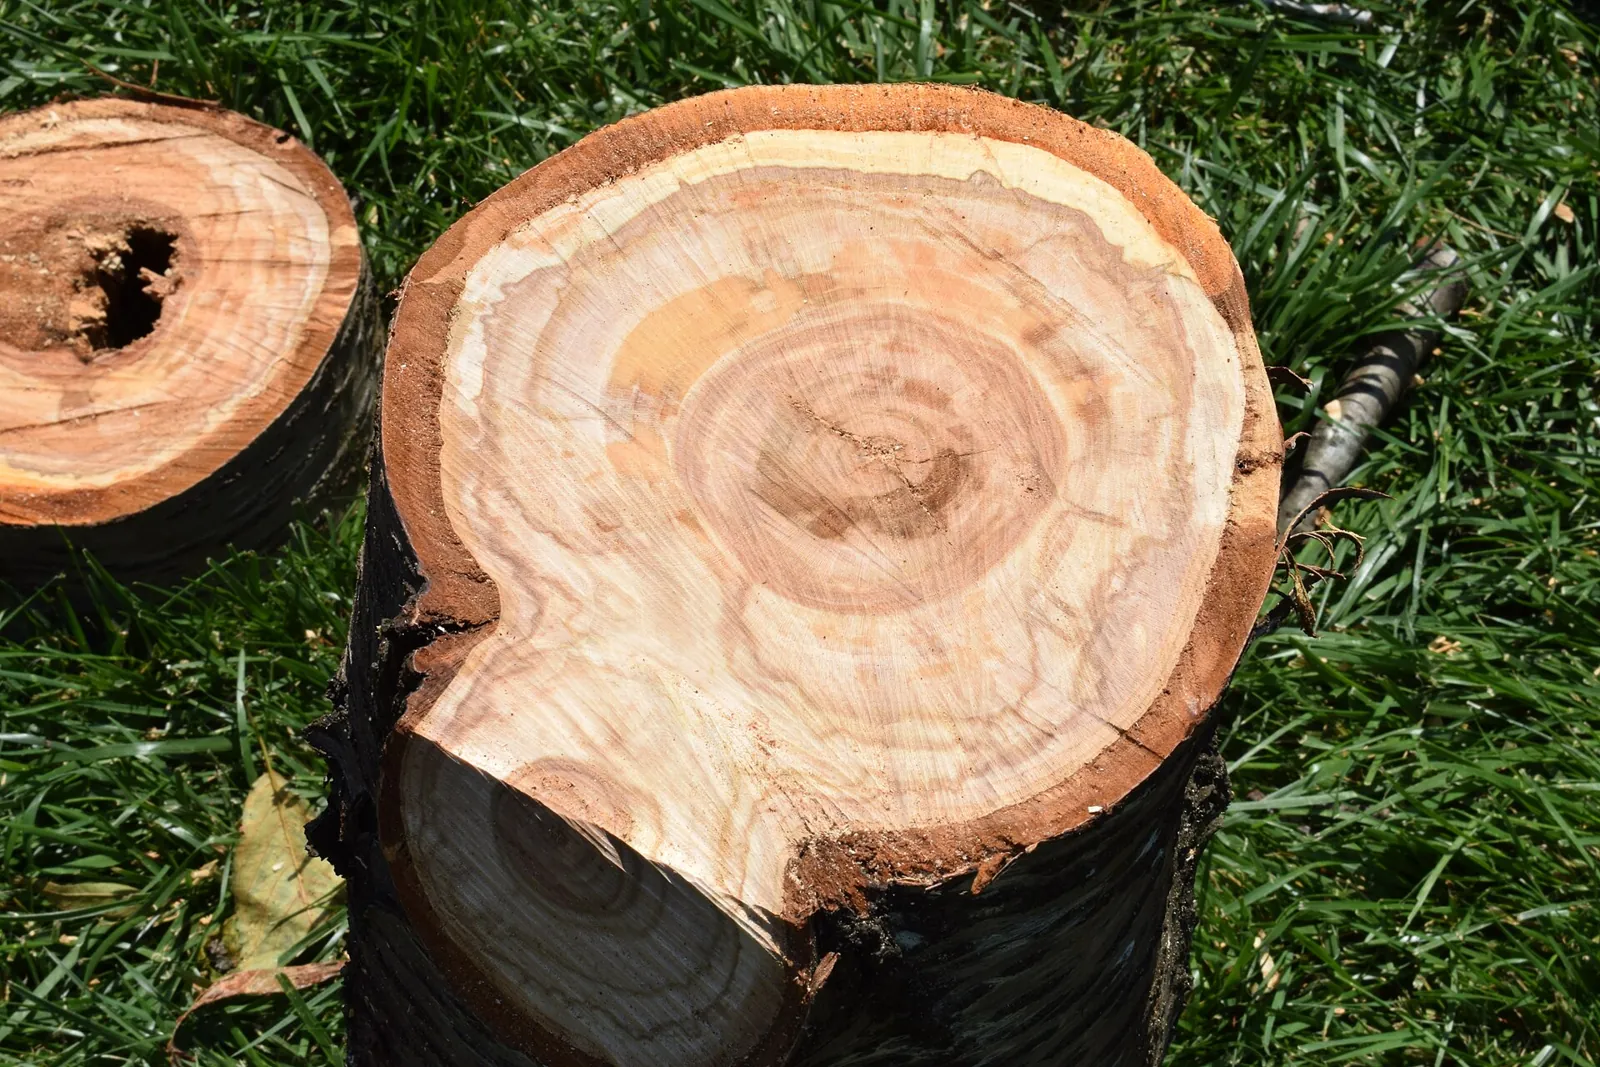
If you have a fallen branch or a piece of firewood about 4 inches across, you can cut your own. Wood shrinks as it loses moisture, and a cross-cut slice loses water quickly through both cut faces, so freshly cut "green" wood often splits while it dries. To reduce cracking:
- Start with wood that has been seasoning for a long time, not a branch cut last week.
- Choose smaller diameters; they tend to crack less than wide rounds.
- Dry slices slowly, flat, away from heaters and direct sun, turning them now and then.
- Accept a few small radial checks as part of the look, or set cracked slices aside for other crafts.
Commercial stabilizing products also exist for green wood; follow the manufacturer's instructions if you use one.
What you need
- Pre-dried wood slices, or a dry branch about 3 1/2 – 4 1/2 inches in diameter
- Saw (miter saw, bandsaw or a fine-toothed handsaw) and clamps, if cutting your own
- Sandpaper in 80, 120 and 220 grit, or an orbital sander
- Dust mask and safety glasses
- Optional decoration: wood-burning pen, stencils, acrylic paint or paint pens
- Water-based clear finish such as water-based polyurethane or a similar clear coat rated for wood
- Foam brush or lint-free cloth
- Self-adhesive felt or cork pads
How to make wood slice coasters
Cut even slices (if making your own)
Clamp the branch firmly and cut slices about 3/8 to 1/2 inch thick, keeping the cut as square as possible so coasters sit flat. Wear eye protection and keep hands clear of the blade. Adults only for sawing.
Let them dry
Lay freshly cut slices flat to dry slowly, as described above. Pre-dried craft slices can skip this step.
Sand both faces
Sand each face with 80 or 120 grit until flat and smooth, then finish with 220 grit. Sand outdoors or wear a dust mask: OSHA notes that breathing wood dust can irritate the mucous membranes and airways.
Check the bark
Press around the bark edge. If it is loose, peel it off and sand the edge smooth; loose bark tends to flake off later. Firm bark can stay for a rustic look and will be sealed in.
Decorate (optional)
Wood-burn initials, a date or a simple design, or paint a pattern with acrylics. Keep designs in the center so they are visible under a cup. Let paint dry completely.
Seal every surface
Brush or wipe on a thin coat of clear finish on the top, bottom and edges. Let it dry for the time on the label, sand lightly with 220 grit, wipe off dust and add more coats. The top surface takes the most moisture, so give it the most coats.
Let the finish cure
Dry to the touch is not the same as fully cured. Follow the product's cure time before stacking coasters or putting wet glasses on them.
Add feet
Stick felt or cork pads to the bottom so the coasters do not scratch furniture and sit steady on uneven slices.
Tip: Sand a set of slices together and seal them in one session so they match in color and sheen. Finishes darken wood slightly; test on the back of one slice first.
Safety notes
- Sawing: Cut only with the branch firmly clamped, never held in your hand, and use eye and hearing protection.
- Dust: Wear a dust mask when sanding and clean up with a damp cloth or vacuum.
- Finishes: Work in a well-ventilated space, follow the label, and keep finishes away from children. Dispose of rags as the label directs; rags used with oil-based finishes can be a fire risk.
- Wood-burning pens: The tip gets very hot. Use the stand, unplug it when finished and supervise any child closely.
- Kids: Children can paint and decorate pre-sanded slices, and add the felt pads, while an adult handles cutting and finishing.
Wrapping and gifting coasters
Stack the coasters and tie them with jute twine and a sprig of dried greenery, or slip them into a small kraft box with shredded paper. A tag that says "Wipe clean with a damp cloth. Do not soak" helps the set last. Coasters are a natural pairing with a mug, a candle or a handmade cutting board, and they suit the wood theme of a fifth anniversary. Our gifts for new neighbors list has more housewarming ideas, and the wood category has more projects. For a glossier, more modern version, see resin coasters.
Frequently asked questions
Why did my wood slices crack?
Most cracking happens because the wood was still wet when cut and dried too quickly or unevenly. Use pre-dried slices or seasoned wood, dry slowly and choose smaller diameters.
What is the best finish for wood coasters?
A clear, water-resistant finish such as water-based polyurethane is a common choice. Apply several thin coats on all sides and let it cure fully, following the product label.
Should I leave the bark on?
It is a matter of style. Firm bark can be sealed in for a rustic look; loose bark should be removed, since it tends to flake off over time.
Can wood coasters get wet?
Sealed coasters handle condensation from glasses, but they should be wiped dry and never soaked or put in the dishwasher.
Sources
- Occupational Safety and Health Administration — Wood Dust. osha.gov
Image credits. Top image: Styphnolobium japonicum00 by Paul venter, CC BY-SA 3.0, via Wikimedia Commons · In-article image: Prunus cerasus tree rings 27 by PumpkinSky, CC BY-SA 4.0, via Wikimedia Commons
Spotted something out of date or a gift that's no longer available? Tell our editors — we review every correction.