How to make a personalized wooden sign
A family name, wedding date or favorite saying painted on solid wood makes a gift that fits almost any home. Here is how to plan, letter, seal and hang one.
Quick answer
To make a personalized wooden sign, cut and sand a solid wood board, paint or stain a background, transfer your lettering with graphite paper or a stencil, paint the letters with acrylic paint or paint pens, then protect it with a clear finish. Indoor signs need two or three thin coats of a clear coat; outdoor signs need an exterior-rated finish such as a spar urethane, applied as the label directs. Hang it with hardware rated for its weight.
- Time 3 – 5 hours of work over one or two days (drying time between coats)
- Difficulty Easy; neat lettering takes patience rather than skill
- Cost About $20 – $50, depending on board and finish
- Makes One sign, typically 6 – 12 inches tall and 18 – 36 inches wide
A wooden sign with a family name, a wedding date, a favorite saying or a house number is one of the most flexible personalized gifts. It works for a wedding, a housewarming, a new baby's room or a grandparent's porch, and it can look rustic, modern or farmhouse depending on the wood and lettering you choose. The method below uses tools most households already have; a cutting machine is optional.
Plan the sign first
Choose the words and the size
Short wording reads best from across a room: a surname and "Est. 2026," a couple's names and wedding date, coordinates of a meaningful place, or a two-line quote. Lay the text out on a computer or on paper at full size, using one or two fonts at most. A bold serif or a clean sans-serif is far easier to paint neatly than thin script.
Choose the board
Common pine boards (sold as 1x8, 1x10 or 1x12) are inexpensive and easy to cut. Pick a straight board with few knots, since sap from knots can bleed through light paint. Hardwoods such as poplar or oak cost more but take paint and stain well. For a rustic look, several narrow boards can be joined with battens screwed across the back. Avoid pressure-treated lumber for indoor decor and for anything you might sand heavily or wood-burn.
What you need
- Solid wood board cut to size, or a pre-cut craft plank
- Saw (handsaw with miter box, circular saw or miter saw) and clamps, if cutting your own
- Sandpaper in 120 and 220 grit, or an orbital sander
- Dust mask and safety glasses
- Background color: acrylic or latex paint, or a wood stain
- Lettering: acrylic paint with small artist brushes, or oil- or water-based paint pens
- Graphite transfer paper and a pencil, or an adhesive vinyl stencil
- Painter's tape, a ruler and a soft eraser
- Clear finish: water-based polyurethane for indoors, or an exterior spar urethane for outdoors
- Hanging hardware: sawtooth hanger, D-rings and picture wire, or keyhole hangers
How to make the sign
Cut the board to size
Measure and mark your length, clamp the board firmly to a bench and cut with the saw of your choice. Wear safety glasses, keep both hands clear of the blade and follow your saw's manual. Many home centers will make simple straight cuts for you if you do not own a saw.
Sand smooth
Sand the face, edges and corners with 120 grit, then 220 grit. Slightly round the sharp edges so paint does not chip there. Wipe off dust with a dry cloth. Sand outdoors or wear a dust mask: OSHA notes that wood dust can cause respiratory symptoms, including allergic reactions.
Paint or stain the background
Brush on two thin coats of paint, letting each dry as the label directs, or wipe on stain and remove the excess with a cloth. Test the stain on a scrap from the same board first, because pine in particular can absorb stain unevenly. Let the background dry completely before lettering.
Transfer the lettering
Find the center line of the board and of your printout and line them up. Tape the printout in place with graphite paper underneath and trace each letter outline with firm pencil pressure. If you use a vinyl stencil instead, press it down firmly with a credit card so paint cannot creep under the edges.
Paint the letters
Fill the outlines with a small flat brush for large letters and a fine liner brush for edges, or use paint pens for smaller text. Two thin coats look cleaner than one thick one. With a stencil, dab paint on with a stencil brush or sponge rather than brushing across the edges, and peel the stencil while the last coat is still slightly wet.
Clean up the details
Once the paint is dry, erase leftover graphite lines and touch up wobbly edges with the background color on a fine brush. For a distressed farmhouse look, lightly sand the edges and some lettering with 220 grit.
Seal the sign
Apply thin coats of clear finish with a good brush, sanding lightly with 220 grit between coats and wiping off the dust. Minwax's water-based Helmsman spar urethane, for example, lists a two-hour recoat time and recommends four coats for exterior surfaces or bare wood; always follow the label on the product you use. Work with adequate ventilation. Seal the back and edges of outdoor signs too.
Add hanging hardware
Measure and mark the center of the back. A sawtooth hanger suits small, light signs; D-rings and picture wire, or two keyhole hangers, hold a longer sign level. Check the weight rating on the hardware package and choose hardware rated above the sign's weight.
Tip: To keep a vinyl stencil from bleeding, brush a thin coat of the background color over the stencil edges first and let it dry. Any paint that creeps underneath is then the same color as the background, and the lettering coat that follows stays crisp.
Other ways to letter a sign
- Wood burning: trace the text and burn it in for a permanent, rustic look. See our beginner's wood-burning project and its safety notes; never burn painted or treated wood.
- Cutting machine: cut a vinyl stencil, or permanent vinyl lettering applied directly to a sealed board. Our Cricut projects cover the basics.
- Hand lettering: sketch freehand in pencil and paint over it; uneven, handmade letters suit casual signs.
Safety notes
- Saws: clamp the work, wear eye and hearing protection, and keep children away from cutting. Let an adult handle all power tools.
- Dust: wear a dust mask when sanding and clean up with a vacuum or damp cloth.
- Paints and finishes: use them with adequate ventilation, keep them away from children, and follow the label for cleanup and disposal. Rags used with oil-based products should be handled exactly as the label directs.
- Hanging: a heavy sign over a bed, crib or doorway needs secure fixings. Fasten into a wall stud where possible, or use wall anchors rated for the load and installed per the maker's instructions.
How to package and give it
- Let the finish dry fully (the label lists both recoat and full dry times) so it does not stick to the wrapping.
- Wrap the face in tissue or kraft paper first, then add cardboard corners if you are shipping it. Large flat items are covered in how to wrap odd-shaped gifts.
- Tape a small note to the back with the date it was made, the names involved and care tips: dust with a dry cloth, and check outdoor signs each year and recoat if the finish looks worn.
- Include the right screws or a picture hook if you know where it will hang.
For more ideas, browse our personalized gifts and wood DIY gifts, or pair the sign with wooden photo blocks for a wedding or anniversary.
Frequently asked questions
What kind of wood is best for a DIY sign?
Common pine boards are the easiest and cheapest; choose straight boards with few knots. Poplar and oak cost more but paint and stain well. Avoid pressure-treated lumber for indoor signs.
How do I transfer letters onto wood without a cutting machine?
Print the design at full size, place graphite transfer paper underneath and trace the outlines. You can also rub pencil over the back of the printout and trace over the front, which leaves a faint outline on the wood.
What paint should I use for a wooden sign?
Acrylic craft paint or interior latex paint works for backgrounds and lettering, and paint pens are handy for small text. Seal indoor signs with a clear coat and outdoor signs with an exterior-rated finish.
Can a handmade wooden sign go outside?
Yes, if every surface is sealed with an exterior-rated clear finish such as a spar urethane, applied with the number of coats the label recommends. Even then, sun and rain wear finishes down, so check the sign yearly and recoat as needed.
Sources
- Minwax — Water Based Helmsman Indoor/Outdoor Spar Urethane. minwax.com
- Occupational Safety and Health Administration — Wood Dust. osha.gov
- Cobra Anchors — Frequently asked questions. cobraanchors.com
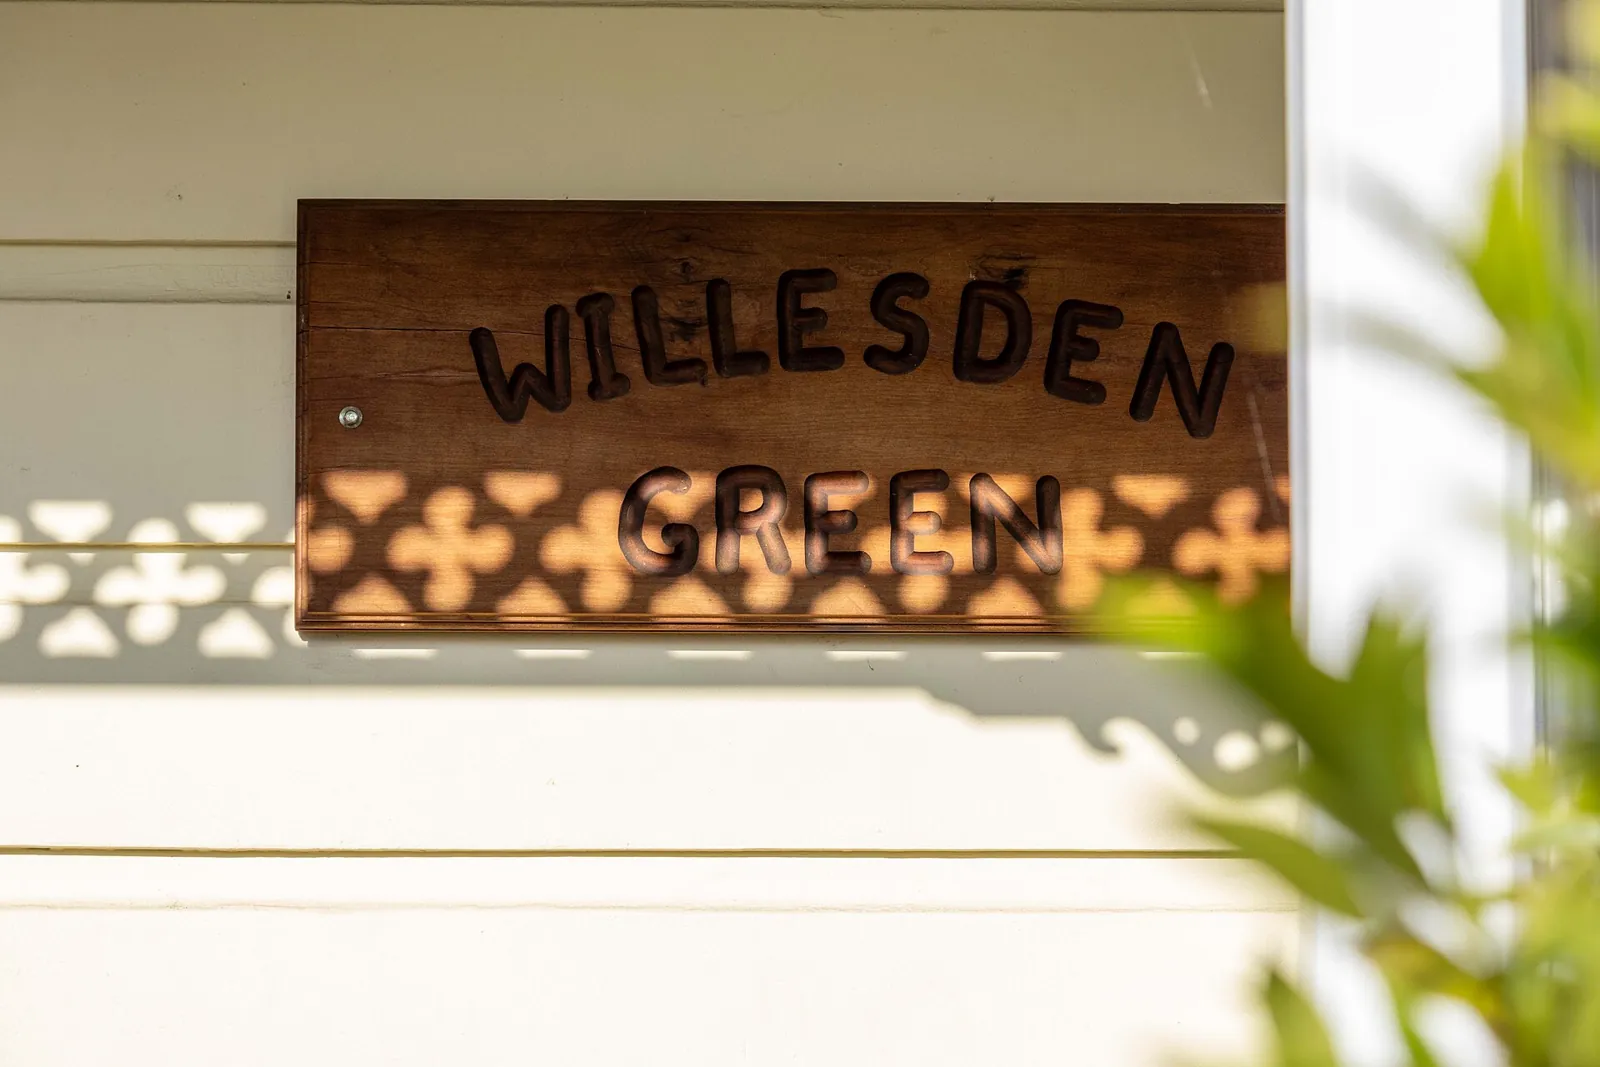
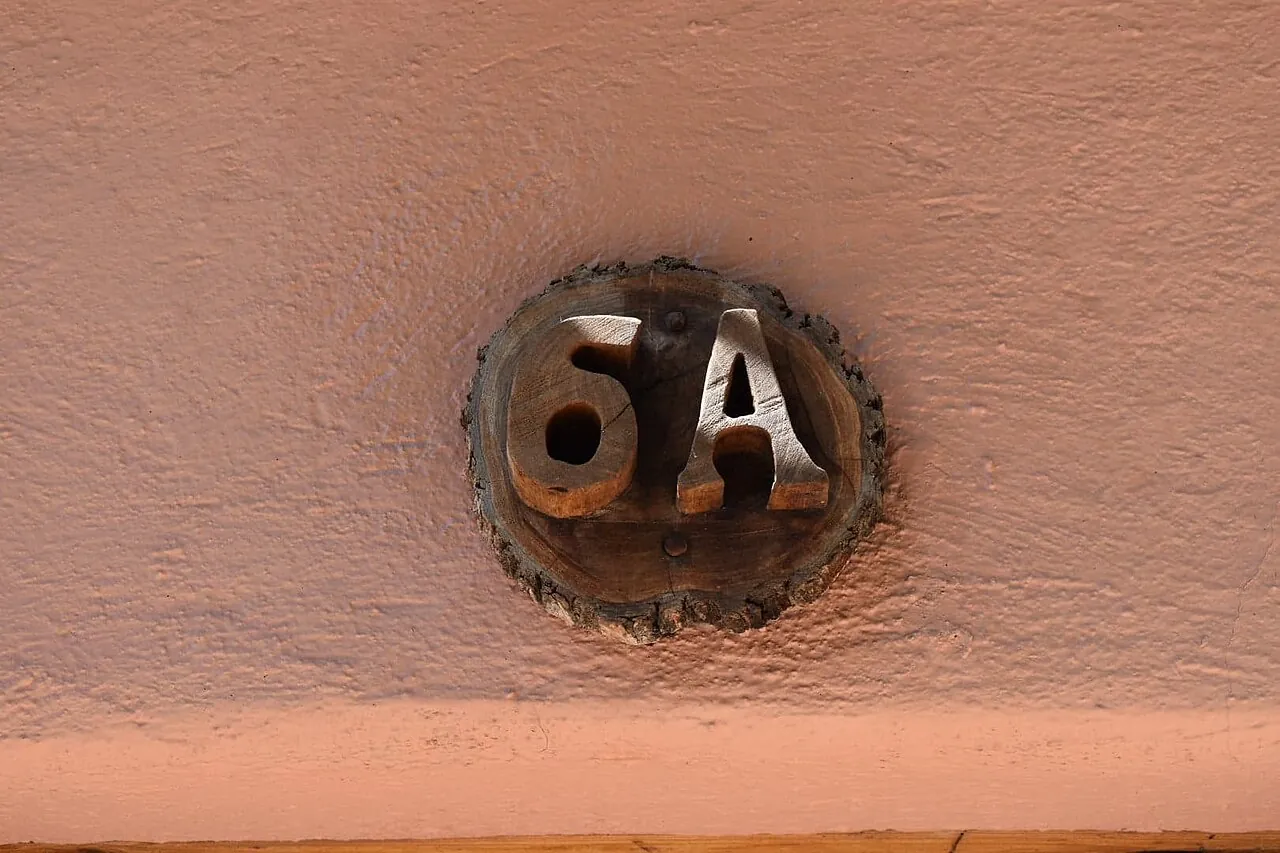
Image credits. Top image: Willesden Green board, House on 11 Railway St, Helensville by Bjankuloski06, CC BY 4.0, via Wikimedia Commons · In-article image: House 6A, wooden carved, Guanajuato by Joshbaumgartner, CC BY-SA 4.0, via Wikimedia Commons
Spotted something out of date or a gift that's no longer available? Tell our editors — we review every correction.