Air-dry clay gifts kids can make
Stamped clay tiles are the easiest air-dry clay gift for children: roll, press, cut, dry and paint, then add a magnet or ribbon. Plus more ideas and the safety points parents need.
Quick answer
The best air-dry clay gift for kids to make is a set of stamped clay tiles: roll the clay about 1/4 inch thick, cut shapes with cookie cutters, press in leaves, lace, letters or fingerprints, then dry, paint and seal them. An adult turns them into fridge magnets, hanging tiles or a photo holder. Children roughly 4 and up can do most of the work; adults handle glue, magnets and sharp tools. Air-dry clay is not food-safe or waterproof, so keep gifts decorative.
- Time 45 – 60 minutes of making, about 3 days of drying, 30 minutes to paint
- Difficulty Easy (ages 4+ with help, 8+ fairly independently)
- Cost About $10 – $20 for clay, paint and magnets
- Makes 6 – 10 small tiles, enough for two or three gift sets
Air-dry clay is ideal for children's gifts: no oven, no kiln, and it feels like real pottery once it hardens. The catch is patience, because the pieces need days to dry before painting. Plan to start about a week before the gift is due. This tutorial focuses on stamped tiles because they work for every age, from toddlers pressing a thumb into a circle to older kids carving patterns. If you have made our clay heart dishes or clay planters, this is a simpler, flatter project with very little that can go wrong.
What you need
- Air-dry clay (white or terracotta), about 1 lb
- A rolling pin and two paint stirrers or rulers as thickness guides
- Parchment paper or a canvas mat to work on
- Cookie cutters, or a cup and a butter knife for circles and squares
- Things to stamp: leaves, lace, buttons, letter stamps, a fork, the end of a pencil
- A drinking straw for hanging holes
- Small bowl of water and a soft sponge
- Acrylic or tempera paint and brushes
- Water-based acrylic varnish or a decoupage sealer
- For magnets: flat ceramic disc magnets or self-adhesive magnet sheet, plus strong craft glue (adult use)
- For hanging tiles: ribbon or twine
How to make stamped clay tiles
Warm up the clay
Pinch off a fist-sized piece and let the child knead it until it is soft and smooth. Keep the rest wrapped airtight, because it starts drying as soon as it meets air.
Roll an even slab
Lay the thickness guides on either side of the clay and roll until the pin rests on them. Aim for about 1/4 inch. Thinner pieces dry faster but become fragile; TeachKidsArt recommends not going below 1/4 inch.
Press in the design
Before cutting, press leaves, lace or buttons firmly into the clay and peel them away to leave a print. Fingerprint hearts, a thumbprint "family" or initials made with letter stamps all work. Remember stamps read backwards in the clay unless they are designed for it.
Cut the shapes
Press the cookie cutter straight down and wiggle it slightly before lifting. Peel away the extra clay and wrap it up for another day.
Smooth and add holes
Dip a fingertip or sponge in a little water and smooth the cut edges. For hanging tiles, punch a hole near the top with a straw, at least 1/2 inch from the edge so it does not crack through. Use only a little water: too much makes the clay sticky and can weaken it.
Dry slowly and flip
Leave the tiles flat on parchment in a cool spot away from radiators and direct sun. Crayola says its air-dry clay generally takes 24 hours to dry to the touch and 72 hours to dry completely, longer for thicker pieces or humid weather. Turn the tiles over after the first day so they dry evenly and stay flat.
Fix cracks and sand
Small cracks can be filled with a dab of wet clay and left to dry again. Once fully dry, an adult or older child can smooth rough edges with fine sandpaper, outdoors or over a damp cloth to catch dust.
Paint and seal
Paint with acrylic or tempera. Brushing a slightly darker color into the stamped texture and wiping the surface makes the pattern pop. When the paint is dry, an adult can apply a water-based acrylic varnish. Crayola notes that sealing will not make the clay waterproof.
Finish as magnets or hanging tiles
For magnets, an adult glues a flat ceramic disc magnet or a piece of magnet sheet to the back and lets it cure as the glue label directs. For hanging tiles, thread ribbon through the hole and tie a loop.
Tip: Make one or two more tiles than you need. Air-dry clay sometimes cracks or warps while drying, and a spare saves tears on gift day.
More air-dry clay gifts kids can make
- Photo or card holder: roll a ball about the size of a golf ball, flatten the bottom so it sits steady, and press a slot into the top with a ruler edge while the clay is soft. Once dry and painted, it holds a photo or a place card. A good partner gift to a photo gift.
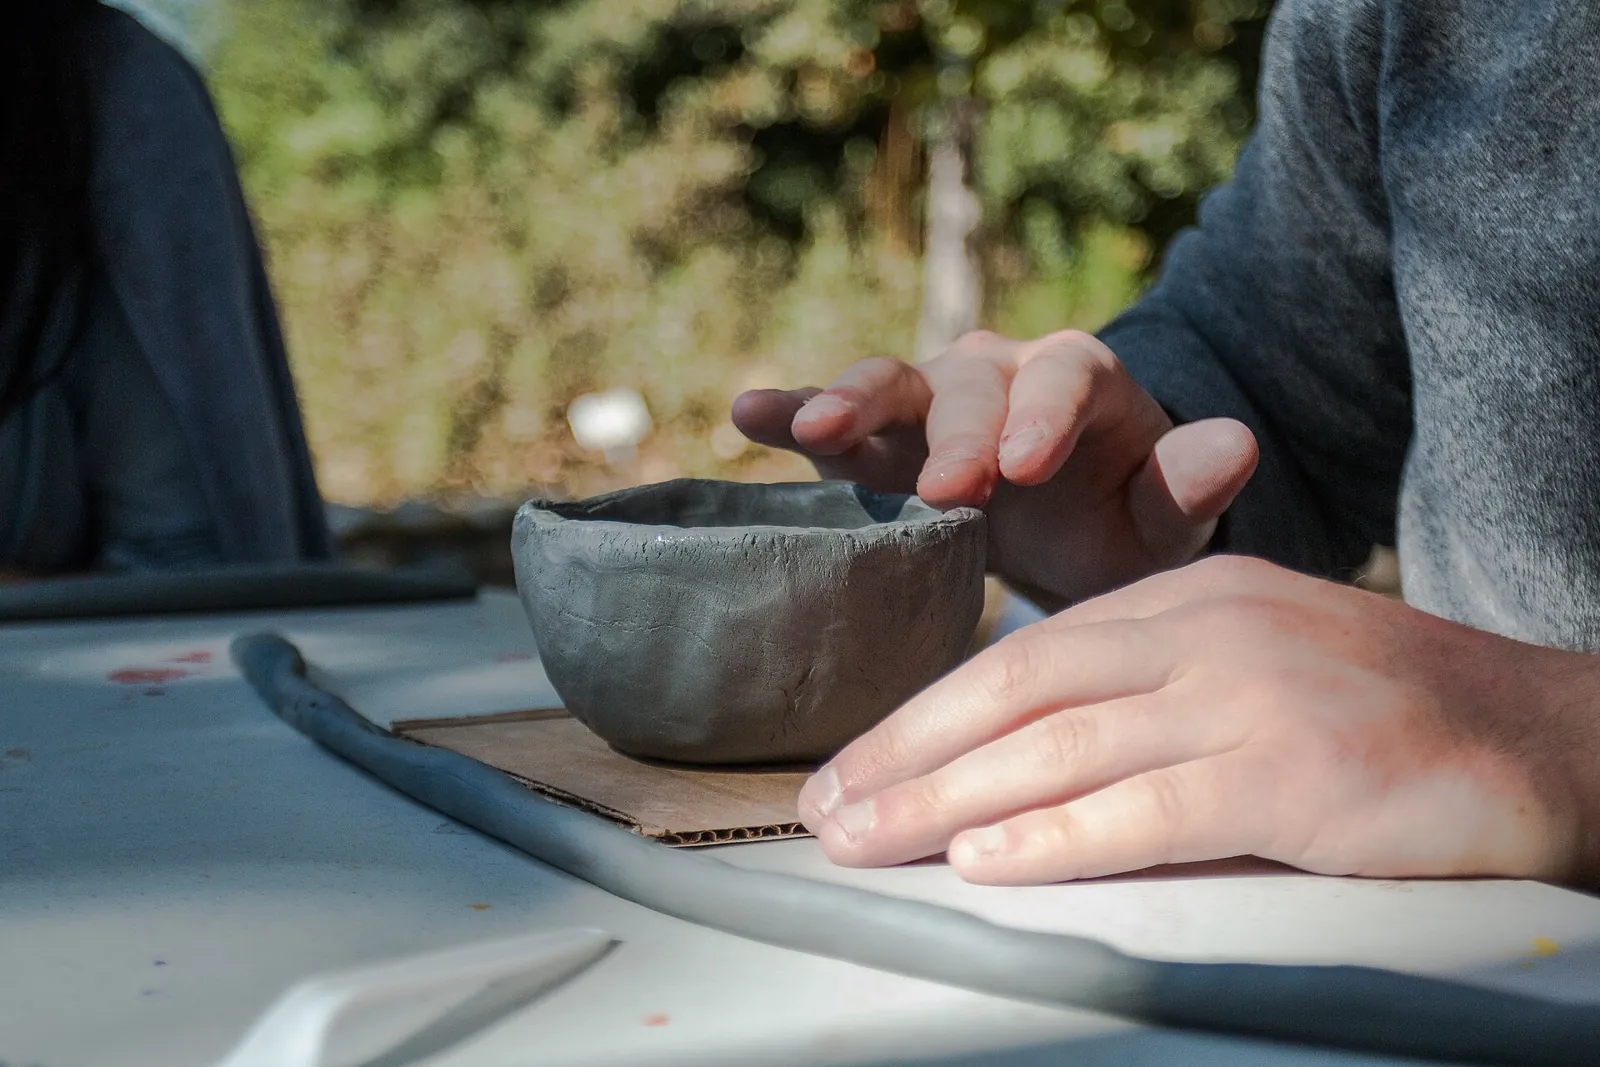
- Pinch-pot creatures: press a thumb into a ball of clay and pinch the walls up evenly, then add ears or a face. To join pieces, lightly scratch both surfaces and moisten them before pressing together. They make cute paperclip or jewelry holders. Older kids can try our clay trinket dish.
- Paperweights: a smooth, palm-sized pebble shape painted with a pattern or a message for a parent's desk.
- Handprint plaques: press a hand into a thick slab. See handprint crafts for other keepsakes, or salt dough ornaments if you prefer a dough you can make from pantry ingredients.
Safety and age notes
- Age: Crayola markets its air-dry clay as non-toxic and suitable for ages 4 and up; check the age label on whichever brand you buy. Toddlers can press prints into clay an adult has rolled, with close supervision so nothing goes in the mouth.
- Magnets: small, strong magnets are dangerous if swallowed, because two or more can attract each other inside the body. The CPSC advises keeping small magnets away from children and seeking medical care immediately if one may have been swallowed. Have an adult attach magnets, use larger flat magnets or magnet sheet, and do not give magnet gifts to homes with babies or toddlers.
- Adult-only jobs: craft knives, superglue or epoxy, hot glue and spray sealers.
- Not food-safe, not heat-proof: air-dry clay stays porous after drying and is not food-safe, so do not make bowls or cups for eating or drinking. Keep pieces away from the oven, microwave and candle flames.
- Not waterproof: keep pieces indoors and wipe them with a dry cloth rather than washing them.
- Leftover clay: Crayola says unused clay can be stored in an airtight container for 3 to 12 months.
How to package it as a gift
Stack three or four magnets in a small kraft box lined with tissue, or tie hanging tiles to a card with twine. Let the child write a short tag ("Made by Maya, age 6") and the date on the back of one piece with a paint pen; families keep these for years. Clay tiles are perfect for gifts kids can make for grandparents and teachers. Browse more projects in gifts kids can make.
Frequently asked questions
What age can kids use air-dry clay?
Check the age label on the package; Crayola's air-dry clay is marketed for ages 4 and up. Younger children can join in with close supervision, making prints in clay an adult has rolled out.
Why did my child's clay project crack?
Usually it dried too fast, was uneven in thickness, or had too much water added. Dry pieces slowly away from heat, roll an even slab and fill small cracks with wet clay.
Can kids make mugs or bowls from air-dry clay?
Only decorative ones. Air-dry clay is not food-safe or waterproof, even when sealed. For real dishes, a pottery studio with kiln-fired clay and food-safe glazes is the way to go.
Can I bake air-dry clay to speed it up?
No. Air-dry clay is meant to dry at room temperature; it is different from oven-bake polymer clay. Follow the drying guidance on the package.
Sources
- Crayola — How long does it take for Air-Dry Clay to dry? crayola.com
- Crayola — Can Air-Dry Clay pieces be sealed? crayola.com
- Crayola — How long can I store unused Air-Dry Clay in an airtight container? crayola.com
- TeachKidsArt — 20 Must-Know Tips for Using Air-Dry Clay with Kids. teachkidsart.net
- U.S. Consumer Product Safety Commission — Magnets Information Center. cpsc.gov
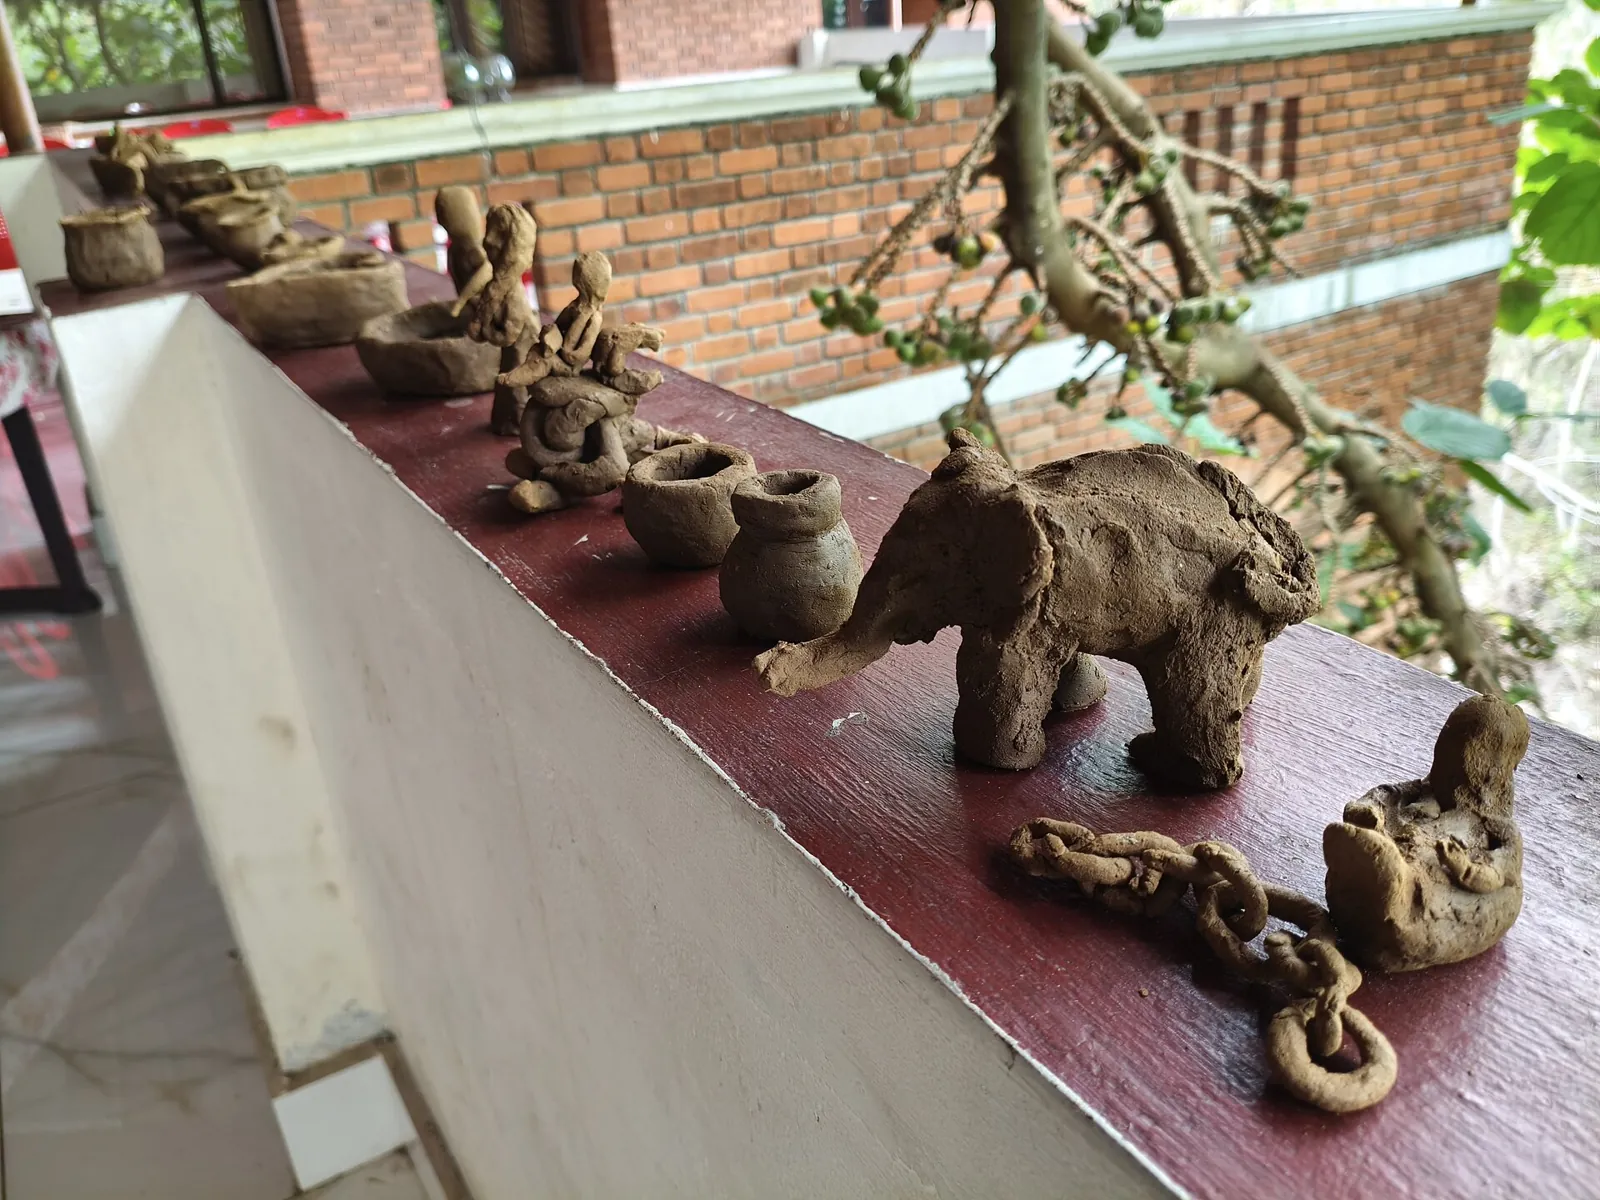
Image credits. Top image: Clay models by Dr. Chinchu C., CC BY 4.0, via Wikimedia Commons · In-article image: Pinch Pot Workshop at Rancho Sierra Vista (26794310749) by Santa Monica Mountains National Recreation Area, Public domain, via Wikimedia Commons
Spotted something out of date or a gift that's no longer available? Tell our editors — we review every correction.