Polymer clay charms you can bake at home
Tiny polymer clay charms are quick to shape, bake in a home oven and clip onto keys or bags. Here is how to make them safely, with kids or on your own.
Quick answer
Condition small blocks of polymer clay in your hands, shape simple charms about 1/4 inch thick, push in a screw eye or make a hanging hole, then bake on a tile or parchment at exactly the temperature and time printed on your clay's package, checked with an oven thermometer. Let them cool, add a thin glaze if you like, and attach a jump ring and keyring, zipper clip or bag clasp. Kids can do the shaping; an adult should handle the oven.
- Time 1 to 2 hours, including baking and cooling
- Difficulty Easy
- Cost $15 to $30 for a few clay colors, findings and basic tools
- Makes 8 to 15 small charms
Polymer clay charms are tiny, bright and personal: a strawberry for the friend who loves summer, a little dog that looks like the family pet, a coffee cup for a coworker who runs on espresso. They clip onto keys, backpacks and zipper pulls, so they get seen every day. Polymer clay stays soft until it is baked in a home oven, which means you can take your time shaping and start over as often as you like.
It is also one of the best crafts for a family afternoon, which is why it sits in our kids make collection. If you enjoy it, the same clay and oven routine is used for polymer clay earrings and other clay and resin gifts.
What you need
- Oven-bake polymer clay in 4 to 6 colors (one 2 oz block of each is plenty)
- A smooth work surface such as a ceramic tile, glass sheet or clay mat (not a surface you prepare food on)
- Dedicated clay tools: a craft knife or tissue blade, a toothpick, a ball stylus or dotting tool, and a small acrylic roller
- Small screw eyes or eye pins (silver or gold tone)
- Jump rings, two pairs of flat- or chain-nose pliers, and keyrings, lobster clasps or zipper-pull clips
- An oven thermometer
- A ceramic tile or metal baking tray lined with parchment paper, and an index card or foil tent to cover the charms
- Optional: polymer clay glaze and a soft brush, acrylic paint for fine details, mini cookie cutters
Safety notes
- Bake at the package temperature, never higher. Temperatures vary by brand: Sculpey lists 275°F (130°C) for its Original, III, Soufflé and Premo clays, while Staedtler says to preheat to 110°C (230°F) for oven-hardening FIMO and stresses that this temperature must not be exceeded. Always follow the label on the clay you bought.
- Do not overheat. Sculpey explains that at higher temperatures polymer clay starts to degrade and give off noxious fumes. If a piece ever burns, turn off the oven, open the windows and ventilate the room. Turning up the heat does not speed up baking.
- Use an oven thermometer. Both makers recommend one, because home ovens often run hotter or cooler than the dial.
- Ventilate while baking, for example with the range hood fan on.
- Keep clay tools for clay only, and do not let raw clay touch surfaces or utensils used for food.
- Not for food or drink. Sculpey does not recommend making dishes or utensils for eating or drinking, glazed or not.
- Kids: Sculpey says baking should be done by an adult. Children can shape and decorate; wash hands after handling clay. Finished charms, screw eyes and jump rings are small, so keep them away from babies and toddlers.
- No microwave. Polymer clay is baked in a conventional or toaster oven only.
Step-by-step instructions
Plan simple shapes
Sketch a few designs about 1 to 1.5 inches across. The easiest charms are built from basic shapes: balls, logs and flattened discs. A strawberry is a red teardrop with a green star on top; a donut is a flattened ring with a "frosting" disc and tiny sprinkles. Choose designs that mean something to the recipient: a favorite food, a hobby, a pet, or their initial.
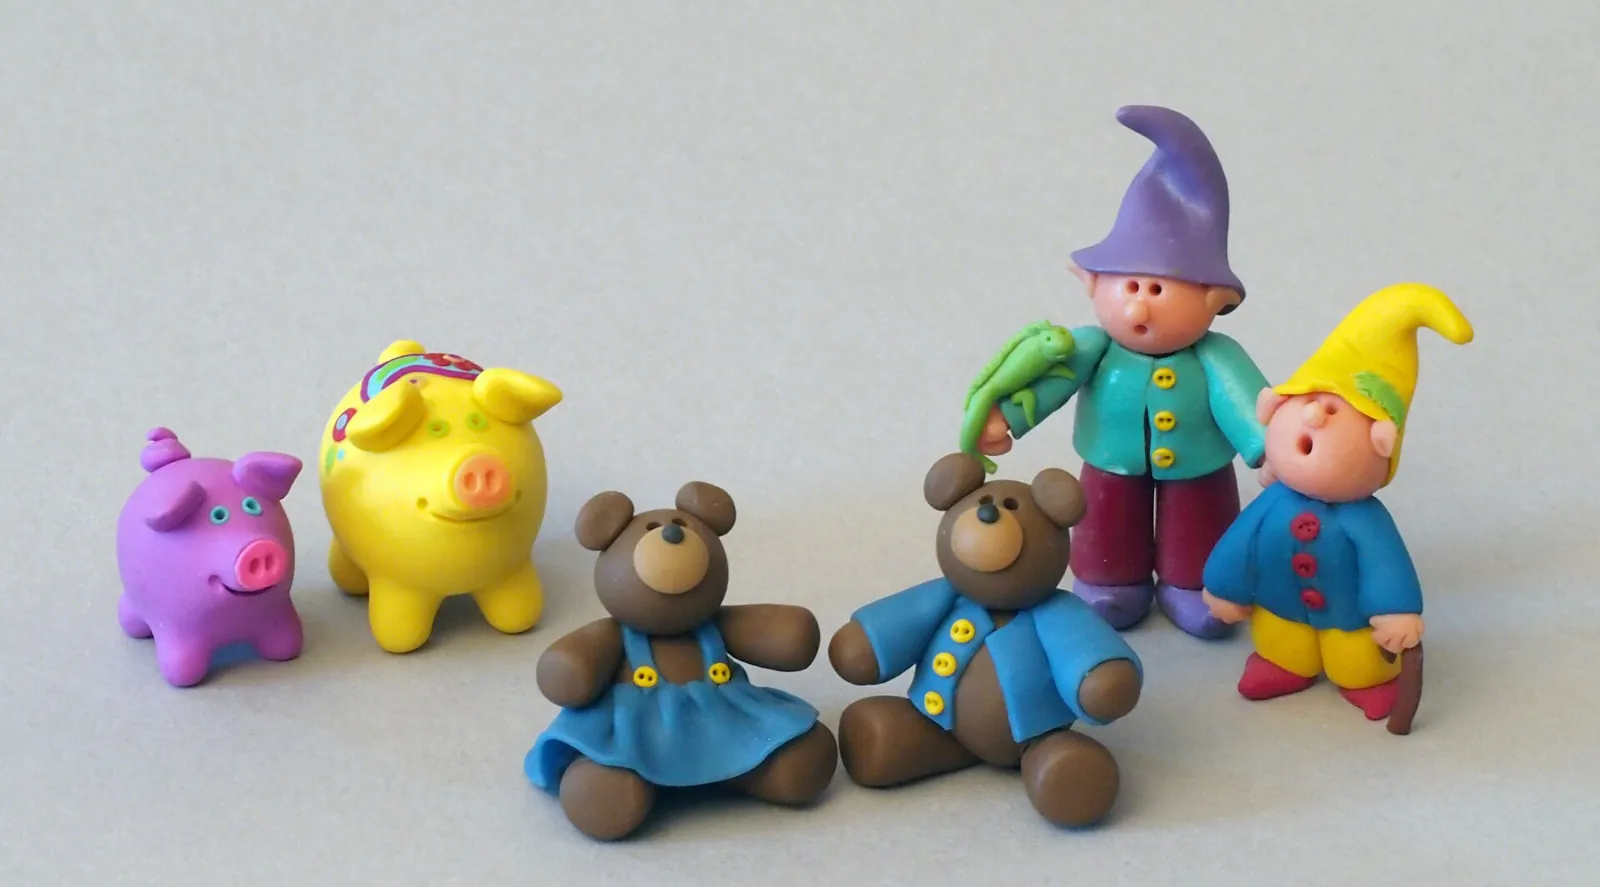
Small polymer clay figurines, about 1 to 2 inches tall Condition the clay
Knead and roll each color in your hands until it is soft and bends without cracking. Warm hands do most of the work in a few minutes. Start with the lightest colors and wipe your hands with a baby wipe between colors so dark clay does not stain white or yellow.
Shape the charms
Build each charm on the tile or parchment you will bake it on, so you do not have to lift and distort it later. Press layers together firmly so they bond in the oven. Keep pieces fairly chunky, around 1/4 inch thick; very thin parts snap easily. Add texture with a toothpick: seeds on a strawberry, stitching on a heart.
Add the hanging loop
Twist a small screw eye straight down into the top of each charm while the clay is soft, or push an eye pin in and bend the end inside the clay so it cannot pull out. For flat charms, you can instead poke a clean hole with a toothpick, large enough for a jump ring.
Test your oven and bake
Preheat the oven with the thermometer inside and check it matches the package temperature. Sculpey suggests baking a small test disc first: if it darkens, lower the temperature slightly and test again. Bake the charms on the lined tile or tray for the time on the package (Sculpey gives times per 1/4 inch of thickness). A loose tent of foil or an index card over the charms helps prevent light colors from browning.
Cool completely
Let the charms cool on the tray. Polymer clay is still slightly soft when hot and becomes firm as it cools, so do not test the strength of a piece until it is at room temperature.
Glaze and add details
Paint fine details with acrylic paint if you like, let it dry, then brush on two or three thin coats of polymer clay glaze rather than one thick coat, which can peel. Glaze adds shine and protects paint but does not make a charm waterproof.
Attach the hardware
Open a jump ring by twisting the ends sideways with two pliers (never pull them apart), slip on the charm's screw eye and the keyring or clasp, then twist it closed so the ends meet flush.
Tip: Make one or two extra of your favorite design. A charm with a thin part that snaps, or a light color that browns slightly, is easy to replace while the oven is still warm.
Charm ideas for different people
- Best friends: matching halves, like two pieces of a heart or a cookie and a glass of milk, one for each of you. See more DIY gifts for a best friend.
- Teachers: a tiny apple, pencil or book charm for a lanyard or keys.
- Grandparents: charms shaped by grandchildren, like a lopsided heart or a pet, mean more than perfect ones. Our list of gifts kids can make for grandparents has more ideas.
- Stocking stuffers: a set of three mini food charms on a card is a small, cheerful gift.
How to package it as a gift
Charms look best displayed on a small card. Cut a rectangle of kraft cardstock, punch a hole near the top, and hang the charm through it on its keyring or clasp. Write a short line underneath, such as "a tiny strawberry for my favorite person." Slip the card into a cellophane bag and seal it with a sticker, or tuck several charms into a matchbox lined with tissue. Add a note that the charms are decorative and should be kept away from very young children.
Frequently asked questions
What temperature do you bake polymer clay charms at?
Use the temperature printed on your clay. It differs by brand: Sculpey lists 275°F (130°C) for its main clays and Staedtler lists 110°C (230°F) for oven-hardening FIMO. An oven thermometer helps you hit it accurately.
Can I bake polymer clay in my kitchen oven?
Sculpey says it is safe to bake its clay in the oven you use for food, with ventilation and without exceeding the stated temperature. Put a barrier such as a tile or parchment between the clay and any pan you also use for food. Sculpey also suggests a dedicated toaster oven if you bake clay often.
Why did my charms break or crumble?
Usually they were underbaked or too thin. Check your oven with a thermometer, bake for the full package time for the thickness, and keep delicate parts chunky.
Can kids make polymer clay charms?
Yes, with supervision. Children can condition and shape the clay; an adult should handle the oven, as Sculpey recommends. Choose designs with few tiny pieces for younger kids.
Sources
- Sculpey — FAQs (baking temperatures and times, overheating, oven thermometer, food safety, children, glaze). sculpey.com
- Staedtler — FIMO: 5 steps before getting started (hardening temperature and time, oven thermometer). staedtler.com
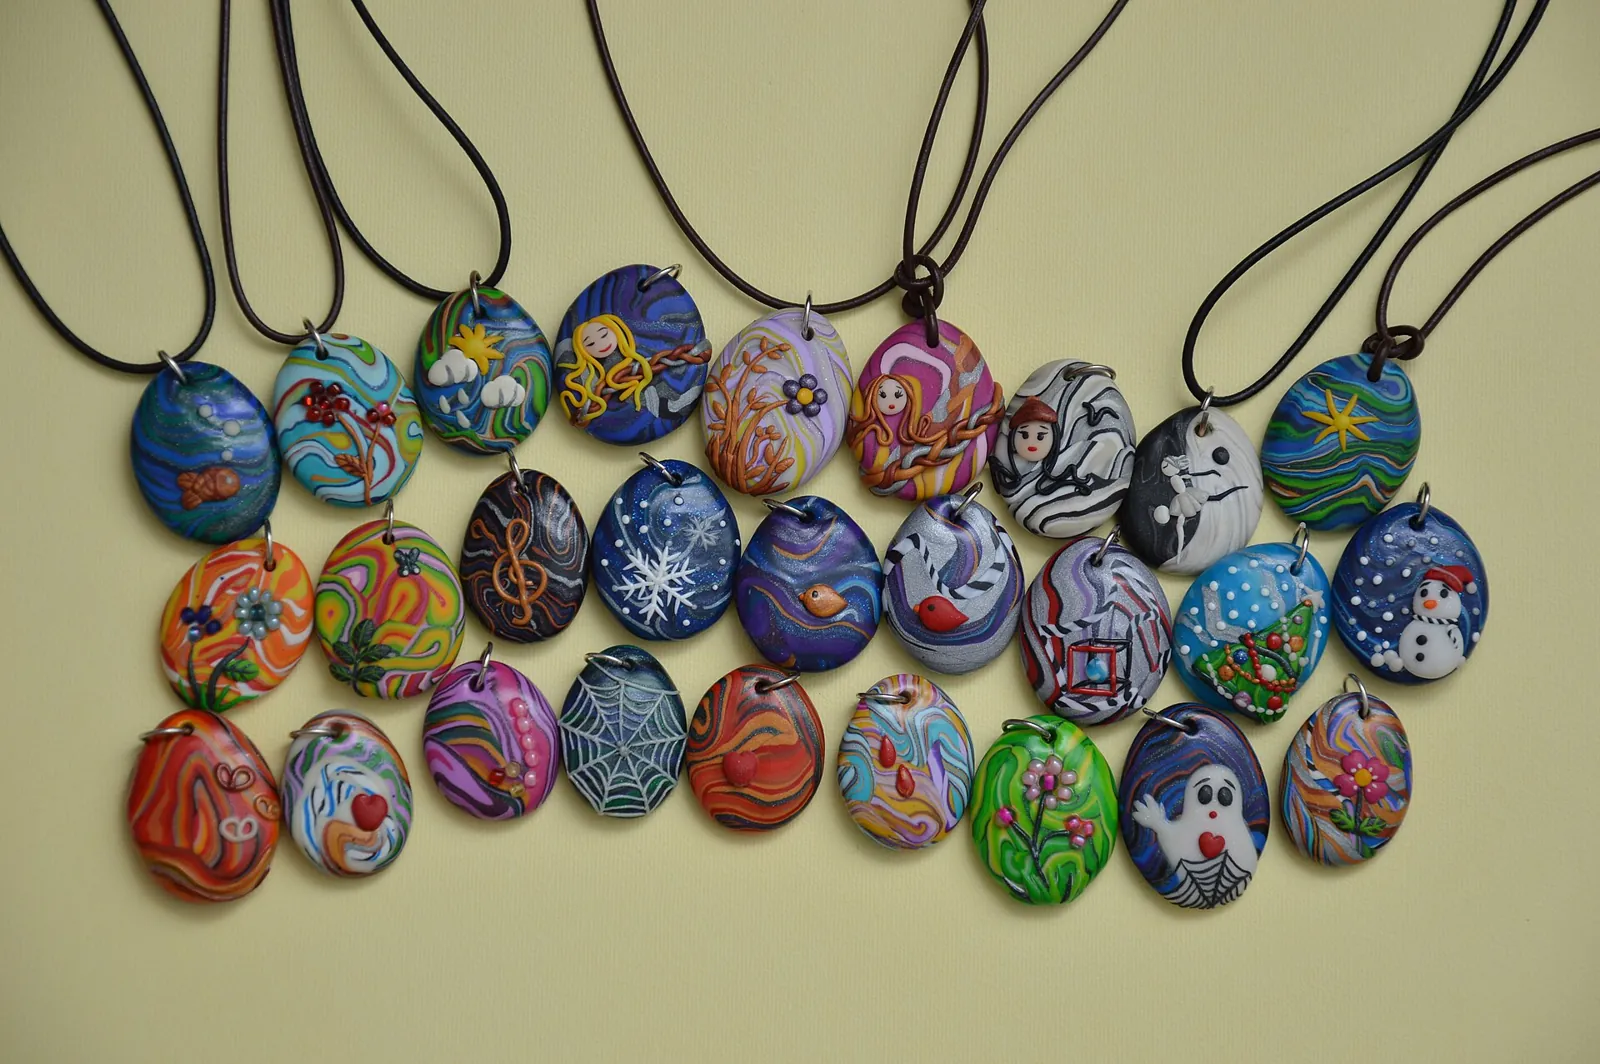
Image credits. Top image: Pendants made of polymer clay (handmade) by Annatsach, CC BY-SA 4.0, via Wikimedia Commons · In-article image: Figurines from Clay Critters by Clay Critters, Inc., CC BY-SA 3.0, via Wikimedia Commons
Spotted something out of date or a gift that's no longer available? Tell our editors — we review every correction.