Air-dry clay planters for small plants
A handmade clay planter with a small plant inside is an easy, thoughtful gift. The secret is treating air-dry clay as a cover pot, because it is not waterproof.
Quick answer
Air-dry clay is not waterproof, even when sealed, so make your planter as a decorative cover pot: shape a cup of clay at least 1/4 inch thick around a small plastic nursery pot, let it dry fully, paint and seal it, and keep the plant in its own draining pot inside. Water the plant in the sink, let it drain, then set it back. That way the clay never sits wet and the roots still get drainage.
- Time About 1 to 1.5 hours hands-on, plus at least 3 days of drying
- Difficulty Easy
- Cost $15 to $30 for clay, paint, sealer and small plants
- Makes 2 to 3 small planters from a 2 lb pack of clay
A small handmade planter with a succulent or a pothos cutting inside is a gift that keeps growing. It suits a housewarming, a desk at a new job, or a friend who already owns every houseplant accessory. Air-dry clay is the easiest way to make one: no kiln, no oven, just your hands and a few days of patience, which is why it is a favorite among our clay and resin projects.
The catch is water. Air-dry clay softens when it gets wet, and that does not change once it is painted or varnished. The method below is built around that fact, so the planter looks good for years instead of slumping after the first watering.
What you need
- Air-dry clay, about 2 lb (white or terracotta)
- Small plastic nursery pots with drainage holes, 2.5 to 4 inches across, one per planter
- Plastic wrap or a thin plastic bag to wrap the nursery pot while you shape around it
- A rolling pin, two wooden slats or paint stirrers as thickness guides, a craft knife and a small bowl of water
- A sponge or damp cloth for smoothing, and fine sandpaper
- Acrylic paints and brushes
- Acrylic varnish or sealer (matte or gloss)
- Optional: a clear plastic cup or small plastic saucer as an extra liner, felt pads for the base, stamps or lace for texture
- Small plants: succulents, a small snake plant or pothos, or cuttings rooted in their own pot
Important limits of air-dry clay
- Not waterproof. Crayola states that sealing its air-dry clay will not waterproof it, and that dried, sealed pieces should be displayed indoors because water and outdoor elements damage them.
- Needs a liner and drainage. Never put soil directly into an air-dry clay planter. Keep the plant in a plastic nursery pot with holes. Plant nurseries recommend the same approach for any decorative cache pot without drainage: plant into a plastic pot and set it inside.
- Not food-safe. Air-dry clay should not be used for bowls, cups or anything that touches food or drink; such pieces are for decoration only.
- Indoors only. Rain, frost and humidity will break it down, so this is a windowsill or desk planter, not a patio pot.
Step-by-step instructions
Prepare the form
Wrap the nursery pot in two or three layers of paper towel, then snugly in plastic wrap. The pot acts as a mold and the plastic stops the clay sticking. The paper layers make the form a little larger than the pot, which matters because air-dry clay shrinks slightly as it dries; this way the plant still slides in and out easily for watering.
Roll out a slab
Knead the clay briefly, then roll it out between two wooden slats so it is an even thickness. Crayola recommends air-dry clay pieces be at least 1/4 inch thick, as thinner pieces are more likely to crack. Cut a circle for the base, a little wider than the bottom of the pot, and a long strip for the walls.
Build the walls
Set the wrapped pot on the base circle and wrap the strip around it. Where the ends meet, score both edges with a knife, dab them with a little water and press them together, then smooth the seam with a damp finger. Blend the wall into the base the same way. Use only a little water: Crayola notes that too much water is a common cause of cracks as the clay dries.
Shape and decorate
Trim the top edge level or give it a wavy rim. Press in texture while the clay is soft: a lace doily, a stamp, simple lines with a toothpick or a row of dots. You can add small feet, a face or the recipient's initial. Keep additions firmly joined and not too thin, since thin parts break off easily.
Remove the pot and dry slowly
After about an hour, when the clay holds its shape, gently twist and slide the nursery pot out and peel away the plastic. Let the planter dry away from heaters and direct sun, turning it occasionally so all sides dry evenly. Crayola says its air-dry clay is dry to the touch in about 24 hours and completely dry in about 72 hours, longer in humid weather or for thicker pieces.
Sand, paint and seal
When it is completely dry, sand rough edges lightly and wipe away the dust. Paint with acrylics: terracotta with a white rim, color blocks, speckles flicked from a toothbrush, or a simple pattern. Once the paint is dry, apply acrylic varnish inside and out, following the label's drying time between coats. The varnish protects the paint and gives a little splash resistance, but remember it does not make the clay waterproof.
Add the plant
Pot the plant in its nursery pot with fresh potting mix, water it in the sink and let it drain completely. Only then lower it into the clay planter. For extra protection, set a clear plastic cup or small saucer inside the clay first to catch any drips. Add felt pads underneath so it will not scratch furniture.
Tip: Choose plants that need little water. Succulents, a small snake plant or a ZZ plant go longer between waterings, which means fewer trips to the sink and less chance of the clay getting wet.
Care card to include
Write a short card so the recipient knows how to look after both the plant and the planter:
- Lift the plant out in its plastic pot to water it, let it drain in the sink, then put it back.
- Do not pour water into the clay planter, and wipe up any drips right away.
- Keep the planter indoors, out of rain and away from steamy bathrooms.
- Dust with a dry cloth; do not wash it.
How to package it as a gift
Pick the plant a day or two before giving so it looks its best, and make sure the soil has drained. Place the planter in a small box padded with crinkle paper, or wrap the base in a square of fabric tied at the top with twine, leaving the plant free. Tie the care card to the twine. A matching pair, one larger and one smaller, makes a generous potted plant gift, and a planter pairs well with a handmade clay trinket dish in the same colors.
Frequently asked questions
Can you put soil directly in an air-dry clay planter?
No. Air-dry clay absorbs water and softens, even when sealed. Keep the plant in a plastic nursery pot with drainage holes and use the clay piece as a decorative cover.
Can I make air-dry clay waterproof?
Not reliably. Sealers such as acrylic varnish protect paint and resist occasional splashes, but Crayola states that sealing its air-dry clay does not waterproof it. For a truly waterproof clay pot you need kiln-fired ceramic.
How long does air-dry clay take to dry before painting?
Follow your clay's package. Crayola gives about 24 hours to dry to the touch and 72 hours to dry completely, with humidity and thickness making it longer. Paint only when it is fully dry and no longer cool to the touch.
Why did my clay planter crack?
Common causes are walls thinner than about 1/4 inch, too much water while joining pieces, or drying too fast near a heater. Small cracks can be filled with a little fresh clay mixed with water, then dried and sanded.
Sources
- Crayola — Can Air-Dry Clay pieces be sealed? crayola.com
- Crayola — Can I display Air-Dry Clay pieces outdoors? crayola.com
- Crayola — How long does it take for Air-Dry Clay to dry? crayola.com
- Crayola — Why has my Air-Dry Clay piece cracked? crayola.com
- Swansons Nursery — Indoor cache pot basics. swansonsnursery.com
- The Art of Education University — The pros and cons of working with air dry clay. theartofeducation.edu
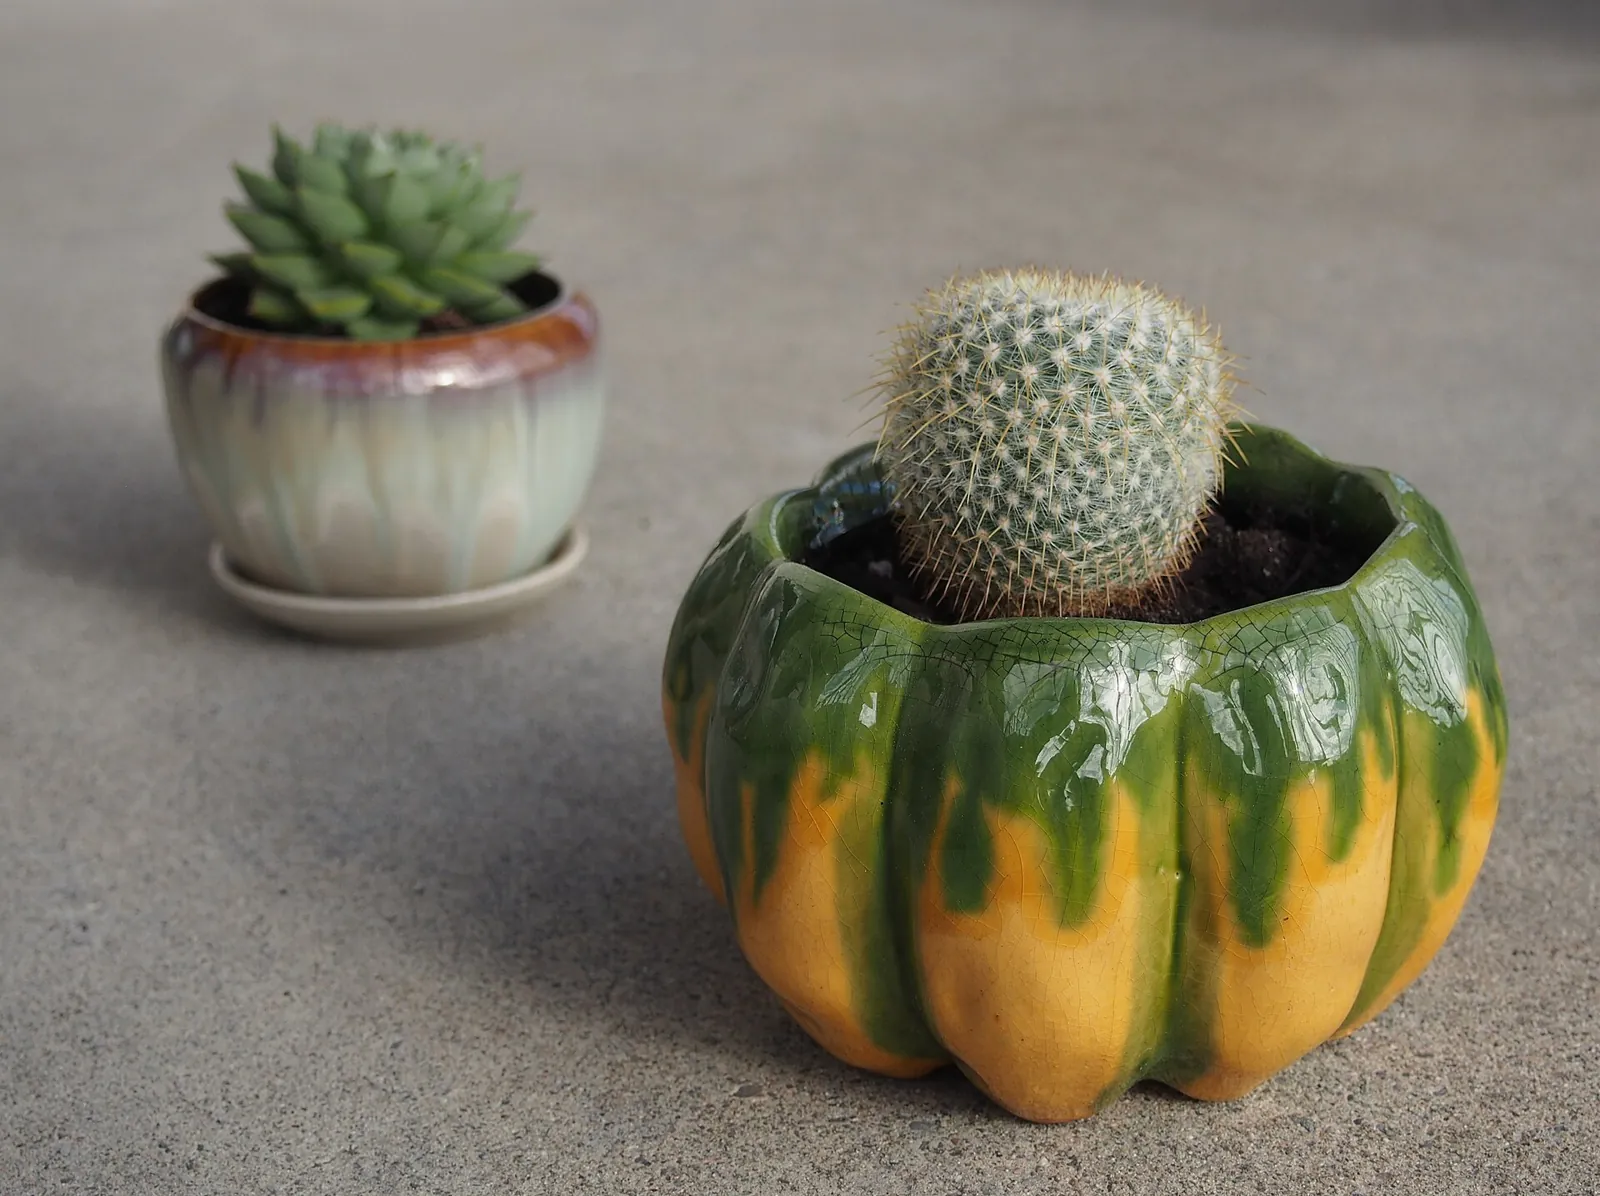
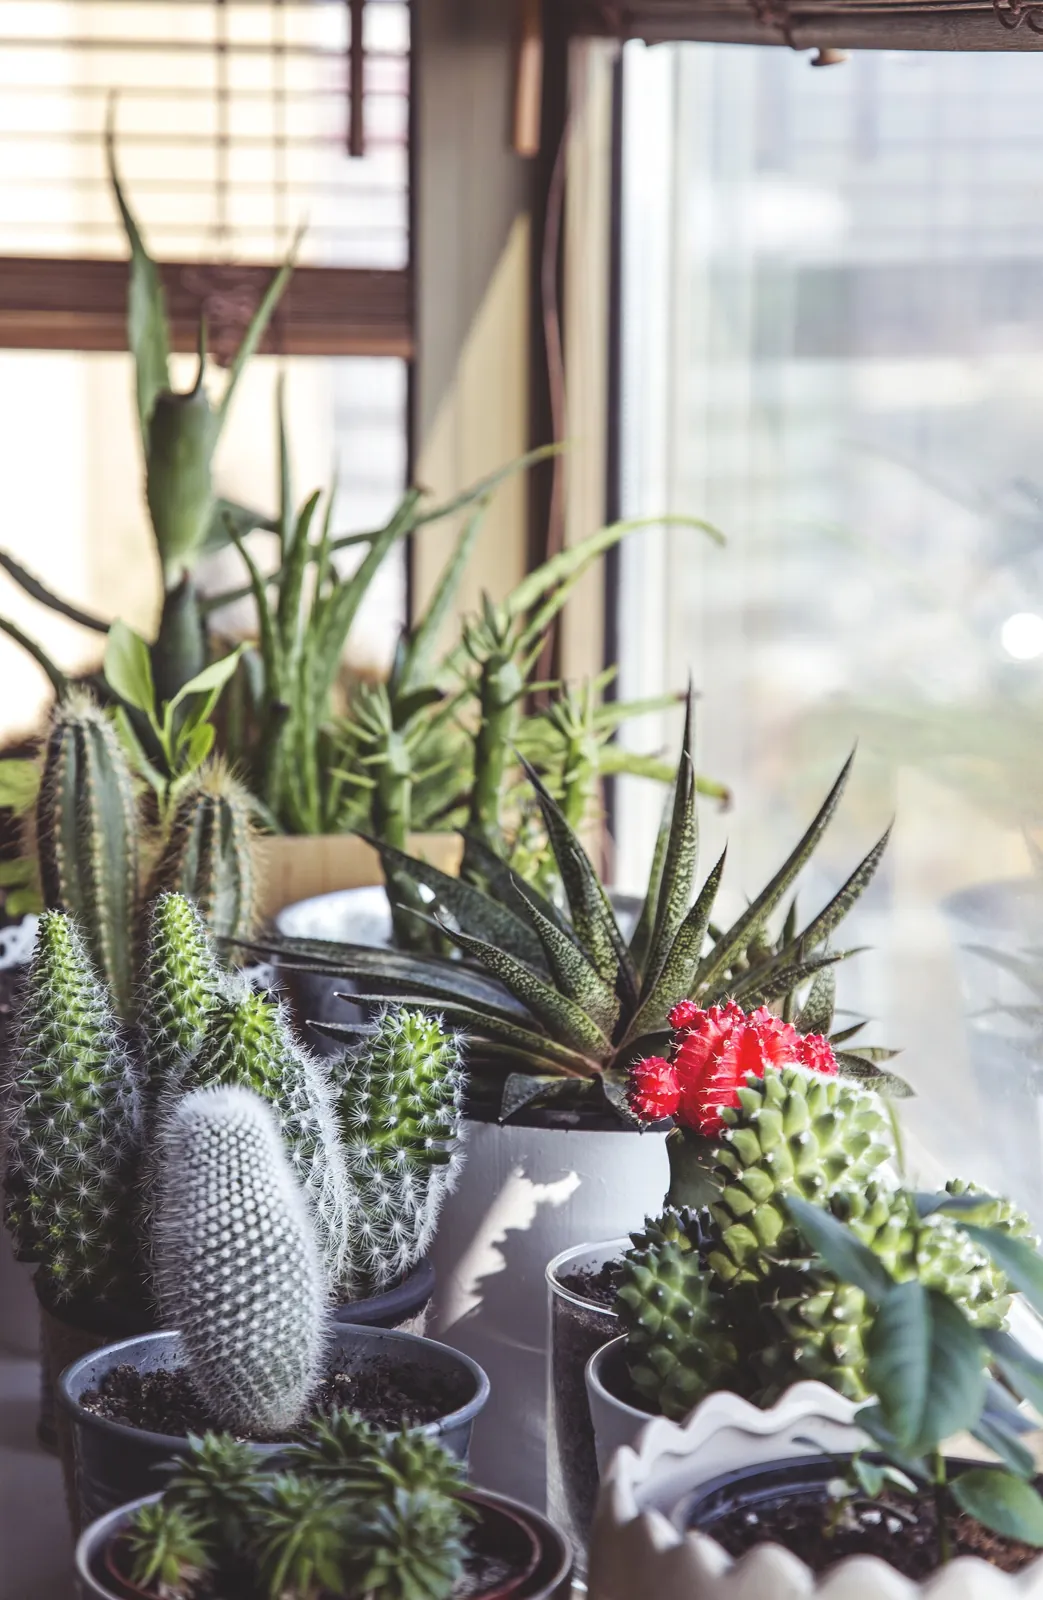
Image credits. Top image: Two potted succulents by Querle, CC BY-SA 4.0, via Wikimedia Commons · In-article image: Potted succulents in window (Unsplash) by Milada Vigerova mili_vigerova, CC0 1.0, via Wikimedia Commons
Spotted something out of date or a gift that's no longer available? Tell our editors — we review every correction.