How to make an air-dry clay trinket dish
A small clay dish for rings, earrings or keys needs no kiln or oven. Here is how to shape, dry and seal one so it looks like a thoughtful handmade gift.
Quick answer
Roll air-dry clay to an even slab, cut a circle or freeform shape, press in a pattern if you like, and drape it over or into a small bowl to set the curve. Let it dry slowly and completely as the clay's package directs, sand the edges, paint with acrylics, then seal with an acrylic varnish. It holds jewelry and keys beautifully, but it is decorative only: keep it away from water and food.
- Time 1 hour of work, plus 2–4 days of drying
- Difficulty Easy
- Cost $10 – $25 for clay, paint and varnish
- Makes 2–4 small dishes from a standard block
Air-dry clay hardens as the water in it evaporates, so you do not need a kiln or an oven. That makes it one of the most accessible clay projects for a beginner or a family crafting together, and a trinket dish is the ideal first piece: it is small, forgiving and genuinely useful on a nightstand or by the front door. For more projects in this family see our clay and resin section, or the wider collection of DIY gifts.
What you need
- Air-dry clay (white or terracotta color; about a 1 lb / 500 g block)
- Rolling pin, plus two paint sticks or wooden slats as thickness guides
- Parchment paper or a canvas mat to work on
- A small bowl or saucer to use as a template and a drying form
- A craft knife or blunt butter knife
- Texture makers: a leaf, lace, rubber stamps or a fork
- A small cup of water and a sponge
- Fine sandpaper (around 220 grit) or a sanding sponge
- Acrylic craft paint and small brushes; a gold paint pen for rims (optional)
- Acrylic varnish or sealer in matte, satin or gloss
Step-by-step instructions
Condition and roll the clay
Knead a palm-sized piece until it is smooth and free of cracks. Place it between two thickness guides on parchment and roll it out so the slab is even, roughly a quarter inch thick. An even slab dries evenly, which is the main defense against cracks and warping.
Add texture
If you want a pattern, lay a fresh leaf, a piece of lace or a stamp on the slab and roll over it once with firm, even pressure, then peel it away. Leaf veins and lace leave a fine print that looks lovely once painted or left plain.
Cut the shape
Place a small saucer upside down on the slab and trace around it with a knife held upright. Circles, ovals, hearts and freeform organic shapes all work. Lift away the excess and wrap it in plastic so you can use it for another dish.
Smooth the edges
Dip a fingertip in water and run it around the cut edge to soften it. Use as little water as you can; too much makes the surface sticky and slows drying.
Form the curve
Lift the slab gently and lay it inside a small bowl lined with plastic wrap, or drape it over the back of an upturned bowl. You can also pinch up the edge with your fingers for a shallow freeform rim. Press lightly so the base is flat enough to sit level.
Dry slowly and completely
Leave the dish to dry at room temperature, away from radiators, direct sun and drafts, which can make the edges dry faster than the center and crack. Remove it from the form once it holds its shape and turn it over so the underside dries too. Drying time depends on thickness and humidity, so follow the package: Crayola, for example, says its air-dry clay should be completely dry for 72 hours before sealing.
Sand and paint
When the clay is bone dry and pale all the way through, sand the rim and any rough spots lightly. Wipe off the dust with a barely damp cloth or a dry brush. Paint with acrylics: a solid color, a speckled finish flicked from an old toothbrush, or a painted gold rim all look polished.
Seal the dish
Once the paint is dry, apply two thin coats of acrylic varnish, letting each dry as the label says. Test the varnish on a scrap of dried clay first if you have one. Sealing protects the paint and makes the dish easier to dust.
Tip: If a hairline crack appears while drying, fill it with a paste of clay and a little water, smooth it, and let it dry again before sanding. Most small cracks disappear under paint.
Safety and care notes
- Not for food or drink. Air-dry clay and craft varnishes are not food-safe. Label the dish as a jewelry or key dish.
- Not waterproof. Crayola notes that sealing air-dry clay does not waterproof it. Keep the dish away from sinks, plants and wet rings, and clean it with a dry cloth.
- Indoor use only. Moisture and outdoor exposure soften and damage air-dry clay.
- Craft knives are sharp. Let children use a blunt butter knife or a cookie cutter, with an adult nearby.
- Dust: sand gently and wipe up dust with a damp cloth instead of blowing it around.
Gift ideas and variations
- Initial dish: stamp or paint the recipient's initial in the center, a simple way to make it one of your personalized gifts.
- Wedding or engagement ring dish: press a flower from the bouquet into the clay before cutting. See more engagement gift ideas for pairing.
- Kids' handprint dish: a young child's thumbprint or small handprint pressed into a larger slab makes a sweet present for grandparents. Our gifts kids can make for grandparents page has more ideas.
- Matching set: make three nesting dishes in graduated sizes for a vanity or desk.
How to package it as a gift
Wrap the dish in a layer of tissue, place it in a small box with crinkle paper and add a note on care: dry dust only, not for water or food. A dish looks more like a finished gift with something in it, such as a pair of earrings, a hair clip or a small wrapped chocolate on top of the tissue. A handwritten tag tied to the box ribbon completes it.
Frequently asked questions
How long does air-dry clay take to dry?
It depends on the brand, the thickness and the humidity in your home. Many small pieces take two to three days. Check your package: Crayola, for instance, asks for 72 hours before sealing its air-dry clay.
Can I make an air-dry clay dish waterproof?
Not fully. Varnish makes it more resistant to dust and the occasional splash, but sealing does not make air-dry clay waterproof. Use it only for dry items.
Why did my clay dish crack?
Usually because it dried too fast or unevenly, often near a heater or in direct sun, or because the slab was uneven. Roll to an even thickness and dry it slowly at room temperature.
Can I bake air-dry clay to speed it up?
Follow your clay's package. Most air-dry clays are designed to dry at room temperature, and forcing them with heat can cause cracks. If you want an oven-hardened dish, use polymer clay instead and bake it as its package directs.
Sources
- Crayola — Can Crayola Air-Dry Clay pieces be sealed? crayola.com
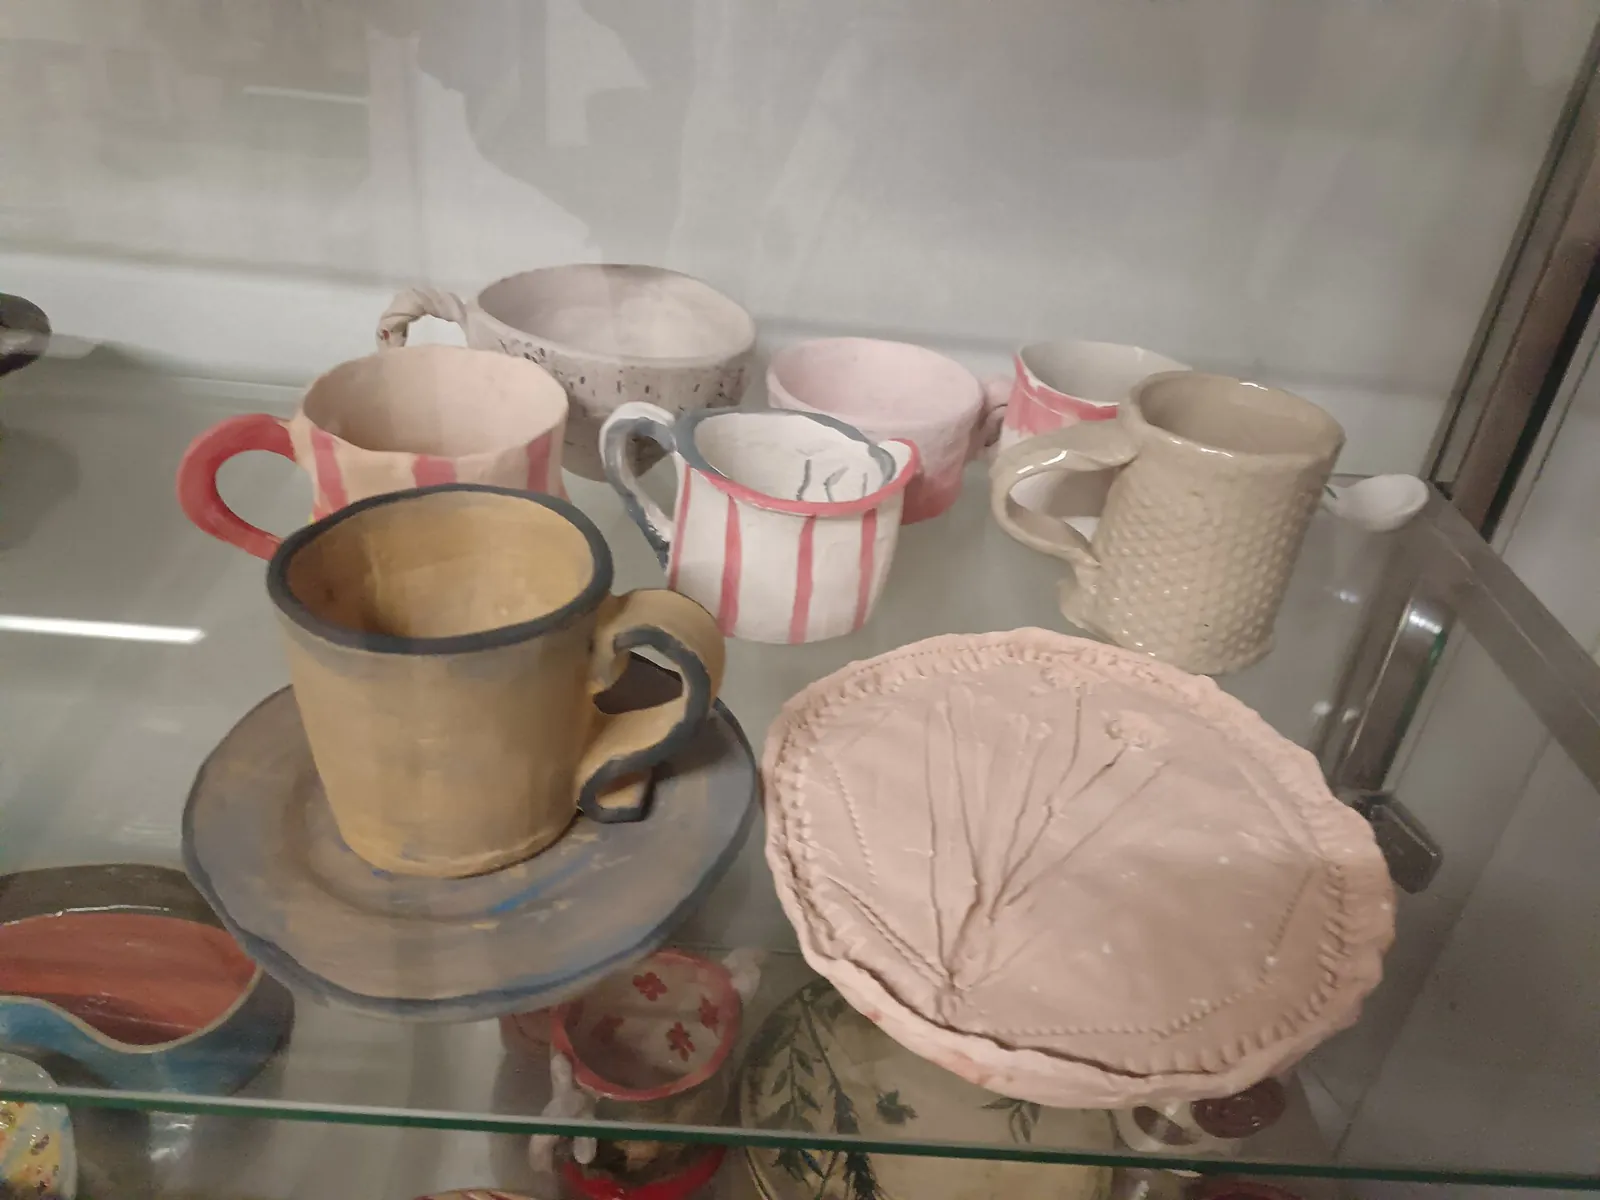
Image credits. Top image: Ručno izrađene keramiče šolje i tanjiri by Nikolina Šepić, CC BY-SA 4.0, via Wikimedia Commons
Spotted something out of date or a gift that's no longer available? Tell our editors — we review every correction.