How to make resin keychains as personalized gifts
Resin keychains are small, personal and easy to make in batches. This guide covers epoxy versus UV resin, the safety gear, the pour and the hardware.
Quick answer
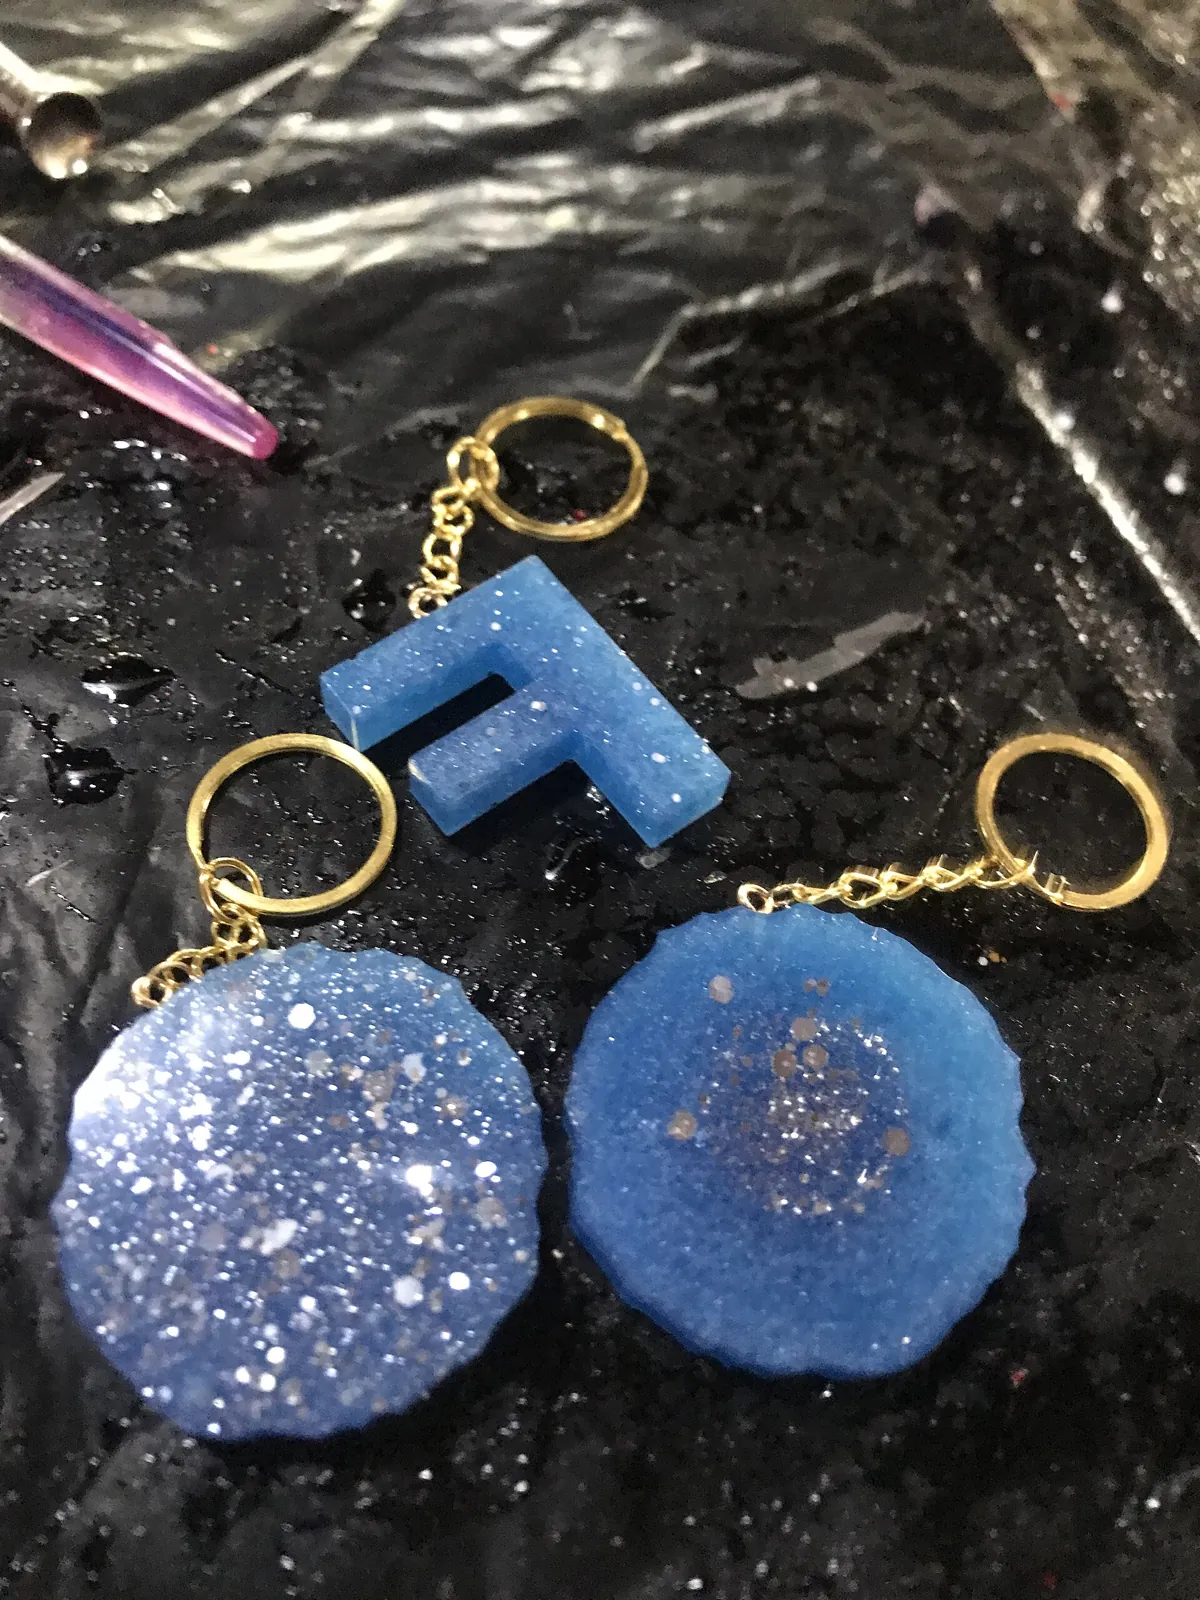
Pour two-part epoxy resin (or layer UV resin) into silicone keychain molds, add initials, dried flowers or glitter, let it cure for the full time on your product's label, then demold, smooth the edges and attach a screw eye, jump ring and split ring. Wear nitrile gloves, work with good ventilation and keep the project away from children and pets until everything has cured.
- Time About 1 hour of work, plus cure time (a day or more for epoxy; minutes per layer for UV resin)
- Difficulty Beginner to moderate
- Cost $30 to $60 for resin, molds, hardware and safety gear
- Makes 6 to 12 keychains from a small kit
Resin keychains are small, light and endlessly personal: a monogram for a teacher, a pressed flower from a wedding bouquet, a child's favorite color for a grandparent's keys. They make good stocking stuffers and easy batch gifts for coworkers or a bridal party. The chemistry is the same as for our resin coasters, just in miniature, which makes keychains a sensible first resin project. Browse more clay and resin gifts once you are hooked.
Epoxy or UV resin?
Two-part epoxy is mixed from resin and hardener and cures by chemical reaction. It is better for filling a whole tray of molds at once and for clear, deep pieces, but you wait a day or more before demolding. ArtResin, for example, is mixed in equal parts by volume, has a working time of about 45 minutes, and the brand's jewelry tutorial leaves molds to cure for 24 hours, noting that pieces are flexible at first and harden as they fully cure; its FAQ gives about 72 hours for a full cure. Other products differ, so always follow your own resin's label.
UV resin is a single liquid that hardens under a UV lamp or sunlight. It is ideal for small charms and for adding a glossy dome to a finished piece, but it must be cured in thin layers. Resin maker Resiners suggests layers of about 1 to 2 mm for jewelry-sized items and says a 36-watt UV LED lamp typically cures thin layers in about 2 to 4 minutes. Heavily tinted or glittered resin blocks light and needs thinner layers.
What you need
- Two-part epoxy resin suitable for small castings, or a UV resin and a UV lamp
- Silicone keychain molds (letters, shapes or tags); molds with a built-in hole save a drilling step
- Small graduated mixing cups, silicone or wooden stir sticks, and toothpicks
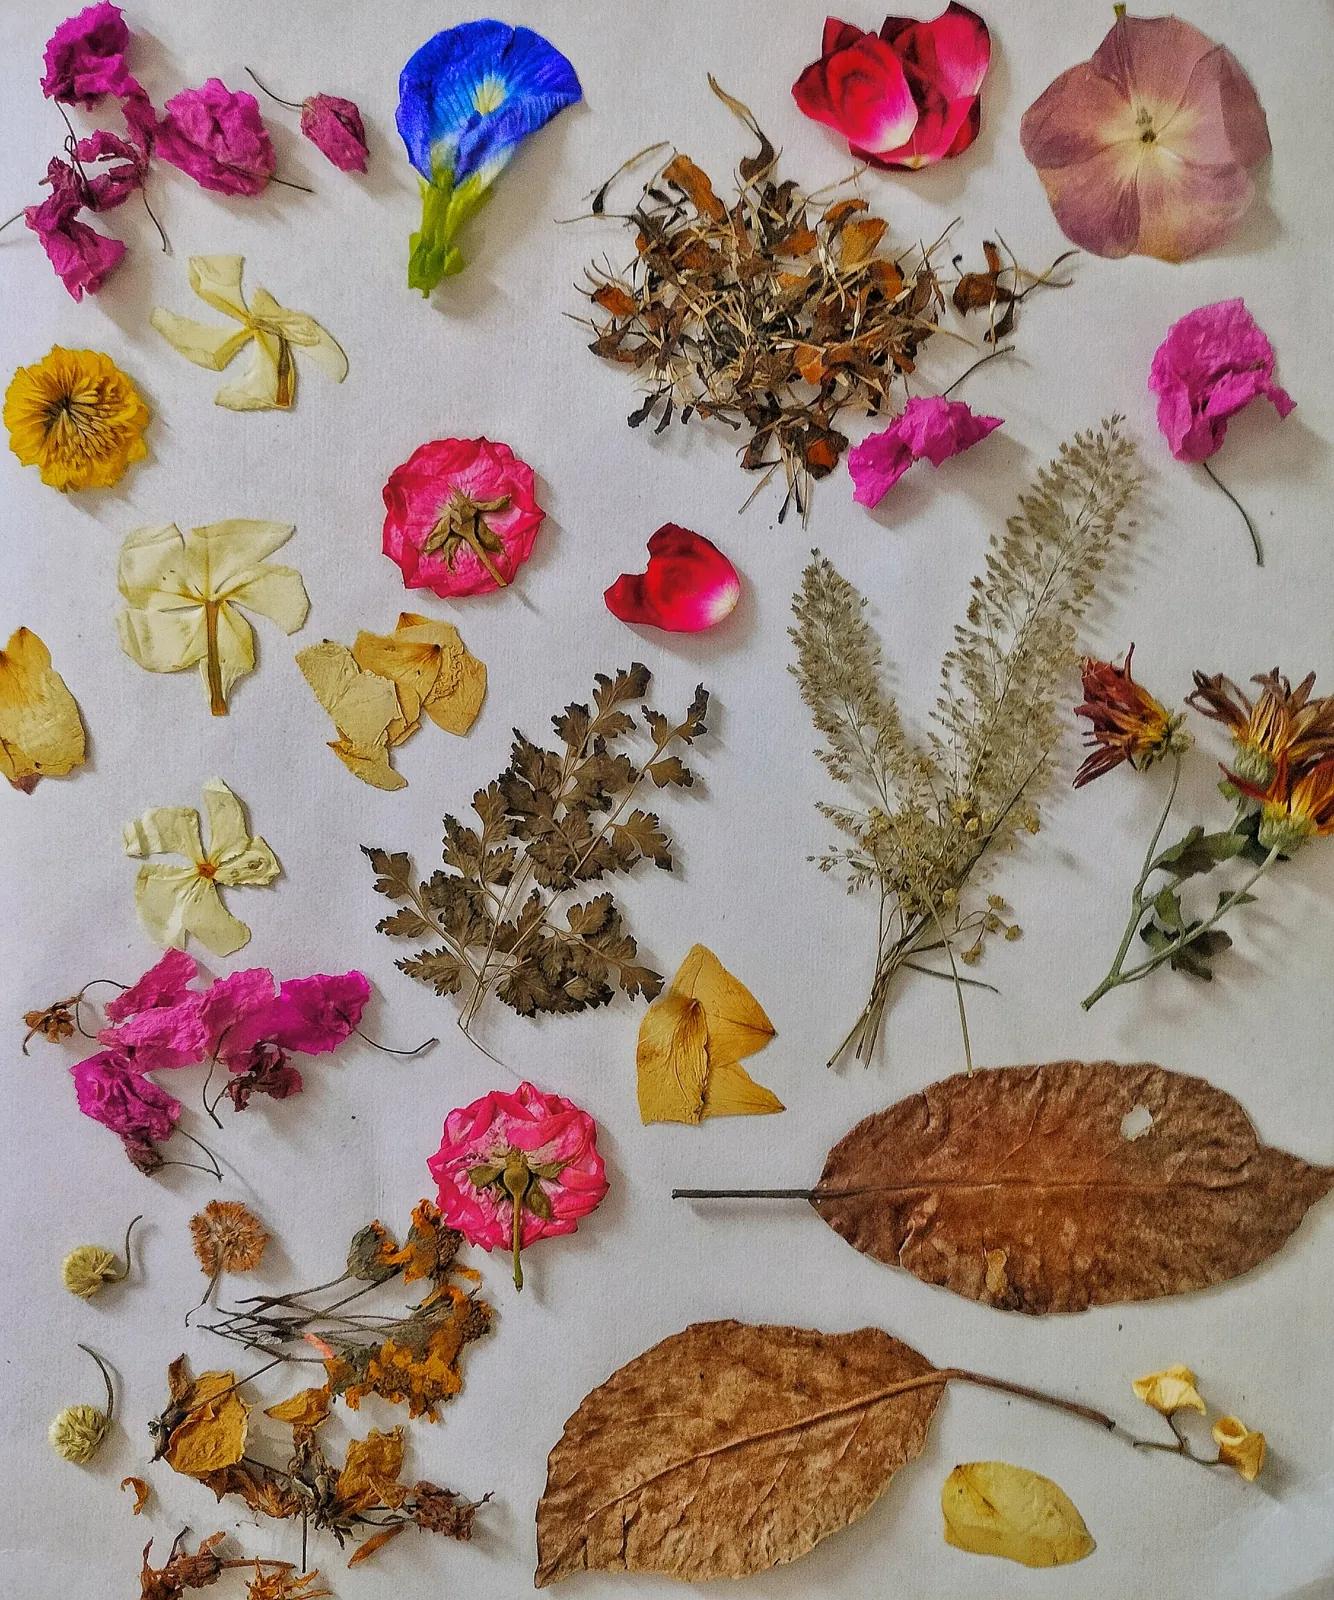
- Inclusions: fully dried pressed flowers, mica powder, alcohol ink, fine glitter, gold leaf, or a printed name on paper sealed with a thin coat of resin first
- Hardware: screw eye pins, jump rings, split key rings, and optional tassels or charms
- A pin vise or rotary tool with a small bit (if your molds have no hole), two pairs of flat-nose pliers
- Wet-or-dry sandpaper from about 400 to 1000 grit, or a fine nail file
- Nitrile gloves, safety glasses (UV-blocking if you use a UV lamp), an apron, a silicone mat or plastic sheeting
- A dust cover for curing, such as an upturned plastic box
Safety: read this first
- Skin: ingredients in epoxy systems are sensitizers. Germany's statutory accident insurance institute (DGUV) notes that people who become sensitized can react with skin rashes on later contact with uncured resin, though cured epoxy no longer has this effect. UV-curable resins carry a similar warning from manufacturers such as Carbon, which notes that once sensitized, reactions are usually a lifelong possibility. Wear nitrile gloves, change them when resin gets on them, and never handle uncured resin bare-handed.
- Skin contact: wash resin off right away with soap and water, as ArtResin advises; do not use solvents on skin.
- Air: work in a well-ventilated room. ArtResin recommends a respirator if ventilation is limited; check your product's safety data sheet.
- Eyes: wear safety glasses while mixing. UV curing lamps emit strong UV light that can damage eyes, so do not look into the lamp and use UV-blocking glasses.
- Sanding: cured resin dust should not be breathed in; ArtResin advises a dust mask when sanding. Sanding wet keeps dust down.
- Children and pets: keep them away from the work area, uncured resin and curing molds. Finished keychains have small metal parts and are not toys for young children.
- Waste: do not pour liquid resin down the drain; follow your product's disposal guidance.
Step-by-step instructions
Set up a clean, level space
Cover the table, set the molds on a flat board you can move without tilting, and check the room temperature against your resin's label. Dust shows up forever in clear resin, so wipe molds with a lint-free cloth or tape.
Plan your designs
Lay each design out next to its mold. Letters and flowers usually go face down, because the bottom of the mold becomes the glossy front. Make sure flowers are completely dry; moisture causes cloudy or brown patches.
Measure and mix
For epoxy, measure resin and hardener exactly as the label says (by volume or by weight, depending on the product) and stir slowly for the full mixing time, scraping the sides and bottom. Small batches are hard to measure accurately, so mix at least the minimum amount your product recommends. Split into small cups to add color with a tiny pinch of mica or a drop of ink.
Pour in two layers
Pour a thin first layer, press inclusions into it with a toothpick, then top up to just below the rim. For UV resin, cure each thin layer under the lamp before adding the next. Pop surface bubbles with a toothpick or a quick pass of a heat tool, keeping it moving so the silicone does not scorch.
Cover and cure
Cover epoxy molds with a dust cover and leave them undisturbed for the demolding time on your label. Resist poking them. UV pieces are usually ready to demold after their final layer, but a second exposure on the back side helps if the underside feels soft.
Demold and smooth the edges
Peel the mold back rather than pushing the piece out. Trim any thin flash with sandpaper or a nail file, wet-sanding while wearing gloves and a mask. A thin coat of UV resin cured over a sanded edge brings back the shine.
Add the hardware
If the mold has no hole, drill a small pilot hole at the top with a pin vise, then twist in a screw eye; a dab of resin on the thread helps it stay put. Open jump rings sideways with two pliers (never pull them apart into an oval), link the screw eye to the split ring, add a tassel if you like, and close the ring flush. Let epoxy pieces reach full cure before heavy use.
Tip: Make two or three extra keychains in each batch. Small pours are the easiest place for a bubble or a stray hair, and having spares means you can give your best ones.
Ideas to make them personal
- Initial and flower: a letter mold with a pressed bloom from the recipient's garden or a wedding bouquet (see our pressed flower resin gifts).
- Birth flower or birthstone color: tint the resin to match.
- Tiny photo or handwriting: print or scan it small, seal the paper with a thin coat of resin first so it does not turn translucent, then embed it.
- Matching set: one keychain per family member or bridesmaid, each in a different color. For a soft, no-resin alternative for kids to make, try felt heart keychains.
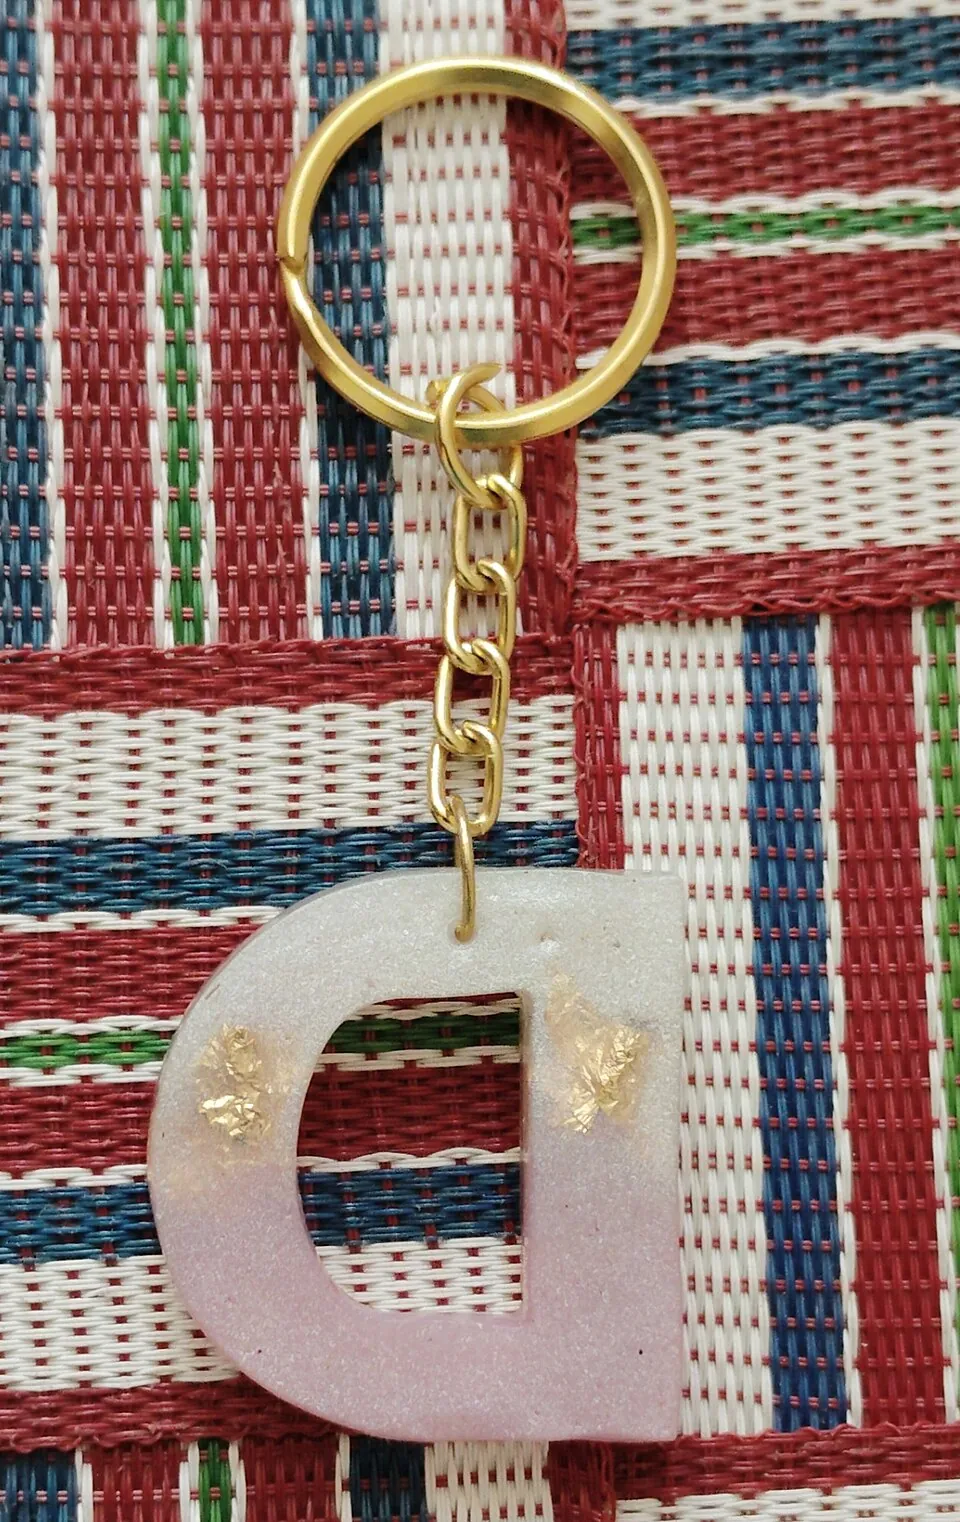
How to package it as a gift
Thread each keychain onto a small kraft card with the recipient's name or a one-line message, and slip it into a clear cello bag or a small box with tissue. A set of matching keychains looks great tied together on a ribbon. Add a short care note: wipe clean with a damp cloth, avoid leaving it in a hot car dashboard or direct sun for long periods, and remember that it scratches if it shares a pocket with sharp keys. For more name-and-initial ideas, see our personalized gifts.
Frequently asked questions
How long do resin keychains take to cure?
It depends entirely on the product. Epoxy often needs about a day before demolding and longer for a full cure; ArtResin, for example, gives about 72 hours for a full cure. UV resin hardens in minutes per thin layer under a lamp. Always follow your resin's label.
Why are my resin keychains sticky or bendy?
With epoxy, the usual causes are an inaccurate ratio, too little mixing, a cold room, or demolding before the full cure. With UV resin, layers that are too thick or too heavily tinted, or a weak lamp, leave soft spots. Bendy epoxy pieces often firm up as they finish curing.
Is it safe to make resin keychains at home?
Yes, with precautions: nitrile gloves, eye protection, good ventilation, no bare-skin contact with uncured resin, and children and pets kept away. Read the safety data sheet for your product.
Should I use epoxy or UV resin for keychains?
UV resin is faster for a few small pieces and for doming. Epoxy is better for filling many molds at once and for thicker, clearer castings.
Sources
- ArtResin — How to make resin jewelry. artresin.com
- ArtResin — Frequently asked questions. artresin.com
- DGUV Institute for Occupational Safety and Health (IFA) — Epoxy resins. dguv.de
- Carbon — Safety (handling liquid resins and UV curing). learn.carbon3d.com
- Resiners — Curing UV resin. resiners.com
Image credits. Top image: Resin Keychains by I AM GIFTY, CC BY 4.0, via Wikimedia Commons · In-article image: Hand made keychain by Deepika Govindaraj, CC BY 4.0, via Wikimedia Commons
Spotted something out of date or a gift that's no longer available? Tell our editors — we review every correction.