How to make resin coasters as a handmade gift
Resin coasters look like small works of art and make a lasting gift. This guide covers the safety gear, the pour and the curing wait that make them turn out well.
Quick answer
Set up in a ventilated room with nitrile gloves and eye protection, measure resin and hardener exactly as your product's label says, stir slowly and thoroughly, pour into silicone coaster molds, add dried flowers, mica or foil, pop surface bubbles, then leave the coasters undisturbed for the full cure time on the label before demolding. Expect a weekend: an hour of work and several days of waiting.
- Time About 1 hour hands-on, plus the manufacturer's cure time (often several days)
- Difficulty Moderate
- Cost $35 – $70 for resin, molds and safety gear
- Makes A set of 4 coasters, with resin to spare
Two-part epoxy resin turns from a liquid into a hard, glossy solid through a chemical reaction between the resin and its hardener. Because that reaction depends on exact measuring, temperature and time, resin rewards patience more than skill. A set of four coasters is a manageable first project and an easy gift for a housewarming, a coffee lover or anyone who likes something one-of-a-kind. For other projects in the same family, browse clay and resin gifts.
What you need
- Two-part epoxy resin suitable for casting in molds at coaster depth (check the label for maximum pour depth)
- Silicone coaster molds (round or square, about 4 inches across)
- Graduated mixing cups and silicone or wooden stir sticks
- Nitrile gloves (several pairs), safety glasses and an apron or old long sleeves
- A respirator rated for organic vapors if your space is not well ventilated (check the resin's safety data sheet)
- Inclusions: fully dried pressed flowers, mica powder, alcohol ink, gold leaf flakes or fine glitter
- A heat gun or small kitchen torch for surface bubbles, or a fine mist of isopropyl alcohol if your resin maker recommends it
- A level surface, plastic sheeting or silicone mat, and a box or tub to cover the molds while curing
- Paper towels and a waterless hand cleaner or soap for cleanup
- Cork or felt pads for the bottoms (optional)
Safety first
Uncured epoxy and especially its hardener can irritate skin, and repeated unprotected contact can lead to sensitization, an allergic-type reaction that may make you react to resin in the future. Treat these precautions as part of the project, not extras:
- Ventilation: work in a room where air circulates, such as an open garage or a room with windows open and a fan pulling air out. If ventilation is limited, wear a respirator as the resin maker advises.
- Gloves and eyes: wear nitrile gloves and change them as soon as resin gets on them. Wear safety glasses while mixing and pouring.
- Skin contact: wash resin off promptly with soap and water or the cleanser the manufacturer recommends, never with solvents.
- Read the safety data sheet for your specific product before starting; it lists the exact protective equipment.
- Keep children and pets away from the work area and curing molds. Resin is not a craft for young children.
- Sanding: cured resin dust should not be breathed in, so wear a dust mask and sand wet when trimming edges.
Step-by-step instructions
Prepare the room and molds
Choose a level, dust-free surface and cover it with plastic sheeting. Check that the room temperature is within the range on your resin's label; many brands want a warm, steady room, and cold rooms can cause cloudy or soft results. Wipe the molds with a lint-free cloth so no dust ends up trapped in the gloss.
Prepare your inclusions
Flowers and leaves must be completely dry; moisture can cause discoloration or bubbles. Lay out your design next to the mold so you can work quickly once the resin is mixed.
Measure exactly
Pour resin and hardener into a graduated cup in the ratio stated on your product, by volume or by weight as the label specifies. Ratios differ between brands, and guessing is the most common reason coasters stay sticky. Mix only what you can use within the product's working time.
Mix slowly and thoroughly
Stir for the full time the label recommends, scraping the sides and bottom of the cup so no unmixed resin remains. Stir slowly to avoid whipping in air. If you are adding color, divide the mixed resin into small cups and stir in a little mica or a few drops of alcohol ink.
Pour a first layer
Pour a thin layer into each mold. Press flowers face down into it with a stir stick if the face of the coaster is the bottom of the mold. A thin first layer holds inclusions in place so they do not float.
Fill and release bubbles
Top up the molds to just below the rim. Pass a heat gun or torch briefly over the surface, keeping it moving, to bring bubbles up and pop them. Too much heat can scorch resin or warp the mold, so a few quick passes are enough.
Cover and cure
Cover the molds with an upturned box to keep dust and hair out, and leave them on the level surface. Do not move or test them early: follow the manufacturer's times for demolding and full cure. As an example, ArtResin states that its resin is dry to the touch in about 24 hours and fully cured in 72 hours; other products, especially deeper-pour casting resins, can take longer.
Demold and finish
Flex the silicone mold gently and push the coaster out from below. Sand any sharp rim with wet sandpaper while wearing a mask, then stick cork or felt dots on the back to protect furniture. Let the coasters reach full cure before wrapping or using them.
Tip: Mix a little extra resin and pour a test piece, such as a small round charm, at the same time. If the test piece is still tacky after the label's cure time, the coasters will be too, and you will know before you demold.
Heat and everyday use
Resin coasters handle cold drinks and normal hot drinks well, but cured epoxy softens at high temperatures. ArtResin, for example, says its cured resin can handle temperatures up to about 120°F (50°C) and that a hot cup of coffee will not damage the surface, while hotter items such as a dish straight from the oven can mark it. Heat tolerance varies by product, so check your resin's information and include a care note with the gift: wipe clean with a damp cloth, avoid the dishwasher, and do not use as a trivet for pans.
Design ideas
- Pressed garden flowers: violas, ferns or small daisies from the recipient's own garden or a wedding bouquet make the set personal.
- Ocean swirl: blue and white tinted resin with a little sand-colored mica.
- Monogram set: a vinyl or gold-foil initial set into a clear layer, which pairs well with other personalized gifts.
- Coordinated with a tray: if you have extra resin, a small catch-all tray in the same colors makes a matching set.
How to package resin coasters
Stack the coasters with a square of tissue between each one so the glossy faces do not scratch, then tie the stack with ribbon or twine. A small kraft box with shredded paper filler protects them in the mail. Add a care card with the cleaning and heat notes above. For a fuller present, pair the coasters with a bag of good coffee or tea, an idea you can expand with our gift basket guide.
Frequently asked questions
How long do resin coasters take to cure?
It depends on the product, pour depth and room temperature, so follow your manufacturer's label. Many coating resins are touch-dry in about a day and fully cured in about three days; some casting resins take longer.
Why are my resin coasters still sticky?
The usual causes are an inaccurate ratio, too little mixing (unmixed resin from the cup sides), or a room that was too cold. Sticky resin rarely fixes itself; you may need to scrape it off and pour a fresh, properly measured layer.
Do I need a respirator for resin?
Resin makers generally ask for a well-ventilated space and recommend a respirator if ventilation is limited. Check the safety data sheet for your specific product.
Can resin coasters go in the dishwasher?
It is best not to. Heat and harsh detergent can dull or soften the surface. A wipe with a damp cloth and mild soap is enough.
Sources
- ArtResin — FAQs (ventilation, gloves, working and cure times, heat resistance). artresin.com
- Epoxy Europe — Safety (skin sensitization from uncured epoxy). epoxy-europe.eu
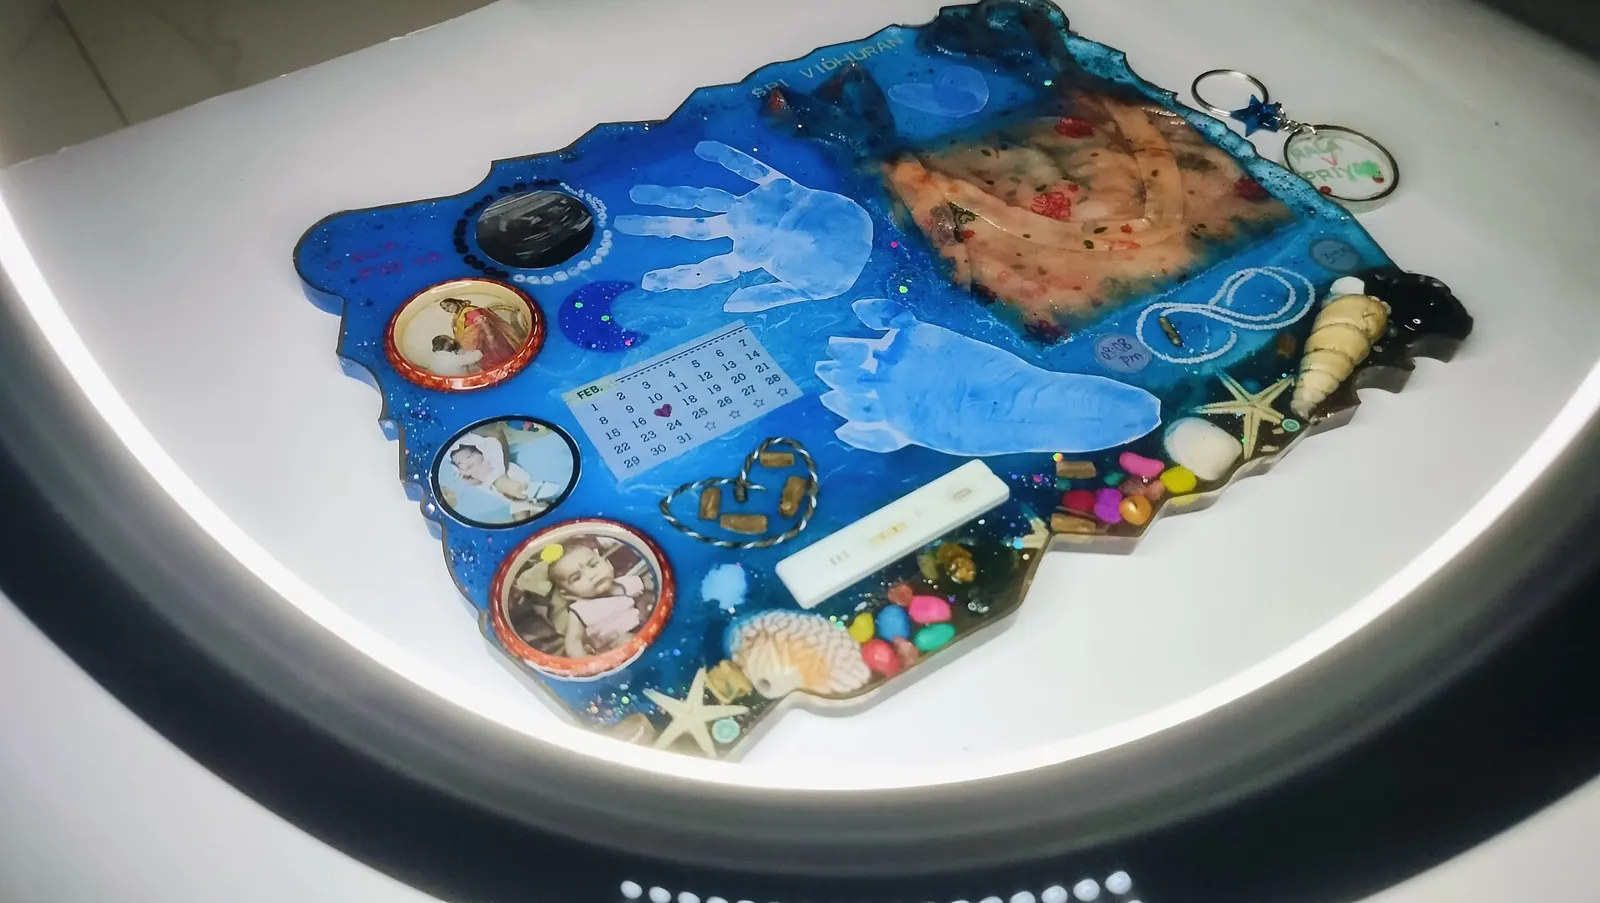
Image credits. Top image: Resin art by மாந்தன், CC0 1.0, via Wikimedia Commons
Spotted something out of date or a gift that's no longer available? Tell our editors — we review every correction.