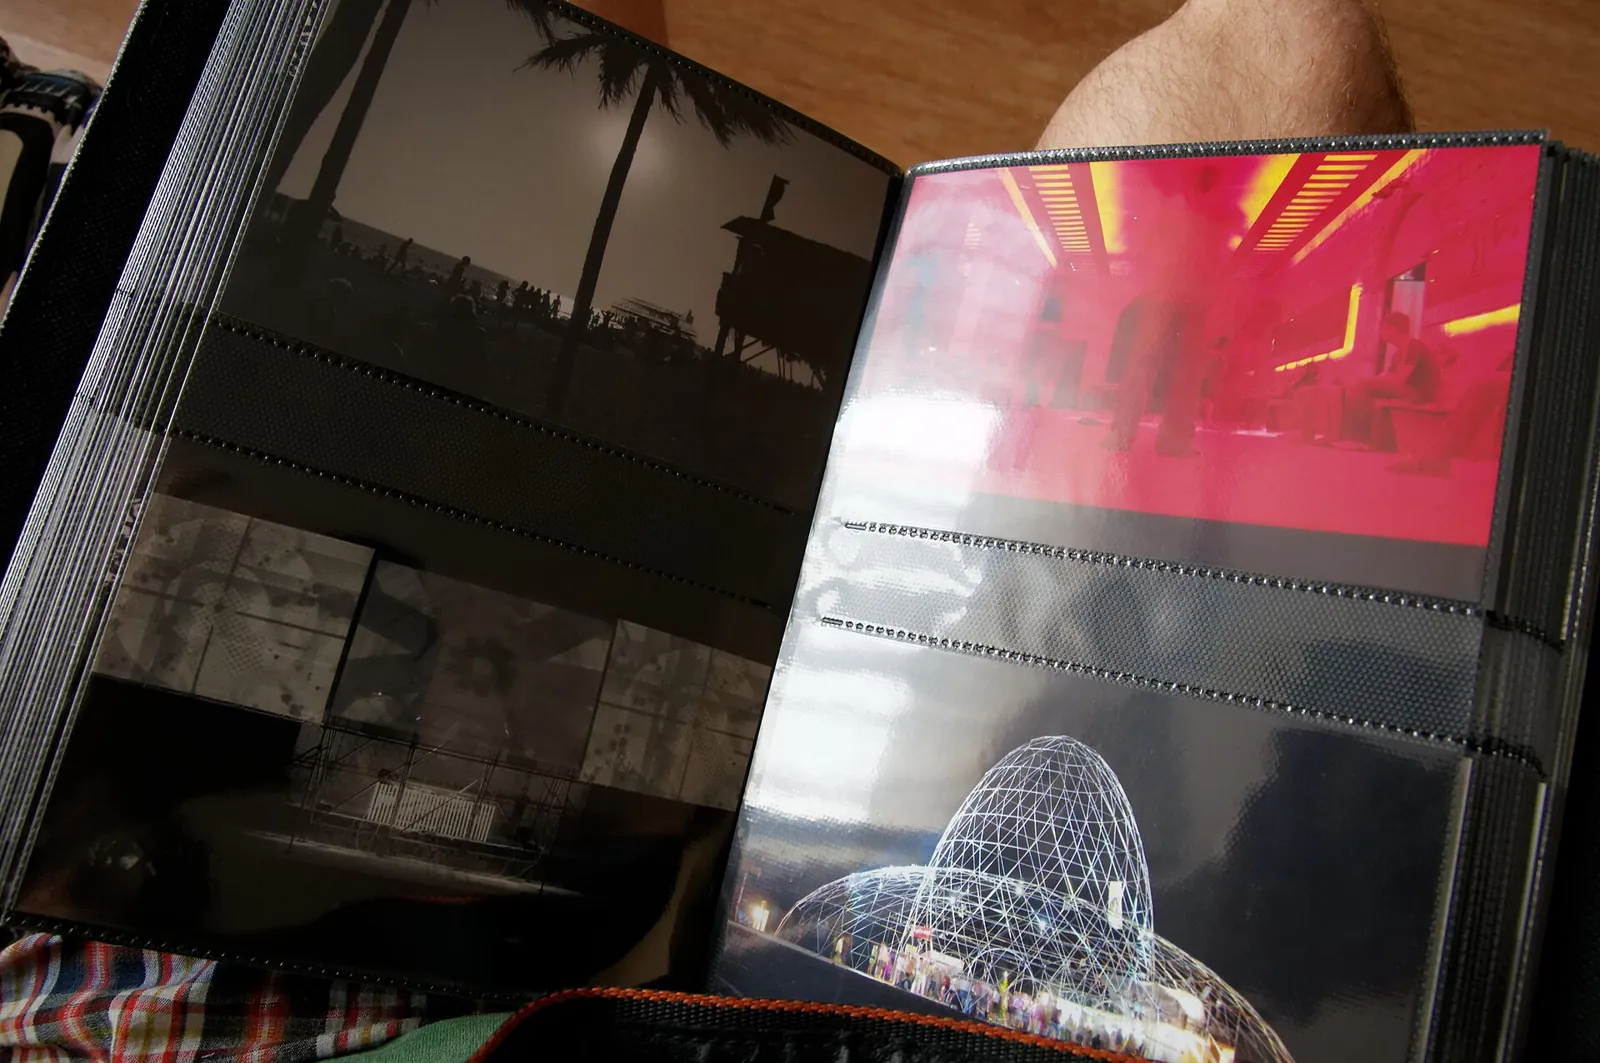
Photo collage gifts: how to make one that looks good
The difference between a cluttered collage and a beautiful one comes down to theme, spacing and print quality. Here is how to design, print and frame a collage worth hanging.
Quick answer
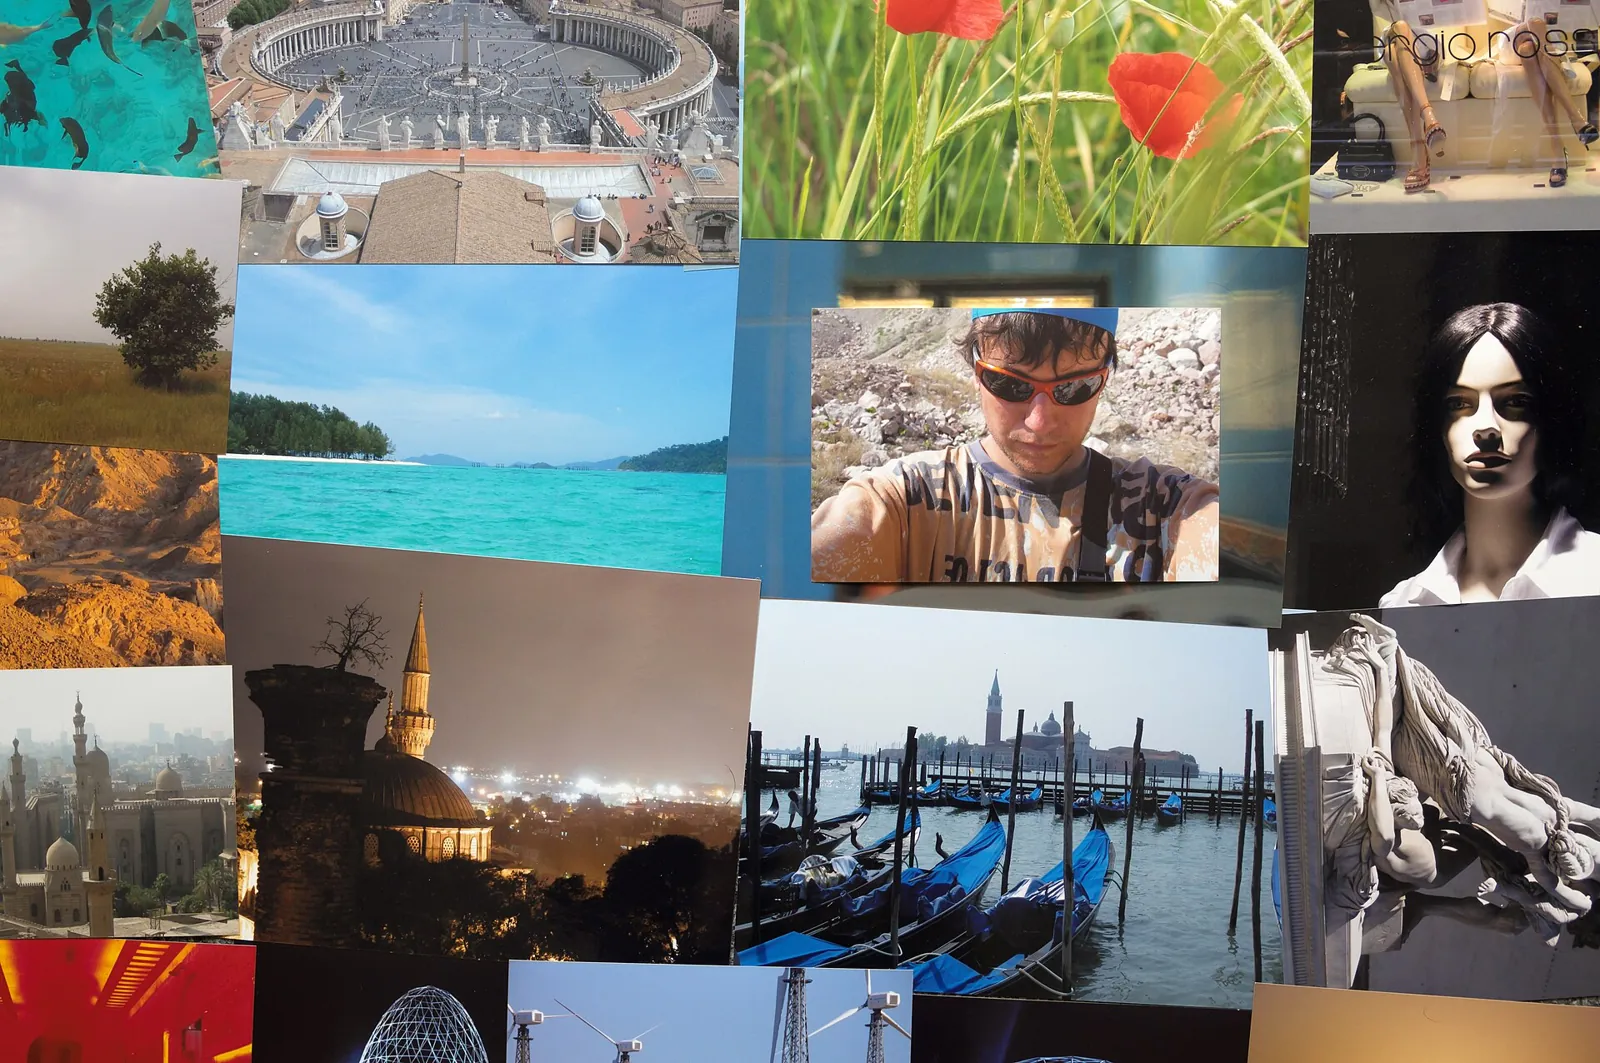
A photo collage looks good when it has a theme, a limited color palette, one hero photo and even spacing. The cleanest way to make one as a gift is to design the whole collage digitally, print it as a single photo at about 300 ppi, and frame it behind an acid-free mat. If you prefer a hands-on version, arrange separate prints on mat board with photo corners, or decoupage laser prints onto a wood panel or canvas.
- Time 1 – 2 hours to design, plus printing and framing
- Difficulty Easy
- Cost About $25 – $70, mostly the frame and print
- Makes One framed collage, about 11 x 14 inches
Most homemade collages fail for the same few reasons: too many photos, clashing colors, uneven gaps and one blurry picture blown up too big. Fix those and a collage becomes one of the most personal gifts you can give, a whole relationship or year on one wall. It suits anniversaries, a parent's milestone birthday, a retiring coworker or a best friend moving away.
What makes a collage look good
- One theme. "Our first year," "Grandpa's garden," "Every Christmas morning since 2015." A clear theme tells you which photos to leave out.
- Fewer, better photos. For an 11 x 14 inch frame, 6 to 12 photos is plenty. More than that and each one becomes too small to enjoy.
- A hero image. Make one photo larger than the rest, the one you would choose if you could only keep one.
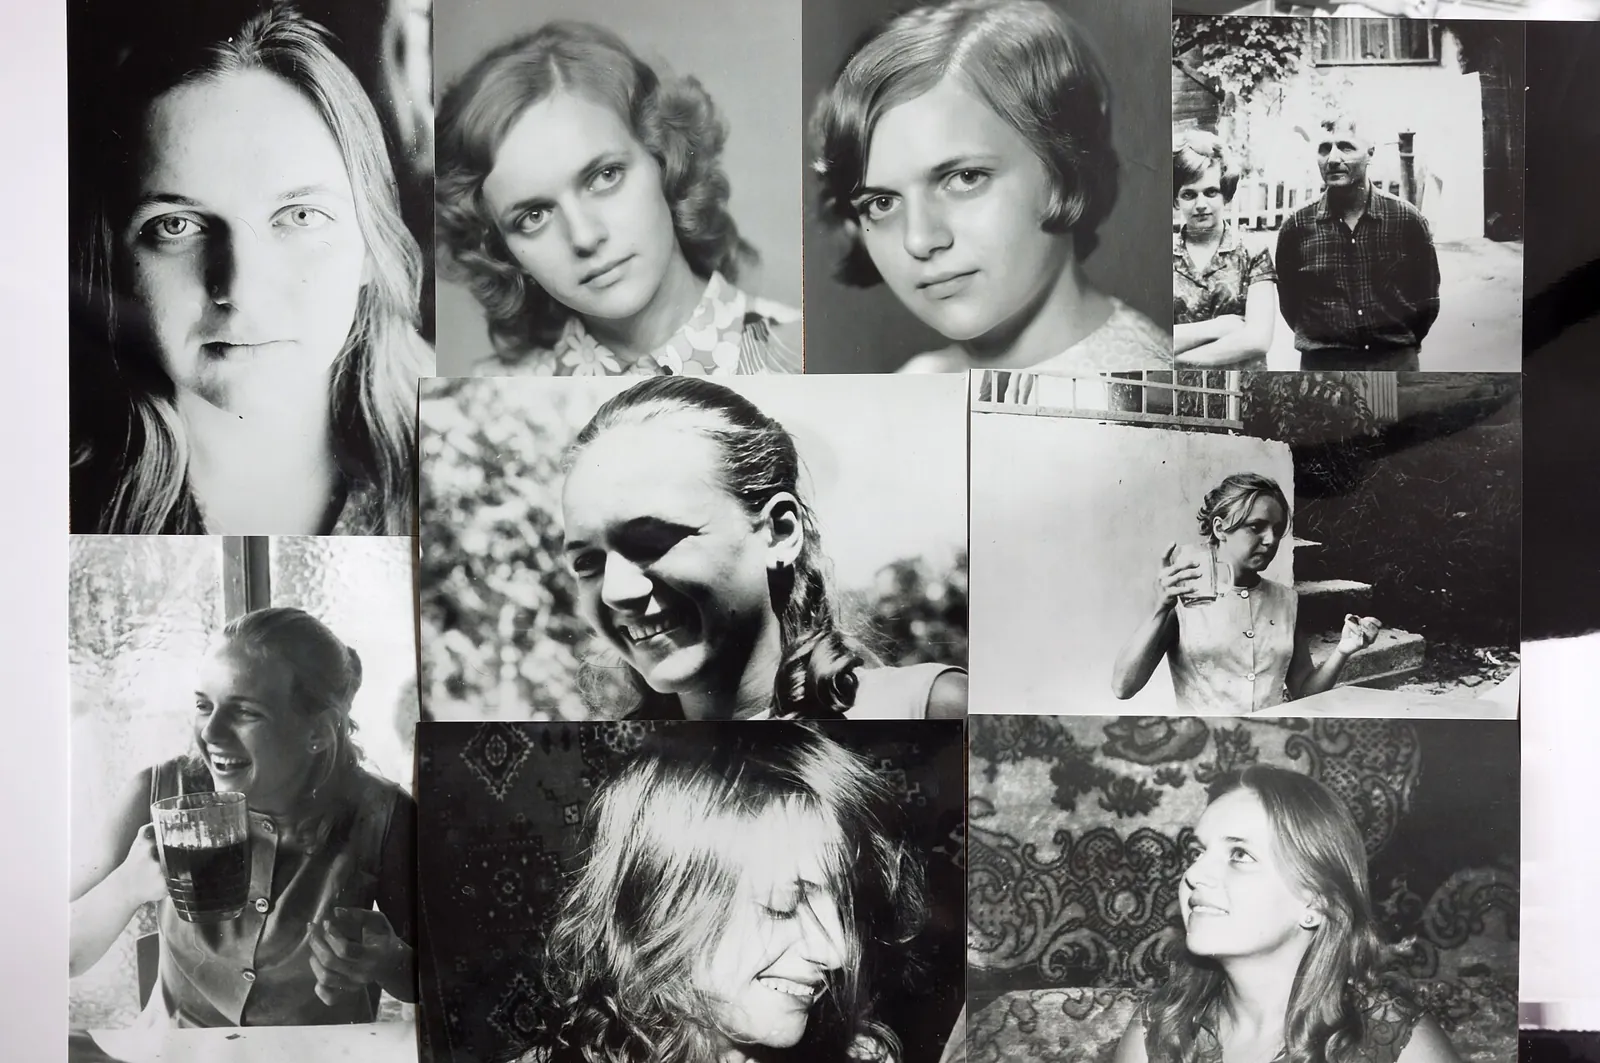
- A consistent look. Mixed lighting and colors look busy. Converting every photo to black and white, or using the same light edit on all of them, ties a collage together instantly.
- Even gaps. Keep the same space between every photo and a slightly wider border around the outside. Uneven gutters are the first thing the eye catches.
- Faces at a readable size. Crop in close. Wide shots with tiny people turn into texture at collage scale.
What you need
- 6 – 12 photos on a single theme
- A photo editor or layout app with a grid or collage template
- A picture frame with a window mat (for example, an 11 x 14 inch frame with a mat cut for an 8 x 10 print)
- A photo print of the finished collage from a lab or a good home printer
- For the hands-on version: separate prints, acid-free mat board, and paper or clear photo corners
- Ruler, pencil and a soft cloth for cleaning the glass
- Optional: UV-filtering glass or acrylic if the frame will hang near a window
How to make a framed photo collage
Pick the frame first
The frame sets the print size. Measure the mat opening, not the frame, and design the collage to that size plus a small overlap so no white edge shows.
Choose and edit the photos
Collect more photos than you need, then cut down to the strongest ones. Apply the same edit to all of them, whether black and white, warm, or simply corrected for brightness.
Lay out the grid
Start with a simple grid: one large photo with smaller ones around it, or a neat 3 x 3. Place the hero image slightly above center, balance busy photos with quieter ones, and avoid putting two very similar shots side by side.
Check the resolution
For each photo, divide its pixel width by the inches it will fill on the print. Around 300 pixels per inch at the final size is the usual target for prints seen up close. Nations Photo Lab notes that enlarging an image does not add resolution, so do not use a small, cropped file for the hero spot.
Proof it on paper
Print a draft on plain paper at actual size. Look at it from across the room and up close. Check spelling of any names or dates, and make sure no face is cut off by the mat.
Print the final collage
Order a single photo print from a lab or print it on photo paper at home. One print has no glued edges to lift and sits perfectly flat behind the mat.
Frame it
Clean the glass on both sides, center the print behind the mat, and secure it at the back with photo corners rather than tape on the print. The mat keeps the glass from touching the photo, which the National Archives recommends.
Tip: Leave the outer border about one and a half times the width of the gaps between photos. It gives the collage breathing room inside the mat and looks deliberate.
Hands-on versions
Separate prints on mat board
Print each photo to size, arrange them on acid-free mat board, and lightly mark the corners in pencil. Hold each print with photo corners instead of glue. The National Archives warns against white glue, hot glue and rubber cement for photographs and suggests corners or sleeves instead. This version can be rearranged later, which is useful for a collage that will grow.
Decoupage collage on wood or canvas
Laser prints decoupaged onto a wood panel or stretched canvas make a frameless collage with a handmade feel. Brush a medium layer of decoupage medium onto the surface, smooth each print down from the center, let it set, then add two sealing coats. Inkjet prints should be sprayed with clear acrylic on both sides and left to dry before gluing, or they may smear, as the Mod Podge Rocks tutorial explains. Treat this version as decor rather than an archival print, and keep the digital files.
Display on a string or board
Mini prints clipped to twine, or pinned to a fabric-covered board, suit teens and college students who like to swap photos in and out.
Helping the photos last
- Light: hang the collage out of direct sun. The National Archives suggests displaying copies rather than irreplaceable originals, and using UV-filtering glass or acrylic if the frame will be near daylight or fluorescent light.
- Materials: use acid-free mats that, for photographs, have passed the Photographic Activity Test (PAT); suppliers usually say so on the packaging.
- Place: avoid bathrooms, kitchens near the stove and damp basements. The Library of Congress recommends a cool, dry, stable environment for photographs.
Theme ideas and how to give it
- Anniversary: one photo from each year together, in order.
- Mother's or Father's Day: a parent with each child at the same age, side by side.
- Grandparents: every grandchild holding a handwritten "I love you" sign.
- Farewell: team photos and inside jokes for a coworker who is leaving.
Wrap the frame in a layer of tissue first to protect the glass, then in paper, with cardboard over the corners if it will be shipped. Tuck a card behind the frame listing where and when each photo was taken. For more ideas, see our personalized photo gifts, the wider personalized gifts collection, a shadow box for photos plus keepsakes, or wooden photo blocks for a freestanding set.
Frequently asked questions
How many photos should a collage have?
For an 8 x 10 or 11 x 14 inch print, 6 to 12 photos usually works. Larger wall collages can hold more, but each photo still needs to be big enough for faces to read.
Is it better to print the collage as one photo or use separate prints?
A single print is the easiest and the neatest: it lies flat, has no adhesive and is easy to reprint. Separate prints in photo corners let you rearrange or swap photos later.
Can I use photos from social media?
Often only at small sizes. Downloaded images are usually compressed and low in resolution. Ask for the original file from the person who took the photo, and check pixels per inch at the size you plan to print.
Should I use glass or acrylic in the frame?
Either works. Acrylic is lighter and safer to ship. If the collage will hang near a window, choose a UV-filtering version of either.
Sources
- U.S. National Archives — Displaying Family Papers and Photographs. archives.gov
- U.S. National Archives — Storing Family Papers and Photographs. archives.gov
- Nations Photo Lab — Guide to Image Resolution. nationsphotolab.com
- Mod Podge Rocks — Decoupage on Wood Using Any Printouts. modpodgerocksblog.com
- Library of Congress — Care, Handling, and Storage of Photographs. loc.gov
Image credits. Top image: Photo collage, Color photography, Rostov-on-Don, Russia by Vyacheslav Argenberg, CC BY 4.0, via Wikimedia Commons · In-article image: Photo collage, Black and white analog photography, USSR, Rostov-on-Don, Russia by Vyacheslav Argenberg, CC BY 4.0, via Wikimedia Commons
Spotted something out of date or a gift that's no longer available? Tell our editors — we review every correction.