How to make a shadow box gift that tells a story
A shadow box turns tickets, photos and small keepsakes into one framed story. Here is how to plan, mount and finish one that protects what is inside.
Quick answer
Buy a shadow box frame deep enough for your thickest object, cover the backing board with acid-free card or fabric, and arrange photos and mementos on it before attaching anything. Mount objects with pins, stitches, photo corners or small mounting tabs rather than gluing originals, add a title or date, then close the frame and hang it out of direct sunlight.
- Time 2–4 hours
- Difficulty Easy to moderate
- Cost $25 – $60 (frame is the main cost)
- Makes 1 framed shadow box
A shadow box is a deep picture frame with space between the glass and the back, so it can hold three-dimensional things: a baby's first shoes, a concert wristband, a wedding invitation and a sprig of dried bouquet, a retiree's name badge and medals, or shells from a family beach trip. It makes a moving gift for an anniversary, graduation, retirement, a new baby or in memory of someone. For related ideas, see our photo gifts and keepsake gifts.
What you need
- A shadow box frame (8 x 10, 11 x 14 or 12 x 12 inch are common), with depth to fit your thickest item
- Acid-free card stock, mat board or linen fabric to cover the backing
- Photos: prints or copies (keep irreplaceable originals safe)
- Mementos: tickets, cards, pressed flowers, jewelry, small objects
- Sewing pins or T-pins, if the back is a pinnable foam or fabric board
- Photo corners, archival mounting tabs, or a needle and thread for fabric items
- Small adhesive dots or foam squares for non-precious items only
- A printed or hand-lettered title, date or quote
- A ruler, pencil, scissors or craft knife and a cutting mat
- A lint-free cloth for cleaning the glass
Step-by-step instructions
Choose a story
A focused theme looks better than a crowded one: one trip, one year, one person's career, or the day two people married. Gather more items than you need, then edit down to the five to twelve pieces that tell the story best.
Check the depth
Measure your thickest item and choose a frame with enough depth for it to sit without touching the glass. Objects pressing against the glass can mark it or be damaged themselves.
Cover the backing board
Remove the backing and cover it with acid-free card, mat board or a smooth fabric such as linen, wrapping the edges and securing them on the back. Neutral backgrounds (cream, gray, navy, black) let the contents stand out.
Plan the layout
Lay the board flat and arrange everything on it before attaching anything. Put the largest or most meaningful piece slightly off center, group small items together, and leave breathing room at the edges. Take a phone photo of a layout you like so you can recreate it.
Mount the photos safely
Use photo corners or archival mounting tabs so nothing sticks to the image itself. The Library of Congress advises not to use self-adhesive tape, glue or other adhesives on photographs, and recommends acid-free rag or museum board for matting prints. If the photo matters, mount a copy and keep the original stored.
Attach the objects
Pin fabric and paper items through a pinnable board, or stitch them in place with a few stitches of thread through the backing. Small objects such as rings or medals can hang from pins or be held with a loop of clear thread. Save adhesive dots for items you do not mind marking.
Add a title and labels
A short title, a date, a place or a quote ties the box together. Print it on card stock or hand-letter it, and add tiny labels for items whose meaning is not obvious.
Close and clean
Clean the inside of the glass with a lint-free cloth, check for dust and stray threads, then fit the backing back in and secure the clips. Tilt the box upright and give it a gentle shake to make sure nothing slips.
Tip: Stand the box upright partway through and look at it from across the room. Layouts that look balanced flat on a table often look bottom-heavy or crowded when hung.
Protecting what is inside
- Light: light fades photographs and many fabrics and papers. Hang the box away from direct sunlight; UV-filtering glass is worth considering for precious items.
- Humidity: avoid bathrooms, kitchens and exterior walls that get damp. The Library of Congress calls relative humidity the most important factor in preserving most photographic prints.
- Materials: materials that are not photo-safe can cause fading and yellowing over time, so choose acid-free board and look for photo-safe labeling.
- Pins and glass: pins and craft knives are sharp, and frame glass can break. Supervise children helping with the project, and hang the finished box securely.
Shadow box ideas by occasion
- Wedding or anniversary: invitation, a pressed flower from the bouquet, a photo and the date. See our anniversary gifts for parents for more.
- New baby: hospital bracelet, first hat or socks, birth announcement.
- Retirement: name badge, business card, a team photo and a few notes from colleagues; pair it with ideas from retirement gifts for a coworker.
- Travel: ticket stubs, a map section, coins and a postcard.
- Sports or hobby: a medal, race bib, guitar pick or recipe card.
- In memory: a favorite photo, a handwritten note and a small personal item, presented gently.
How to give it
Wrap the shadow box in tissue, then in paper, with cardboard corners to protect the frame edges. Include a short card listing the items and why you chose them; it becomes part of the keepsake. If shipping, pad the box generously and mark it fragile. Our how to wrap a box guide covers neat corners.
Frequently asked questions
How do you attach things inside a shadow box?
Pins through a pinnable or fabric-covered board, a few stitches of thread, photo corners and archival mounting tabs work well. Use adhesive dots only on items you do not mind marking, and never glue original photographs.
How deep should a shadow box be?
Deep enough that your thickest item does not touch the glass. Measure it before buying a frame; flat keepsakes need little depth, shoes or folded flags need much more.
Will photos fade in a shadow box?
They can, especially in direct sunlight. Hang the box away from windows, use photo-safe materials and consider displaying copies of irreplaceable photos.
What do you put in a shadow box for a retirement?
Items from the person's career: a name badge, business card, awards, a team photo, notes from colleagues and something tied to a hobby they plan to enjoy.
Sources
- Library of Congress — Care, Handling and Storage of Photographs. loc.gov
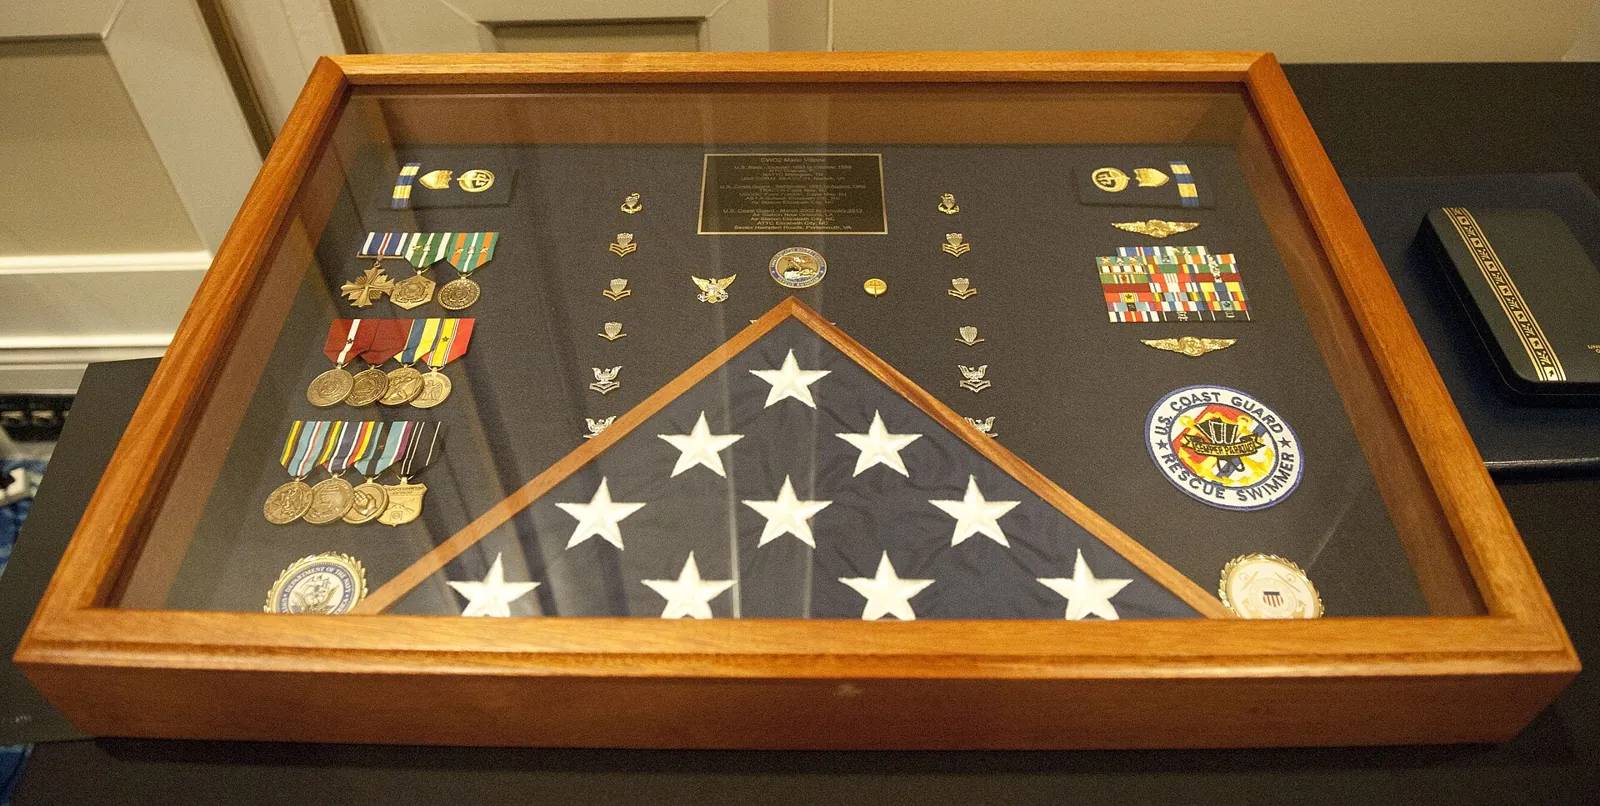
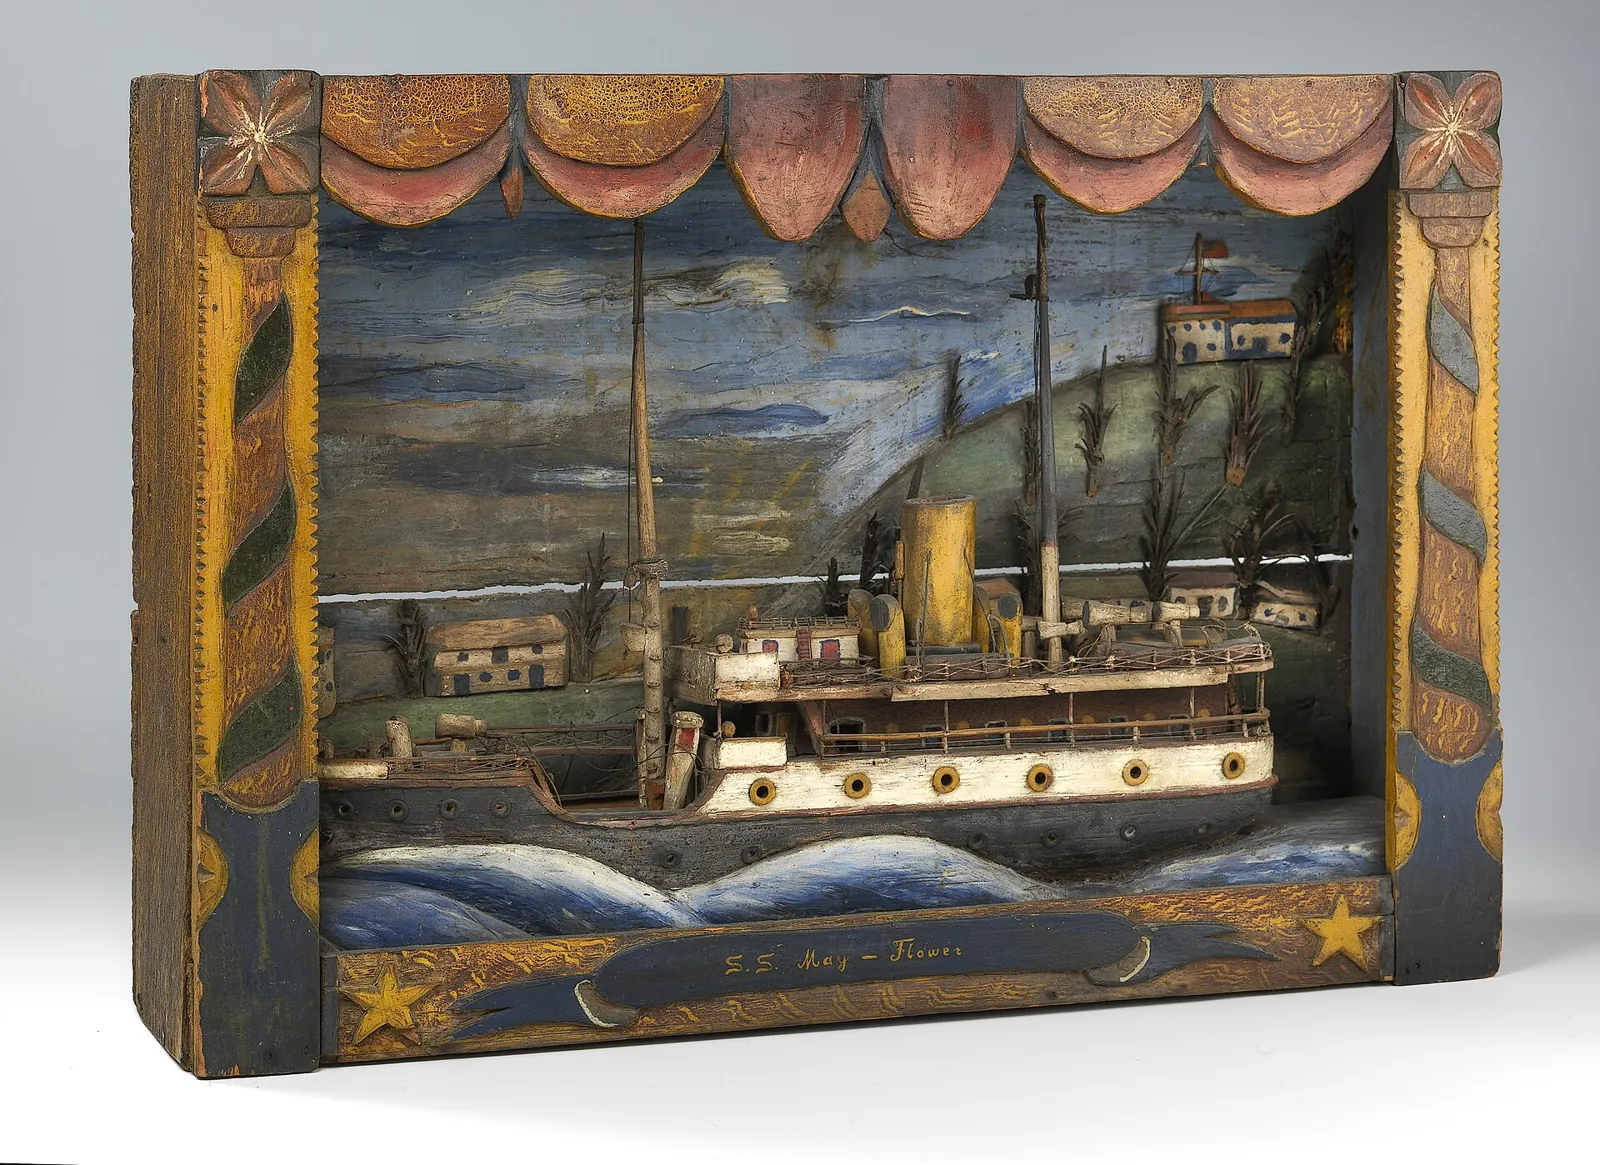
Image credits. Top image: A shadow box containing U.S. Coast Guard Chief Warrant Officer Mario Vittone's ribbons and medals is on display during his retirement ceremony in Portsmouth, Va., Jan. 11, 2013 130111-G-VS714-348 by Petty Officer 1st Class Timothy Tamargo, Public domain, via Wikimedia Commons · In-article image: SS May-Flower Shadow Box-saam-1986.65.330 1 by Anonymous Unknown author, CC0 1.0, via Wikimedia Commons
Spotted something out of date or a gift that's no longer available? Tell our editors — we review every correction.