How to make a DIY photo book
Print your own photo pages and bind them into a slim, handmade book with a simple Japanese stab stitch. No glue on the photos, one afternoon, and a keepsake that feels personal.
Quick answer
To make a DIY photo book, choose 20 to 40 photos that tell one story, print them on matte photo paper or heavy cardstock at about 300 ppi, trim the pages with the paper grain running parallel to the spine, add stiff covers, and sew everything together with a simple four-hole Japanese stab binding. It needs no glue on the photos, takes an afternoon, and the result feels far more personal than a printed album ordered online.
- Time 2 – 3 hours for layout and printing, about 1 hour to bind
- Difficulty Easy to moderate
- Cost About $20 – $45, depending on paper and printing
- Makes One softcover or board-cover photo book of 10 – 20 leaves
A photo book is different from a scrapbook. Instead of mounting loose prints and mementos on pages, you design and print the pages themselves, then bind them into a slim book. That makes it cleaner, flatter and easier to make in a weekend. If you want layered pages with ticket stubs and handwritten notes, our scrapbook album guide is the better fit.
Plan the story before you print
The books people return to have a clear subject: a year with a new baby, one trip, a couple's first decade, a grandparent's life in pictures. Pick the story first, then the photos.
- Edit hard. Twenty strong photos make a better book than eighty similar ones. Pick one image per moment and vary close-ups with wider scene-setting shots.
- Order the pages. Chronological order is the simplest. Grouping by theme (places, people, food) also works.
- Write short captions. A date, a place and one line of memory are enough. They are what turn a stack of pictures into a family record.
What you need
- Your photos, edited and laid out as pages
- Matte photo paper or smooth heavy cardstock for the pages (single-sided printing is easiest)
- Two covers: heavy cardstock, or thin board wrapped in decorative paper
- Paper trimmer, or a craft knife, metal ruler and cutting mat
- Scrap paper for a hole template, pencil and ruler
- Awl or Japanese screw punch, and a thick scrap board to punch onto
- Binder clips or a heavy weight to hold the stack steady
- Bookbinding needle and waxed linen or bookbinding thread
- Bone folder (optional, for crisp folds on cover flaps)
How to make the photo book
Choose a page size and lay out the pages
A 6 x 8 inch or 8 x 8 inch page is easy to print on letter-size paper and comfortable to hold. Lay out each page in any photo or design app, and leave a blank margin of about an inch along the spine edge, because the stitching and holes sit there and that strip will not open fully.
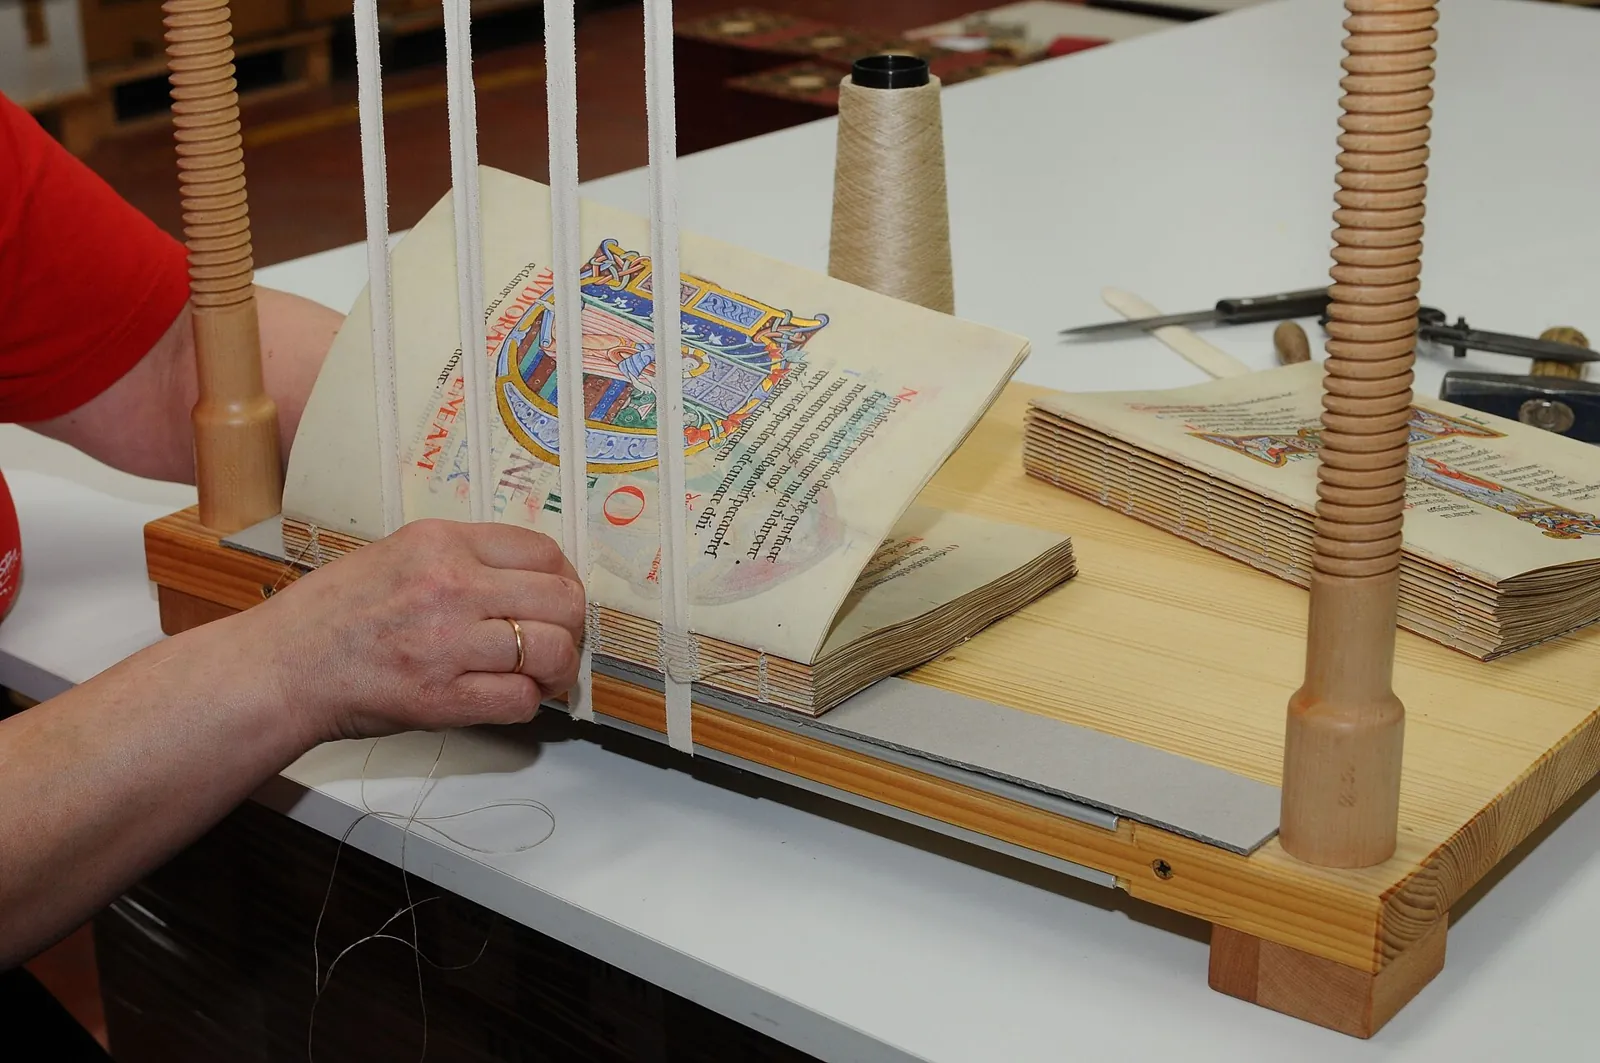
Hand-sewing a book block on a sewing frame Check the resolution
Divide each photo's pixel width by its printed width in inches. About 300 pixels per inch is the usual target for prints viewed up close. Nations Photo Lab notes that simply enlarging an image does not add resolution, so a tiny file will look soft however you resize it.
Print and let the ink dry
Print a single test page on plain paper to check colors and margins, then print the real pages. Let inkjet pages dry fully before stacking so they do not transfer onto each other. A local print shop or online lab can print the pages for you if your printer struggles with heavy paper.
Trim with the grain in mind
Paper bends more easily in one direction, its grain. Strathmore advises that the grain should run parallel to the spine so pages turn easily and lie flatter. To find it, gently bow the sheet one way and then the other: the direction with less resistance is the grain. Trim all pages and both covers to exactly the same size.
Make a hole template
Cut a strip of scrap paper the height of the book. Mark four evenly spaced holes in a line, set in from the spine edge (half an inch is a common choice for a small book). Talas uses holes 1 inch apart on a 5-inch book; scale the spacing to your page height.
Punch the holes
Stack back cover, pages in order, and front cover, edges aligned. Clip the template to the spine edge, set the stack on a scrap board, weigh it down and punch through with an awl or screw punch. For a thick stack, punch a few sheets at a time using the template. This is an adult job; keep fingers clear of the point.
Sew the stab binding
Cut thread about five times the height of the book. Following the Talas sequence, start from inside the stack at hole 2 with a short tail, wrap around the spine and back through hole 2, then work down through hole 3 and hole 4, wrapping around the spine at each hole and around the bottom edge at hole 4. Travel back up through holes 3, 2 and 1, wrap the spine and the top edge at hole 1, then return to hole 2 and tie off with the tail inside the stack.
Finish the cover
Add a title on the front with a paint pen, a printed label or a small photo held in paper photo corners. Write the date and who made it inside the back cover.
Tip: Practice the stitch on a stack of scrap paper first. Pull the thread snug at every hole but not so hard that it tears the cover; a slightly loose binding is easier to fix than a torn one.
Keeping the book photo-safe
If you print your own pages, the photos are part of the paper and nothing needs to be stuck down. If you want to include a few original prints, mount them without glue. The National Archives recommends acid-free pages with stable plastic sleeves or corners, and warns against white glue, hot glue, rubber cement and self-stick "magnetic" albums. The Library of Congress also advises against putting tape or glue directly on photographs.
Store the finished book in a cool, dry room rather than an attic or basement, and keep the digital files backed up so the book can be reprinted if it is loved to pieces.
Variations
- Accordion book: print photos in a long strip, fold it zigzag and glue the end panels to two small covers. It stands open on a shelf like a display.
- Grandparent "brag book": a small 4 x 6 inch stab-bound book that fits in a bag. A lovely gift from kids to grandparents.
- Recipe and photo book: pair family recipes with photos of the cooks.
- Ordered hardcover: if you would rather design than bind, online services print lay-flat hardcover books; see our personalized photo gifts for what to look for.
How to give it
Wrap the book in tissue and tie it with a ribbon that echoes the binding thread, or slip it into a plain envelope or box with a handwritten note on the first page. Pairing it with one framed print from the book makes a fuller gift. For more handmade keepsakes, see DIY gifts for loved ones and our photo gifts collection.
Frequently asked questions
What paper is best for a homemade photo book?
Matte photo paper or a smooth heavy cardstock that your printer can feed. Matte surfaces show fewer fingerprints and are easier to write on. Very thick paper makes the stack bulky and harder to punch.
Will the pages lie flat?
Not completely. Stab binding holds pages near the spine, so they open well but not fully flat. Keeping the grain parallel to the spine and leaving a wide inner margin helps.
How many pages can I stab bind?
The limit is how thick a stack you can punch cleanly and how long your needle is. For a first book, 10 to 20 leaves of photo paper plus covers is manageable.
Can I glue original photos into the book?
It is better not to. Archivists recommend photo corners or sleeves instead of glue or tape, which can stain and damage prints over time.
Sources
- Talas — A Simple Guide to Japanese Stab Binding. blog.talasonline.com
- Strathmore Artist Papers — Grain Direction. strathmoreartist.com
- Nations Photo Lab — Guide to Image Resolution. nationsphotolab.com
- U.S. National Archives — Storing Family Papers and Photographs. archives.gov
- Library of Congress — Care, Handling, and Storage of Photographs. loc.gov
Image credits. Top image: Photo album, Rostov-on-Don, Russia by Vyacheslav Argenberg, CC BY 4.0, via Wikimedia Commons · In-article image: Heften-Buchblock-Handarbeit-St-Albans-Psalter-Faksimile-Buchbinderei by Charlotte Kramer, CC BY 4.0, via Wikimedia Commons
Spotted something out of date or a gift that's no longer available? Tell our editors — we review every correction.