How to sew a lined zipper pouch
Exterior, lining, interfacing and a coil zipper: a neat, fully lined pouch in about an hour, with cut sizes from earbud case to toiletry bag.
Quick answer
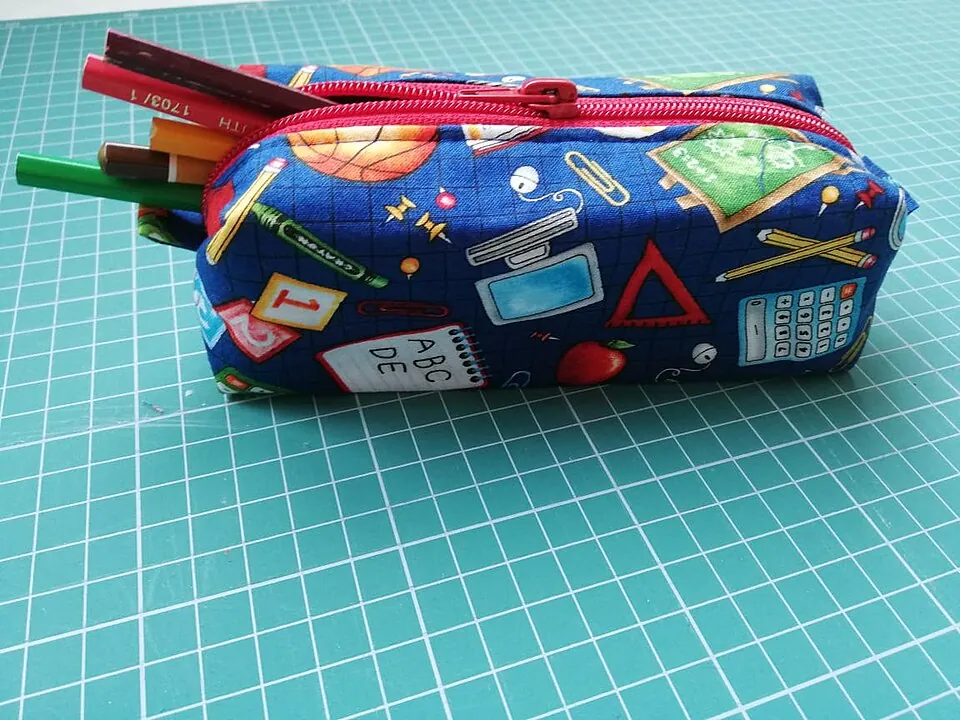
Cut two exterior pieces, two lining pieces and two pieces of fusible interfacing, each 9 × 6 1/2 in, and use a nylon coil zipper at least 10 in long. Sew each side of the zipper between an exterior and a lining piece, topstitch, then open the zipper halfway, pin exteriors together and linings together, and sew around with a 1/2 in (1.3 cm) seam, leaving a 3 to 4 in gap in the lining. Turn it through the gap, close the gap and press. The finished pouch is about 8 × 5 3/4 in plus the zipper.
- Time 1 – 1 1/2 hours for the first one, under an hour after that
- Difficulty Advanced beginner: needs a zipper foot
- Cost $5 – $12 per pouch, less from scraps
- Makes One fully lined pouch, about 8 × 5 3/4 in (other sizes in the table)
A lined zipper pouch is the project that makes people feel like they can really sew. It looks store-bought, has no raw edges inside, and it is useful to almost anyone: a pencil case for a teacher, a makeup or toiletry bag for a traveler, a cable organizer for a commuter, or a first-aid kit for the car.
Materials
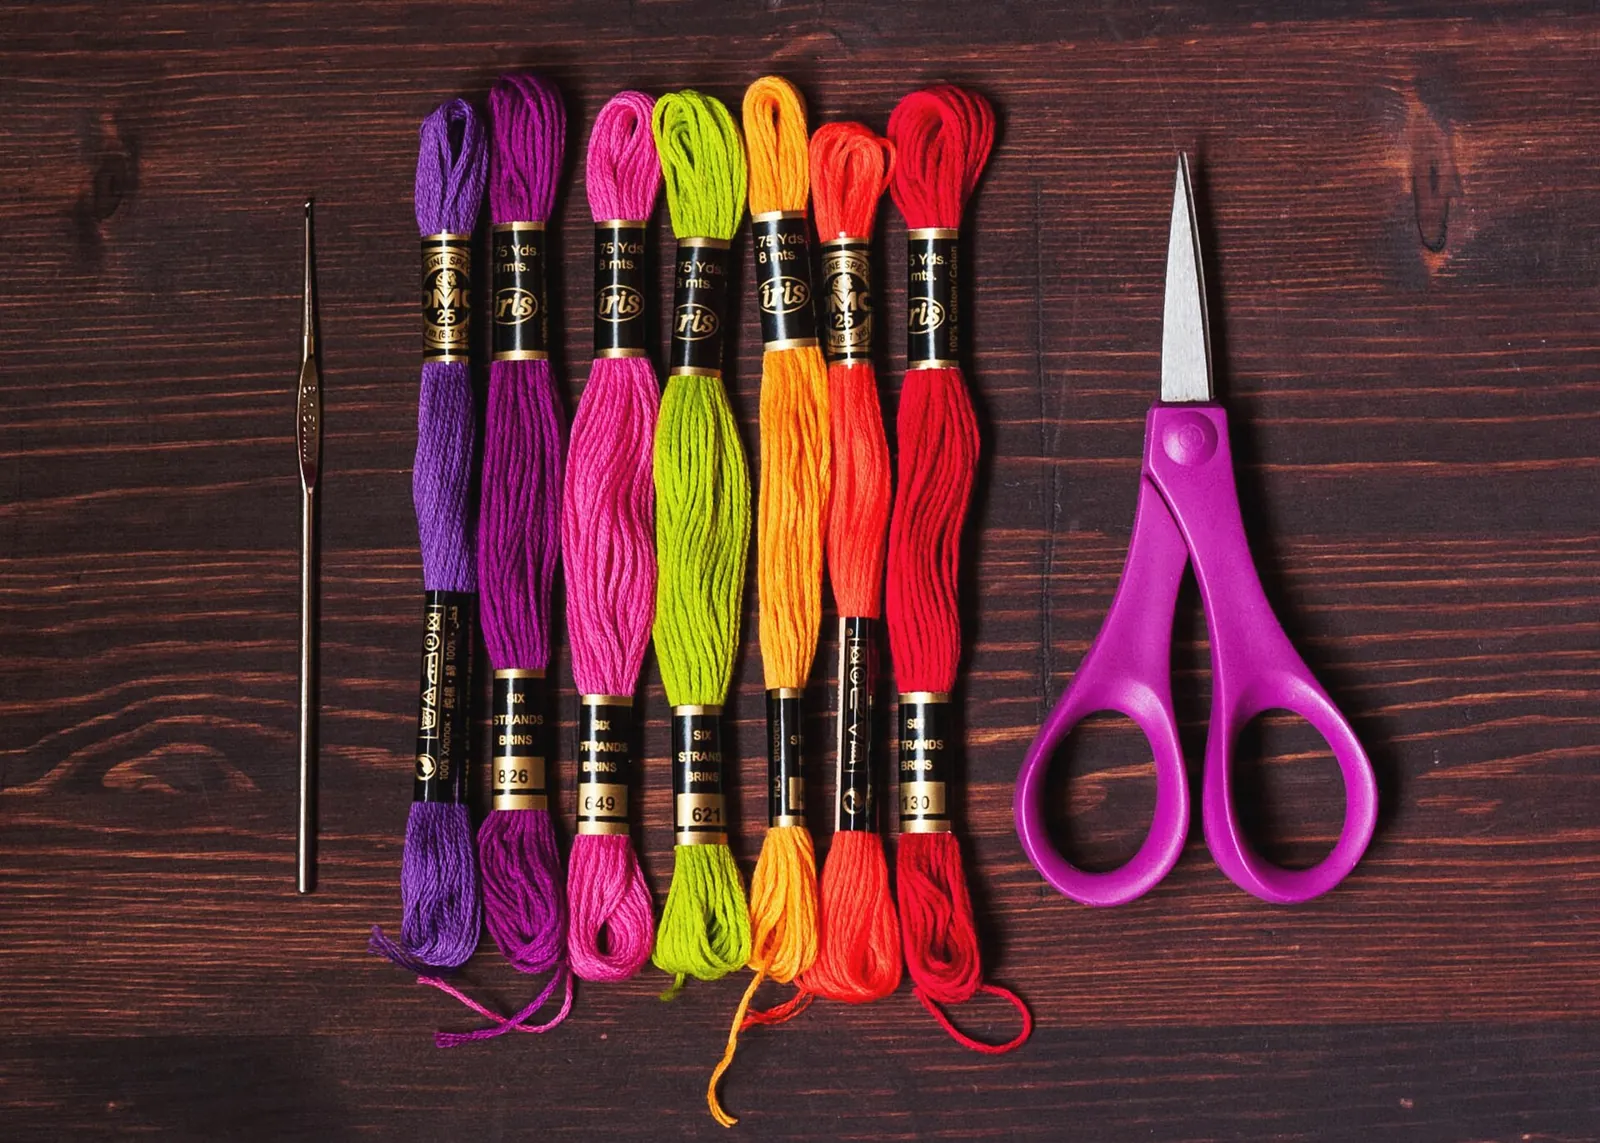
- Exterior fabric: quilting cotton, canvas, linen or a cotton-linen blend (a fat quarter is plenty)
- Lining fabric: quilting cotton in a coordinating color
- Medium-weight fusible woven interfacing for the exterior (skip it if your exterior is heavy canvas)
- A nylon (polyester) coil zipper at least 1 in longer than the cut width of your pieces; buying 12 or 14 in and trimming is fine
- All-purpose thread, plus a contrast thread for topstitching if you like
- Sewing machine with a zipper foot; iron, press cloth and ironing board
- Fabric scissors or rotary cutter and mat, ruler, clips or pins, and a point turner or chopstick
Use a coil zipper rather than a metal one for this method, because you sew straight across both ends of the zipper. A machine needle can sew through nylon coil, but it will break on metal teeth or stops.
Cut sizes
| Pouch | Cut 2 each: exterior, lining, interfacing | Zipper (minimum) | Finished (approx.) |
|---|---|---|---|
| Small (earbuds, coins) | 6 × 5 in (15.2 × 12.7 cm) | 7 in | 5 × 4 1/4 in |
| Everyday | 9 × 6 1/2 in (22.9 × 16.5 cm) | 10 in | 8 × 5 3/4 in |
| Pencil case | 10 × 5 in (25.4 × 12.7 cm) | 11 in | 9 × 4 1/4 in |
| Toiletry or makeup bag | 12 × 8 in (30.5 × 20.3 cm) | 13 in | 11 × 7 1/4 in |
The width is the first number and runs along the zipper. Finished width is the cut width minus 1 in (two 1/2 in side seams). Finished height is the cut height minus 3/4 in: 1/4 in goes into the zipper seam and 1/2 in into the bottom seam. About 1/4 in of zipper adds to the height at the top. To design your own size, add those allowances to the size you want.
Tip: Prewash both fabrics before cutting if the pouch will ever be washed, since cotton exterior and lining can shrink by different amounts and pucker. Fuse the interfacing after washing, not before.
How to sew a lined zipper pouch
Fuse the interfacing
Place each interfacing piece glue side down (the slightly rough or shiny side) on the wrong side of an exterior piece. Follow the manufacturer's directions, which typically mean a lightly damp press cloth, a wool or steam setting, and pressing down firmly in one spot for 10 to 15 seconds before lifting and moving the iron. Do not slide the iron. Let the pieces cool flat before you move them. To reduce bulk, you can trim 1/4 in off the interfacing at the sides and bottom before fusing.
Sew the first side of the zipper
Lay one exterior piece right side up. Place the zipper on top, right side down, with the edge of the tape lined up with the top edge of the fabric and the zipper ends overhanging both sides. Lay one lining piece on top, right side down, edges aligned. Clip the three layers. With the zipper foot, sew about 1/4 in from the edge, close to the teeth but not on them. When the zipper pull gets in the way, stop with the needle down, lift the foot and slide the pull behind the needle.
Press and topstitch
Fold the exterior and lining away from the zipper so they sit wrong sides together, and press the fabric away from the teeth without touching the coil with a hot iron. Topstitch through all layers about 1/8 in from the fold. This keeps the lining from catching in the zipper.
Sew the second side
Lay the second exterior piece right side up. Place the finished half on top so the free zipper tape lines up with its top edge, exterior right sides facing. Add the second lining piece right side down on top, aligned with the first lining. Sew, press and topstitch exactly as before.
Open the zipper and pin
Open the zipper at least halfway. Without this you cannot turn the pouch. Separate the layers so the two exterior pieces lie right sides together on one side and the two linings lie right sides together on the other. At the zipper, fold the teeth toward the lining so the zipper seam allowances point at the lining. Clip all around, matching the zipper seams carefully.
Sew around the edge
Mark a 3 to 4 in gap in the middle of the lining's bottom edge. Starting at one side of that gap, sew 1/2 in from the edge all the way around, backstitching at both ends of the gap. Slow down and sew straight across the coil zipper at each side, using the handwheel if your machine hesitates. Trim off the overhanging zipper ends level with the fabric.
Trim, turn and close
Clip the corners diagonally, close to but not through the stitches. Turn the pouch right side out through the gap in the lining and the open zipper. Push the corners out gently with a point turner. Fold the gap's raw edges in, press, and close it by edgestitching on the machine or with a hand ladder stitch.
Finish
Push the lining into the pouch, smooth it into the corners and give the whole pouch a final press, using a press cloth over the exterior. Close the zipper and check that it runs smoothly.
Tip: For a pouch that stands up, box the corners before turning: flatten each bottom corner of the exterior and lining into a triangle, seam centered, and sew across where it is 2 in wide. It takes about 2 in from the width and 1 in from the height, so start with the toiletry size.
Making it personal
A pouch is small enough to tailor to one person, which is why it works so well as a personalized gift:
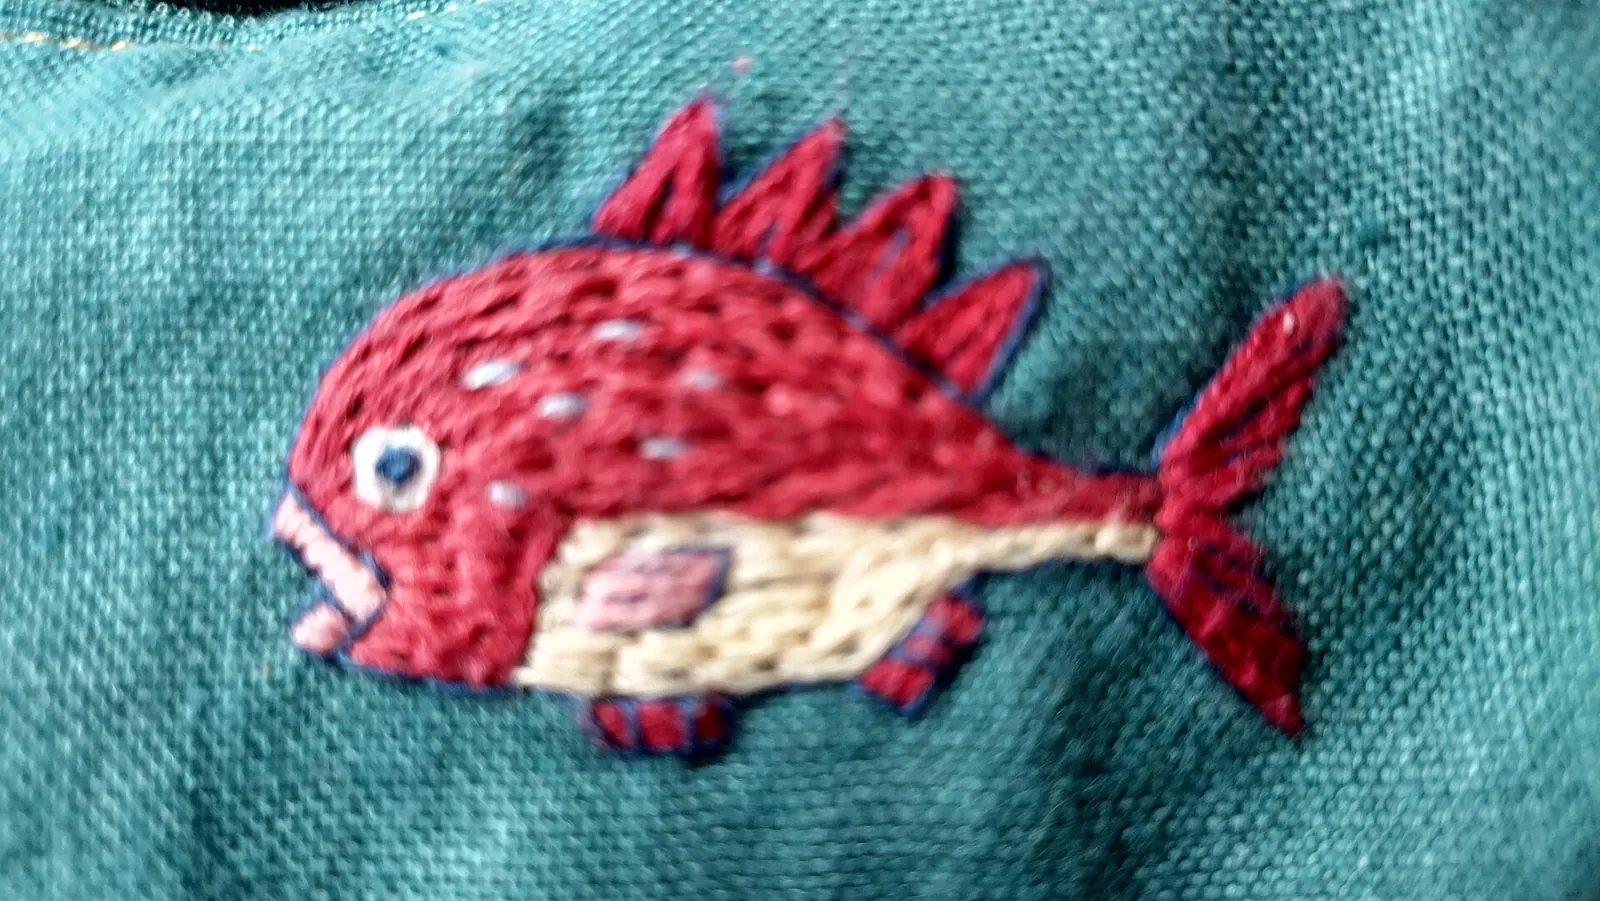
- Monogram: embroider initials on one exterior piece before you fuse the interfacing, keeping at least 1 in from the edges. Our embroidery hoop art guide covers simple stitches.
- Heat-transfer vinyl: press a name or small design onto the exterior after fusing, following the vinyl maker's temperature and time.
- Fabric with meaning: a print of the recipient's favorite animal or hobby, a patch of a parent's old shirt, or a map of a city they love.
- Zipper pull: tie a ribbon, a leather tab or a charm to the pull so it is easier to grab.
Safety notes
- Switch off the machine before threading or changing to the zipper foot, keep fingers clear of the needle, and unplug it when finished.
- Never sew over pins or metal zipper parts; a broken needle can fly toward your face. Go slowly across the zipper ends.
- Steam and a hot iron can burn skin and melt nylon zippers and synthetic fabrics. Use a press cloth and test the temperature on a scrap.
- Zipper pulls and charms are choking hazards for children under 3; do not give a pouch with small add-ons as a toy for a toddler.
Filling and wrapping it
An empty pouch is a nice gift; a filled one is better. Tuck in pens and sticky notes for a teacher (see more DIY gifts for teachers), travel-size toiletries and an eye mask for someone about to fly, or hair ties and a few handmade scrunchies. Wrap the pouch in tissue tied with ribbon, or put it inside a reusable fabric gift bag made from the same fabric. For more projects to sew, browse our sewing tutorials.
Frequently asked questions
What size zipper do I need for a zipper pouch?
At least 1 in longer than the cut width of your fabric pieces, so 10 in for 9 in wide pieces. Longer is fine; you trim the excess after sewing the side seams.
Can I use a metal zipper?
Not with this method, because you sew across the zipper ends. Metal zippers need a method where the stops stay inside the seam allowance, or zipper end tabs, and you should never sew over metal teeth.
Do I need interfacing?
For quilting cotton, yes: it gives the pouch body and keeps it from slumping. Heavy canvas or home-decor fabric can go without. Fusible fleece on the lining makes a softer, padded pouch.
Why won't my pouch turn right side out?
Usually the zipper was closed when you sewed the sides. Unpick a few stitches at one end of the zipper, open it, and resew.
Sources
- Polka Dot Chair — How to make a simple zipper pouch. polkadotchair.com
- Sew Direct — Fusing interfacing. sewdirect.com
- Electrical Safety First — Sewing machines: product safety guidance. electricalsafetyfirst.org.uk
Image credits. Top image: 015Aa. Pencil case by GAlexandrova, CC BY-SA 4.0, via Wikimedia Commons · In-article image: Pencil case embroidery of red snapper by 4869taka, CC BY-SA 4.0, via Wikimedia Commons
Spotted something out of date or a gift that's no longer available? Tell our editors — we review every correction.