DIY photo ornaments: three easy methods
Three simple ways to turn favorite photos into Christmas ornaments, from rustic wood slices to clear fillable balls, with printing tips and safety notes for homes with kids.
Quick answer
The easiest photo ornaments are made three ways: decoupage a printed photo onto a wood slice, slip a cut-out photo inside a clear fillable ornament, or glue a small photo to the outside of a ball ornament and frame it with glitter or paint. Print the photo at about 300 ppi at its final size, use laser prints (or seal inkjet prints first) for anything that gets glue, and choose shatterproof plastic over glass if small children will handle the ornament.
- Time 1 – 2 hours hands-on for a batch, plus drying overnight
- Difficulty Easy
- Cost About $15 – $35 for six ornaments
- Makes Six hanging photo ornaments
A photo ornament is one of the few decorations that gets more valuable every year it comes out of the box. A baby's first Christmas, a new house, a dog who is now gray around the muzzle: it is a small, dated record of the family, which is why grandparents in particular tend to keep every one they receive. None of the methods below needs special tools.
Choose your method
- Wood slice photo ornament: rustic, sturdy and unbreakable. The photo is glued flat to a sanded slice of branch and sealed. This is the main tutorial below.
- Photo inside a clear ornament: the fastest option and fully reversible, because nothing is glued to the photo. Good for a photo lab print you do not want to coat.
- Photo on the outside of a ball: a small round photo decoupaged onto a plastic or glass ball, with glitter or paint around it. It looks more like a traditional bauble.
Getting the photo right
Ornaments are small, so the photo has to read at about 2 to 3 inches across. Close crops of one or two faces work far better than group shots or landscapes.
- Resolution: divide the pixel width by the print width. Around 300 pixels per inch at the final size is the usual target for prints viewed up close, so a 2.5-inch circle needs roughly 750 pixels across. Most phone photos have plenty, but a heavy crop from a distant shot may not. Enlarging a small file does not add detail.
- Paper: for decoupage, thin paper is easier to smooth flat than thick glossy photo paper. Laser prints or copy-shop prints can be glued straight away. Inkjet ink can smear under wet glue: the Mod Podge Rocks tutorial suggests letting the print dry, spraying both sides with clear acrylic sealer and waiting 24 hours before gluing.
- For the inside-the-ball method, use a regular glossy or matte photo print. It is not glued, so smearing is not an issue.
What you need
- Photos printed to size (laser or sealed inkjet for decoupage)
- Wood slices about 2 – 3.5 inches across, ideally with a pre-drilled hole
- Decoupage medium such as Mod Podge (matte or gloss) and a soft flat or foam brush
- Small screw eyes, or a hand drill for an adult to make pilot holes
- Clear fillable ornaments (shatterproof plastic is safest) for the second method
- Plain ball ornaments and fine glitter or acrylic paint for the third method
- Rubbing alcohol and cotton pads for cleaning ornaments
- Scissors or a circle punch, pencil, craft knife and cutting mat
- Ribbon or twine, and a fine permanent marker or paint pen for dates
How to make wood slice photo ornaments
Prepare the slices
Brush off loose bark and sand the face lightly so it is smooth, then wipe away the dust. If the slices have no hole, an adult can drill a small pilot hole in the top edge for a screw eye. Do any sanding outdoors or with a dust mask.
Size and cut the photo
Set the slice on the printed photo, trace around it with a pencil and cut just inside the line. A photo a hair smaller than the wood face looks neater than one that overhangs the bark.
Glue the photo down
Brush an even, medium layer of decoupage medium onto the wood. Lay the photo on top and press it down from the center outward.
Smooth out bubbles
Work out air and excess glue with your fingers, a craft stick or an old gift card, always moving toward the edges. Wipe away any glue that squeezes out. Too little glue under the paper is the most common cause of wrinkles.
Let it set
Leave the slice for about 15 to 20 minutes, until the paper is dry to the touch, before coating the top.
Seal the front
Brush a thin coat of decoupage medium over the photo and onto the surrounding wood. Let it dry, then add a second coat, brushing in one direction for a neat finish.
Add the date
Once the sealer is dry, write the year, a name or a place on the back with a paint pen or permanent marker. Test the pen on a scrap first, since some inks bead on a sealed surface.
Add the hanger
Twist a screw eye into the pilot hole, thread ribbon or twine through it and tie a loop. Let the ornaments dry overnight before packing them, because decoupage finishes can stay slightly tacky for a while.
Tip: If the finish still feels sticky after a day, a couple of thin coats of water-based clear acrylic or polycrylic will give a harder surface. Apply spray finishes outdoors or in a well-ventilated room, following the label.
Method two: a photo inside a clear ornament
- Remove the cap and hanger from a clear fillable ornament. Clean the inside by swirling a little rubbing alcohol around and letting it dry, so fingerprints do not show.
- Cut the photo into a circle slightly smaller than the opening's widest inner diameter, or trim it into a strip that can be gently rolled.
- Roll the photo loosely, feed it through the neck and let it uncurl inside. Nudge it flat against the front with a chopstick or skewer.
- Add a little filler around it if you like: faux snow, paper confetti or a few strands of tinsel. Too much will hide the picture.
- Replace the cap and add ribbon. Because nothing is glued, the photo can be swapped later.
Method three: a photo on the outside of a ball
- Clean a plain plastic or glass ball with rubbing alcohol; finger oils stop glue and paint from sticking well.
- Punch or cut a small circle from a laser print, about 1.5 to 2 inches across. Smaller pieces lie flatter on a curved surface.
- Brush decoupage medium on the ball and on the back of the photo, press it on and smooth it outward. Small snips around the edge help it follow the curve.
- Seal over the photo with a thin coat. While it is wet, you can sprinkle fine glitter around the edge, or paint a simple border once it is dry.
- Hang the ball from a cup hook or set it in an egg carton to dry overnight.
Safety notes
- Glass and children: glass balls break easily and the pieces are sharp. Poison Control (National Capital Poison Center) suggests considering keeping glass ornaments stored away until children are at least 6, and securing every ornament to its branch, since even high ones can be knocked down. For a child's own ornament, or a home with toddlers, use shatterproof plastic or the wood slice method.
- Small parts: keep caps, screw eyes, filler and glitter away from babies and toddlers. The American Academy of Pediatrics advises keeping decorations with small removable parts away from young children so they cannot swallow or inhale them.
- Tools: drilling, craft knives and spray finishes are adult jobs. Children can choose photos, brush on glue and add glitter with supervision.
- Heat: hang paper and decoupage ornaments away from hot bulbs and keep them away from candles.
Packaging photo ornaments as a gift
Wrap each ornament in tissue and nest it in a small kraft box or a clear-lid box with shredded paper so the photo shows. A tag with the date and where the photo was taken saves the recipient guessing in ten years. A set of one ornament per grandchild is a classic for a grandparent; see our Christmas gifts for grandma for more. For other holiday makes, browse DIY holiday gifts, try salt dough ornaments for a handprint version, or personalize ornaments with a Cricut. More ideas live in our photo gifts collection.
Frequently asked questions
Can I use a photo lab print for decoupage?
You can, but thick glossy prints are harder to keep flat on a slice or a curved ball and may lift at the edges. Thin laser prints work best. Save lab prints for the inside-the-ball method, where nothing is glued.
Why did my photo smear when I added Mod Podge?
Inkjet ink is water-based and can run under wet glue. Use a laser or copy-shop print, or spray both sides of the inkjet print with clear acrylic sealer and let it dry for a day before gluing.
Will the photo fade?
Any photo fades faster in strong light. Ornaments spend most of the year in a box, which helps. Store them wrapped in tissue in a cool, dry place rather than a hot attic or damp basement, and keep the original digital file so the print can be remade.
Sources
- Mod Podge Rocks — Decoupage on Wood Using Any Printouts. modpodgerocksblog.com
- Mod Podge Rocks — DIY Glass Ornaments. modpodgerocksblog.com
- Nations Photo Lab — Guide to Image Resolution. nationsphotolab.com
- National Capital Poison Center (Poison Control) — Christmas Ornament Hazards. poison.org
- American Academy of Pediatrics (HealthyChildren.org) — Holiday Decorations Safety Tips. healthychildren.org
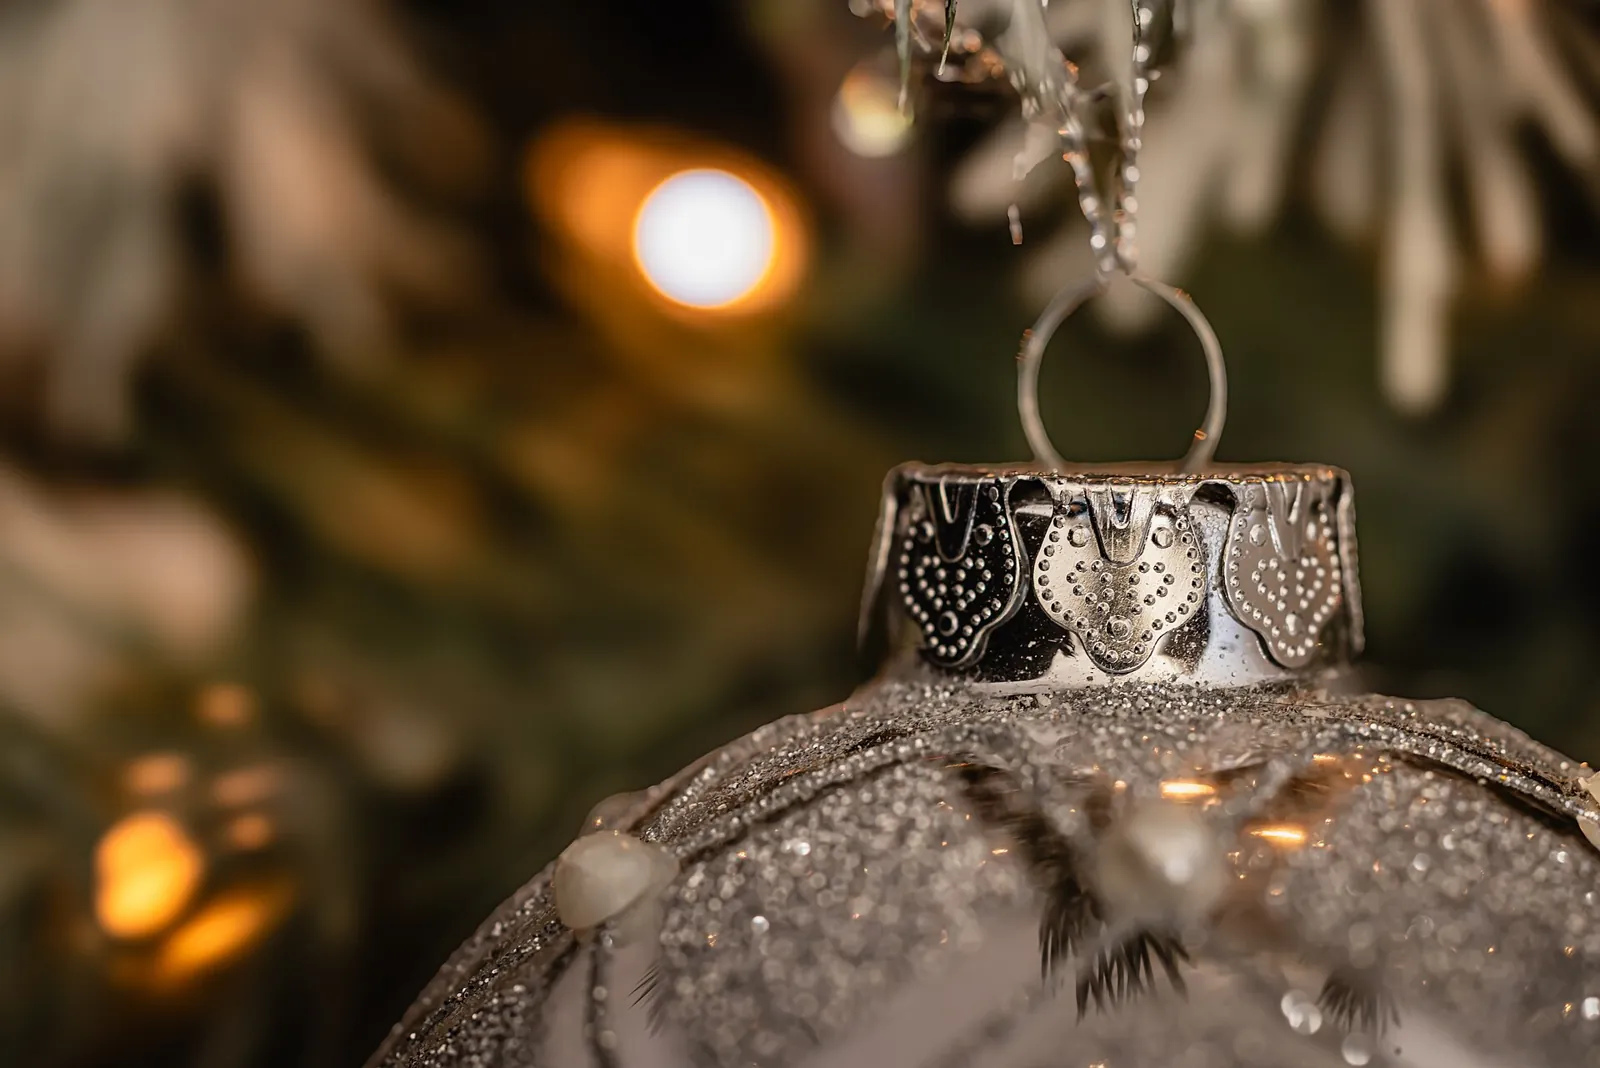
Image credits. Top image: Christmas Ball Ornament by Donald Olszewski, CC BY 4.0, via Wikimedia Commons
Spotted something out of date or a gift that's no longer available? Tell our editors — we review every correction.