How to build a small floating shelf as a gift
A small floating shelf with a hidden cleat looks clean, stays sturdy and makes a lasting housewarming gift. Here is the build and how to hang it safely.
Quick answer
Build a small hollow shelf box that slides over a hidden wooden cleat. The cleat is screwed into wall studs, the box slips over it and is fixed with a couple of screws, and nothing shows from the front. Keep it short and shallow, about 18 inches wide and 6 inches deep, so it stays sturdy, and give the recipient the mounting screws and a short note on hanging it into studs or anchors rated for the load.
- Time 4 to 5 hours over a weekend, plus finish drying time
- Difficulty Intermediate (accurate cuts and gluing matter)
- Cost $30 to $70 in wood, glue, screws and finish
- Makes One shelf, about 18 x 6 inches
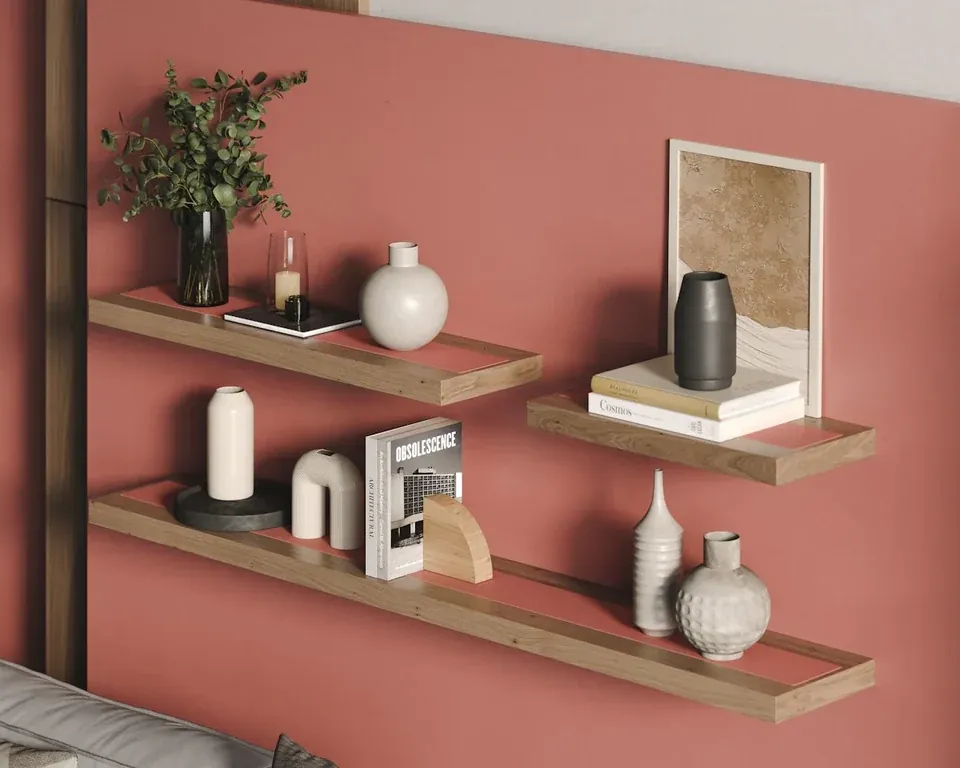
A floating shelf looks like it grows out of the wall, which is exactly why people love it and why store-bought versions often disappoint: many hang from flimsy brackets. Making one yourself lets you choose good wood and a solid mounting system. A small shelf is a thoughtful housewarming gift or a lovely piece for a first home: somewhere to put keys, a plant, a candle or a few framed photos. It pairs well with a handmade key holder for an entryway.
How a cleat-mounted floating shelf works
The shelf is a shallow, hollow box: a top, a bottom, a front edge and two end caps, open at the back. A solid wooden strip, the cleat, is screwed to the wall. The box slides over the cleat like a sleeve and is fastened to it from above. All the holding power comes from the cleat and the screws behind it, so the joinery of the box only has to be neat and well glued.
The shape matters as much as the screws. As Drew & Jonathan's guide puts it, the deeper the shelf, the less strong it is, because weight at the front edge levers on the fasteners. That is why this design stays shallow and is meant for display items, not books or dishes.
What you need
- Top and bottom: two hardwood or good plywood boards, 1/2 inch thick, 6 inches deep and 18 inches long
- Front edge: one strip 1/2 inch thick, 2 1/2 inches tall and 18 inches long
- End caps: two pieces 1/2 inch thick, 1 1/2 inches tall and 6 inches deep (they fit between the top and bottom boards)
- Cleat: a straight, dry 2x2 (actual size about 1 1/2 x 1 1/2 inches), 16 3/4 inches long so it slides easily between the end caps
- Wood glue, painter's tape, clamps and 1 1/4-inch brad nails or small screws (optional)
- Three or four 3-inch wood screws for mounting the cleat into studs, plus two 1 1/4-inch screws to fix the box to the cleat
- Saw, drill/driver with countersink bit, square, tape measure and a level
- Sandpaper in 120, 150 and 220 grits; stain, oil or a clear finish
- Safety glasses, hearing protection and a dust mask
Step-by-step instructions
Mill and cut the parts
Cut every part to size and test-fit before gluing. The inside opening of the box (between top and bottom boards) must match the cleat thickness closely, so measure your actual 2x2 and adjust the end caps and front strip if it is not exactly 1 1/2 inches. A snug slip fit is the goal: not loose, not forced.
Bar clamps holding a glued-up maple panel Glue the box together
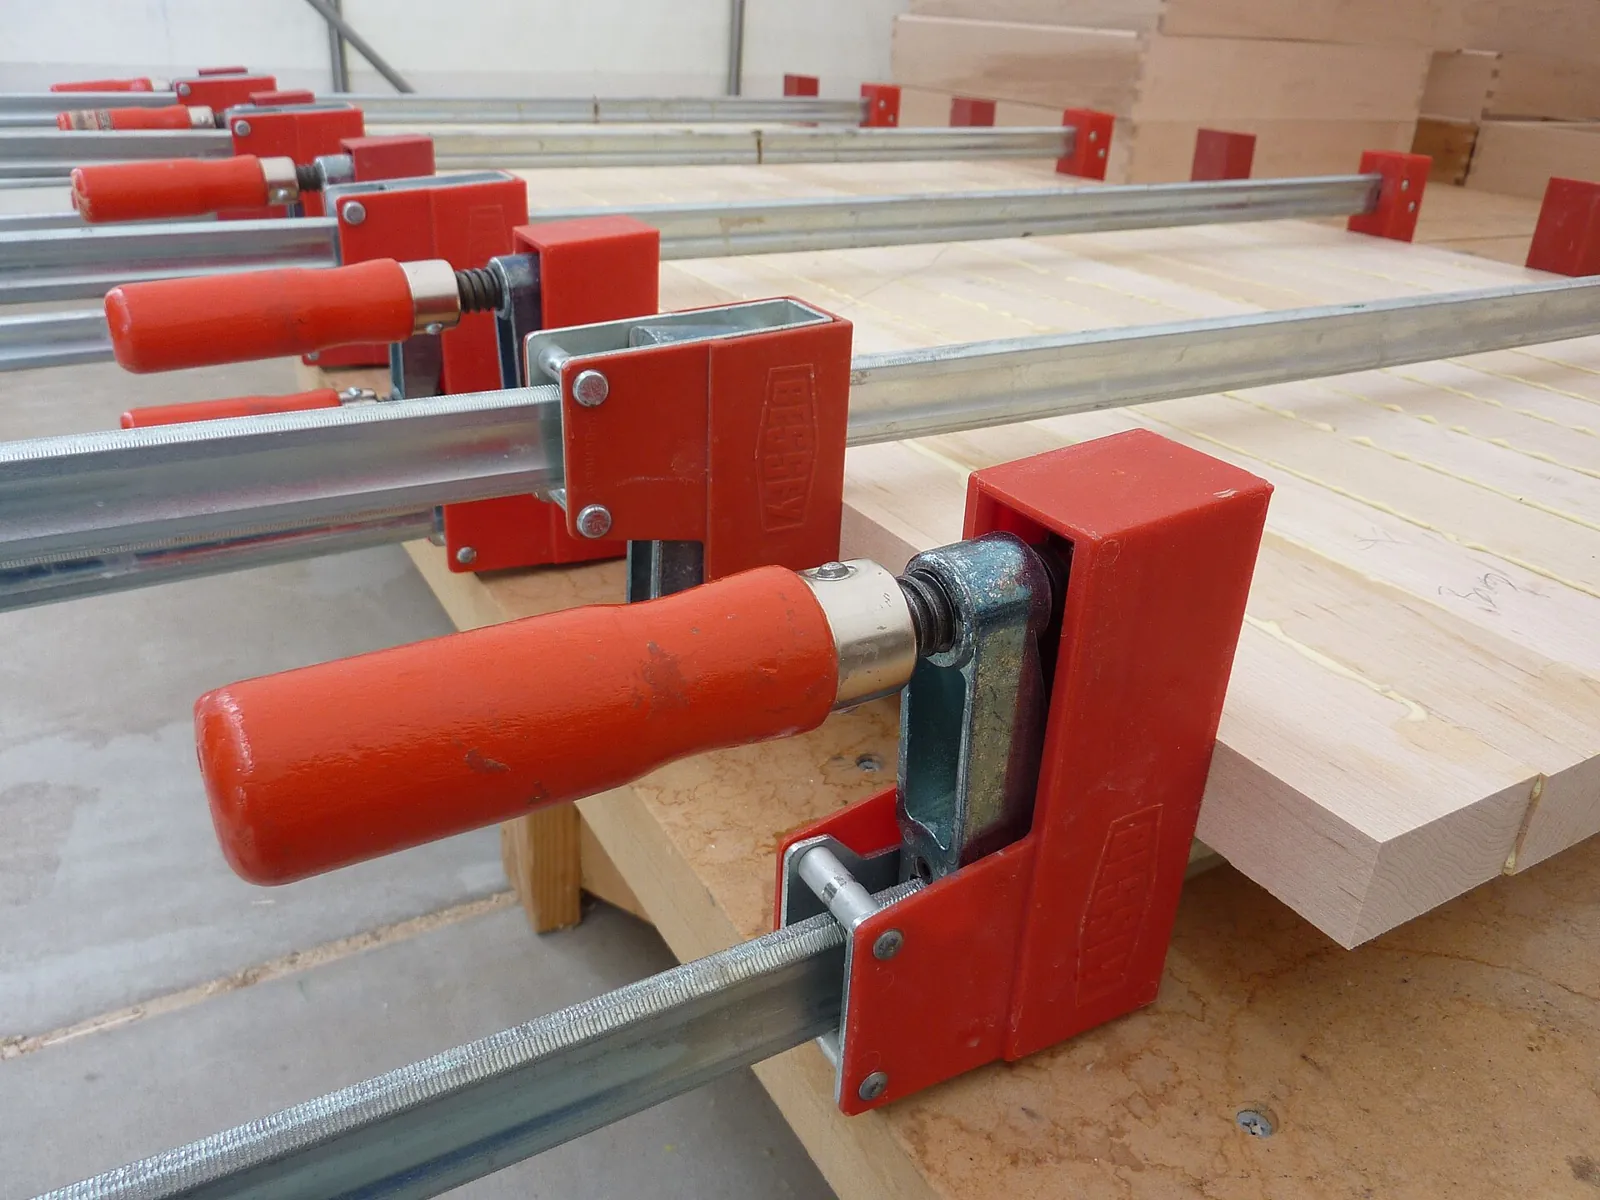
Glue the front strip to the front edges of the top and bottom boards, then glue the end caps in place. Painter's tape stretched across the joints works as extra clamps on small pieces. Add a few brad nails if you like. Check the box is square, wipe off squeeze-out, and leave it clamped for the time your glue's label gives.
Sand and round the edges
Sand with 120, then 150 and 220 grit. Ease the front edges slightly so they look crisp rather than sharp. Slide the box over the cleat once more to confirm the fit after sanding.
Prepare the cleat
Drill and countersink three or four holes through the cleat's wall face. If you know the recipient's wall, space two of them 16 inches apart to match common stud spacing, but remember that stud spacing varies, so they may need to add holes when installing. Drill two pilot holes down through the top of the box near the back edge so it can be screwed to the cleat later.
Finish the shelf
Apply stain, oil or a clear finish following the product's directions, inside the opening too so the wood moves evenly. Let it dry fully. A plain clear finish suits most rooms; a dark stain on oak or a natural walnut shelf looks more modern.
Mount the cleat (or explain how)
Find the studs with a stud finder and mark them. Electrical Safety First warns that cables buried in walls usually run straight up, down or across from sockets and switches, so avoid drilling in line with them, and use a cable detector before you drill. Draw a level line, then drive the long screws through the cleat into the studs. Ideally at least one, preferably two, screws go into studs.
Slide on the box and fix it
Slide the shelf over the cleat until it sits tight to the wall, then drive the two short screws down through the pilot holes into the cleat. The screws sit near the back where small objects will hide them, or you can fill them with wood filler before finishing.
Tip: If the shelf is a surprise and you cannot check the recipient's walls, offer to install it together. It turns the gift into an afternoon visit and means the shelf goes up safely.
Safety: walls, anchors and loads
- Studs first. Screwing the cleat into wooden studs is the strongest option, and the one most installation guides recommend.
- If there is no stud, use anchors made for the wall type. Bob Vila's guide recommends toggle or butterfly anchors for drywall and notes that ordinary hollow-wall anchors suit plaster. Masonry needs masonry plugs and the matching drill bit.
- Read the rating on the anchor package and stay well within it; Bob Vila suggests aiming for the low end of an anchor's maximum rating. Ratings depend on wall thickness and condition, and the leverage of a shelf adds strain, so do not promise a weight limit you have not checked against the hardware.
- Keep the load light: plants, frames, a candle, small decor. Never hang this shelf where it could fall on a bed or a child's sleeping area, and do not use it as a step or grab handle.
- Tool safety: wear safety glasses when cutting and drilling, a mask when sanding, and keep children away from power tools.
How to package it as a gift
Wrap the shelf and the cleat separately in kraft paper or a soft cloth so the finish does not scuff, and tape a small bag of the mounting screws to the cleat. Add a card with short instructions: find studs, check for cables, use anchors rated for the load if there is no stud, keep items light. Styling it before you wrap helps the recipient picture it: put a small plant, a candle or a set of photo blocks in the box with it. For more ideas in the same vein, browse our wood gift projects.
Frequently asked questions
How much weight can a DIY floating shelf hold?
It depends on the wall, the fasteners, the cleat and how deep the shelf is, so there is no honest single number. Screwing into studs gives the most strength. If anchors are used, follow the manufacturer's rating and stay well below the maximum. Treat a small shelf like this as a display shelf for light items.
Can I hang a floating shelf without studs?
Yes, with anchors designed for your wall type, such as toggle anchors in drywall. Choose anchors whose packaged rating comfortably exceeds what you plan to put on the shelf, and keep the shelf shallow.
What wood is best for a floating shelf?
Stable hardwoods such as oak, maple, walnut or cherry look best and resist sagging. Good-quality plywood with an edged front also works and stays flat.
How deep should a small floating shelf be?
Around 5 to 6 inches works well for decor and small plants. Deeper shelves put more leverage on the wall fasteners and need a stronger mounting system.
Sources
- Bob Vila — How to install floating shelves. bobvila.com
- Drew & Jonathan — How to hang floating shelves. drewandjonathan.com
- Electrical Safety First — Electrical safety advice for DIY-ers. electricalsafetyfirst.org.uk
Image credits. Top image: Aksel-inlay-floating-shelves-maggie-radius-bookend-modern-livingroom-detail by Shelfnerd, CC BY-SA 4.0, via Wikimedia Commons · In-article image: Bar clamp 2 by Aerolin55, CC BY-SA 3.0, via Wikimedia Commons
Spotted something out of date or a gift that's no longer available? Tell our editors — we review every correction.