How to make personalized ornaments with a Cricut
Names, dates and small designs turn plain ornament blanks into keepsakes. Here is how to make them with a Cricut on glass, acrylic, wood or felt.
Quick answer
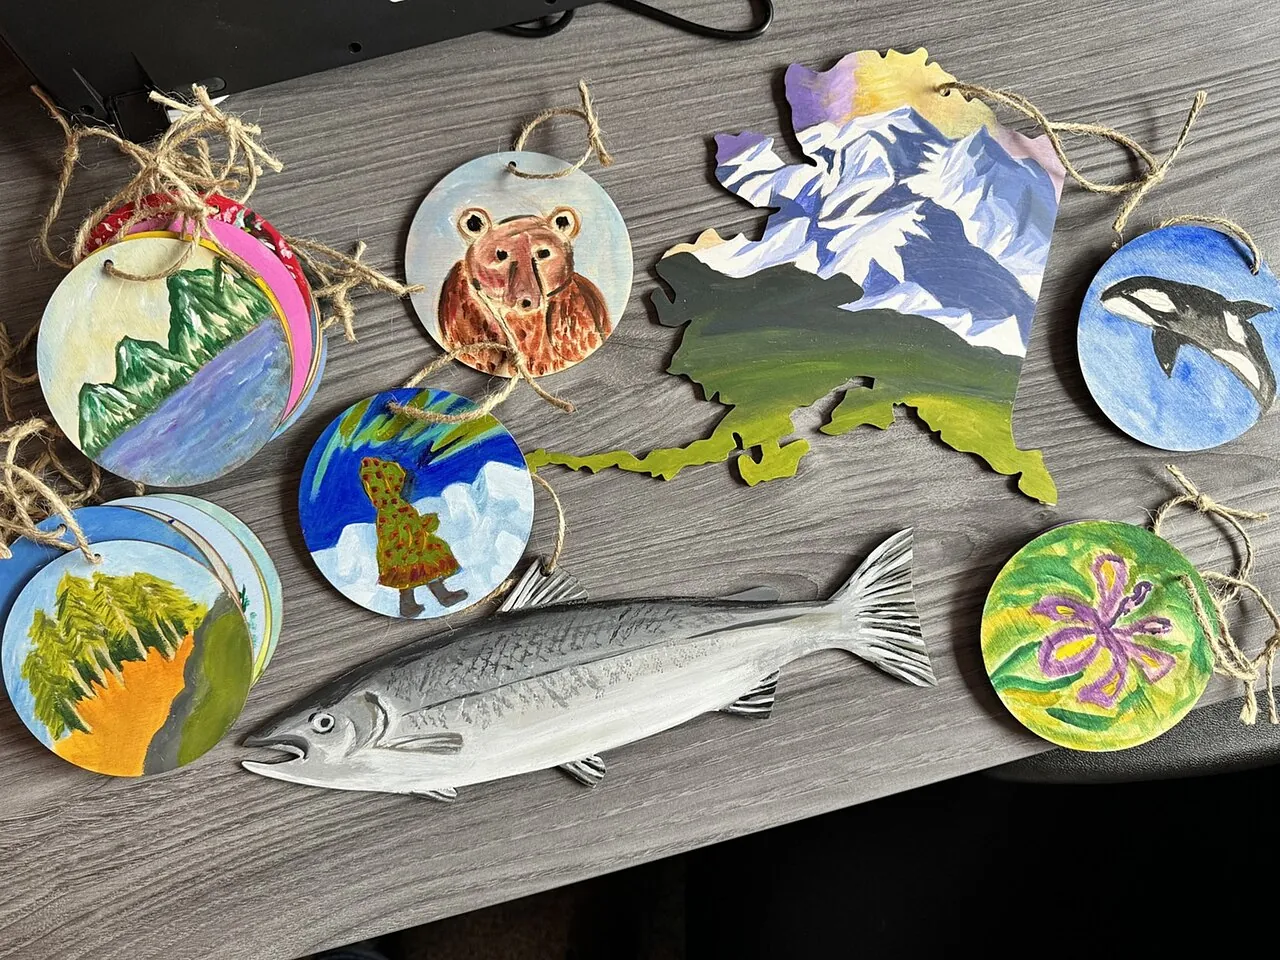
Choose a blank (flat acrylic or wood discs are easiest; round glass or plastic balls are trickier), clean it, cut a small design from permanent adhesive vinyl, and apply it with transfer tape, smoothing from the center out. For felt or fabric ornaments, use iron-on vinyl at the Cricut Heat Guide settings. Add the year and a ribbon, and you have a keepsake that comes out every December.
- Time 15–30 minutes per ornament once your design is ready
- Difficulty Easy (flat blanks) to moderate (round balls)
- Cost $1 – $5 per ornament in blanks and vinyl
- Makes As many as you like; a 12 x 12 inch vinyl sheet covers many small designs
Personalized ornaments are a favorite handmade Christmas gift because they are small, inexpensive and genuinely kept: a "first Christmas" ornament, a new-home ornament with the address, or a set with each family member's name. With a cutting machine, you can make a matching batch for teachers, neighbors or the whole family in an evening. For more ideas see our DIY Christmas projects and the round-up of DIY Christmas ornaments to give.
Choose your ornament blank
- Flat acrylic discs or shapes: the easiest surface for vinyl. Clear acrylic lets you layer designs front and back.
- Wood slices and plywood shapes: warm and rustic. Sand rough spots smooth, and seal raw wood with a clear finish first so the vinyl sticks well.
- Glass or plastic balls: classic but curved. Keep designs small and compact, and choose shatter-resistant plastic for homes with young children or pets.
- Felt or fabric ornaments: use iron-on vinyl instead of adhesive vinyl.
- Sublimation-ready ornament blanks: if you have Infusible Ink and a compatible heat press, look for blanks labeled Infusible Ink or sublimation compatible, and follow the blank's pressing instructions.
What you need
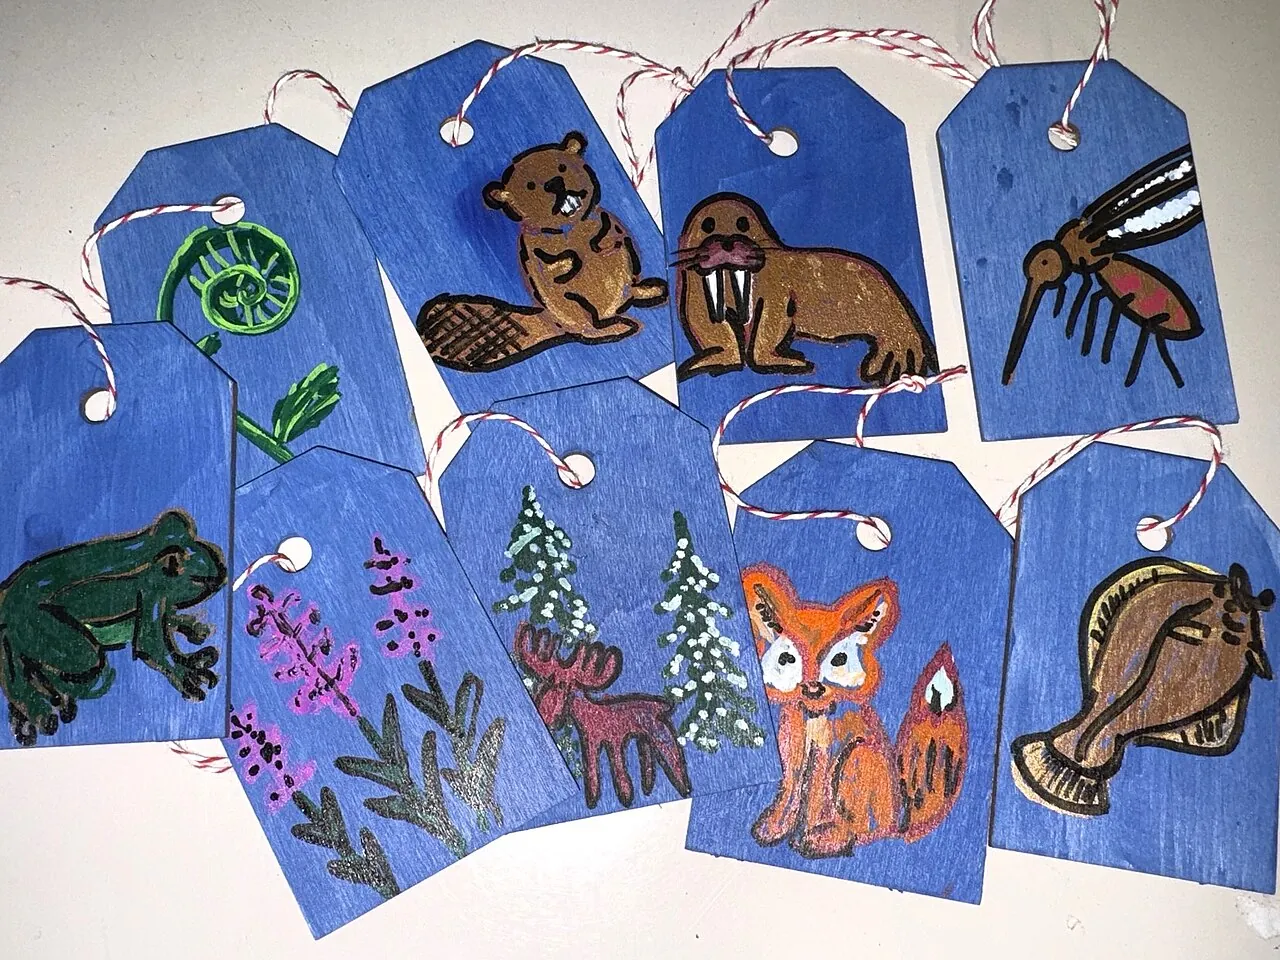
- A Cricut cutting machine and Design Space
- Ornament blanks (acrylic, wood, glass, plastic or felt)
- Permanent adhesive vinyl, such as Cricut Premium Vinyl – Permanent, in one to three colors
- Standard Grip transfer tape (Strong Grip for glitter or shimmer vinyl)
- Standard Grip mat, weeding tool and scraper
- Rubbing alcohol and a lint-free cloth
- Iron-on vinyl and an EasyPress or iron, for felt ornaments
- Ribbon, twine or ornament hooks
- Small scissors for trimming transfer tape
Step-by-step instructions
Design and measure
Measure the flat area of your blank and size the design to fit with a margin. On a 3-inch disc, a name with a short year line is about right. On a round ball, keep the design within an area about the size of a large coin to a business card, so it can wrap the curve without wrinkling. Script fonts look festive but weld letters together in Design Space so they cut as one piece.
Cut the vinyl
Place permanent vinyl on a Standard Grip mat liner side down, select the material setting and cut. Adhesive vinyl is not mirrored. Cut a few extras of tiny designs; small letters are easy to lose while weeding.
Weed
Remove the background vinyl, then lift the insides of letters and small shapes with the weeding tool, leaving the design on its backing.
Clean the blank
Wipe the ornament with rubbing alcohol and let it dry completely. Cricut's vinyl guidance stresses a clean, dry surface; fingerprints and the protective film on acrylic blanks are the usual reasons vinyl lifts. Peel off any protective film from acrylic first.
Apply transfer tape
Lay transfer tape over the design and burnish it with a scraper, working outward from one spot. Trim the tape close to the design so it is easier to handle on a small ornament.
Apply to the ornament
Peel the backing away. Attach the center of the design first and burnish outward. On a round ball, make small cuts in the transfer tape between letters so it can follow the curve, and press each section down separately. Peel the tape away at a sharp angle; if vinyl lifts, press the tape back down, burnish and try again.
Layer and finish
Add a second color for names or dates if you like, lining it up by eye or with registration marks. Thread ribbon through the hanger, and let the adhesive settle for a day before wrapping.
Tip: On clear acrylic or glass, apply the year on the back and the name on the front. The two layers read clearly from the front and look more finished than a single sticker-like layer.
Felt and fabric ornaments with iron-on
For a softer ornament, cut felt shapes and decorate them with iron-on vinyl. Mirror the design, cut with the shiny liner side down, weed, then press at the settings the Cricut Heat Guide or Heat app gives for your iron-on and base material. Felt can scorch or melt with too much heat, so test on a scrap first. Stitch or glue two layers together around a ribbon loop, adding a little stuffing for a pillow ornament.
Safety notes
- Glass balls can break into sharp pieces. Work over a towel and use plastic or acrylic blanks when children are helping or receiving.
- Small ornaments, hooks and loose vinyl pieces are choking hazards for babies and toddlers. Hang them high, and keep weeded scraps off the floor.
- Craft blades and weeding tools are sharp; supervise children and store tools safely.
- Irons and heat presses get very hot. Keep cords tidy and the press on its safety base.
Personalization ideas
- Baby's first Christmas with name and year, a sweet present for new parents.
- Our first home with the street name and year, an easy add-on to first home gifts.
- Family name set: one ornament per person in matching colors.
- Teacher or coworker ornaments: a simple "Merry Christmas" and name in a batch.
- Memorial ornament: a name and a small heart or star, in gentle colors.
How to package ornaments as gifts
Nest each ornament in tissue inside a small box, or use a clear plastic gift box so the name shows through. Write the year and occasion on the bottom of the box so it is easy to find when decorations come out next season. For a group gift, line up several ornaments in an egg-carton style box painted or wrapped to match. For wrapping ideas, see our gift wrapping guides.
Frequently asked questions
What vinyl should I use on Christmas ornaments?
Permanent adhesive vinyl. Cricut describes its Premium Vinyl – Permanent as water-resistant and UV-resistant with an adhesive that can last up to three years. Removable vinyl is better for decorations you want to change later.
How do I stop vinyl wrinkling on a round ornament?
Keep the design small and compact, start from the center, and snip the transfer tape between letters so each section can bend with the curve. Large, wide designs will crease on a ball.
Can I wash a vinyl ornament?
Wipe gently with a soft, slightly damp cloth if needed. Do not soak or scrub, which can lift the vinyl edges.
Do I need to seal vinyl on ornaments?
Usually not for ornaments that are handled gently once a year. If you choose a sealant, test it on a spare ornament first, because some can dissolve or cloud vinyl.
Sources
- Cricut Help Center — Cricut Vinyl (application steps, transfer tape, Premium Vinyl – Permanent). help.cricut.com
- Cricut Help Center — Cricut Everyday Iron-On. help.cricut.com
Image credits. Top image: 20241011-FS-XX-0008 (54060561534) by Forest Service Alaska Region, USDA, Public domain, via Wikimedia Commons · In-article image: 20241011-FS-XX-0001 (1) (54060232786) by Forest Service Alaska Region, USDA, Public domain, via Wikimedia Commons
Spotted something out of date or a gift that's no longer available? Tell our editors — we review every correction.