Sew an envelope pillow cover in an afternoon
Three rectangles, one hem and a seam around the edge: a zipper-free pillow cover with cut sizes for the most common pillow forms.
Quick answer
For an 18 in pillow form, cut one front 19 × 19 in and two backs 19 × 13 in (1/2 in / 1.3 cm seam allowance). Hem one long edge of each back with a double 1/2 in fold, lay both backs face down on the front so the hemmed edges overlap by 5 in, sew all the way around 1/2 in from the edge, trim the corners, finish the seams and turn it right side out. No zipper, no buttons, and the cover slips off for washing.
- Time 1 – 2 hours
- Difficulty Beginner: straight seams and one hem
- Cost $15 – $40 including a pillow form
- Makes One removable cover; 16, 18, 20 in square or 12 × 20 in lumbar
An envelope pillow cover is the first home-decor project most people sew, and a good one to give. It shows off a fabric the recipient will love, it costs far less than a designer cushion, and because the back simply overlaps, there is no zipper to fight with. Make a pair for a new home, a dorm room or a reading chair, and the recipient can swap the covers seasonally while keeping the same inserts.
Materials
- Medium-weight woven fabric: cotton canvas, duck, linen, cotton-linen blend or home-decor cotton (quilting cotton works but is thinner)
- A pillow form (insert) in your chosen size
- All-purpose polyester or cotton-wrapped thread
- Fabric scissors or rotary cutter, mat and quilting ruler
- Pins or clips, tape measure, fabric marker
- Iron and ironing board; sewing machine with a size 80/12 or 90/14 universal needle
- Optional: pinking shears or a serger for finishing seams; a point turner or chopstick for corners
Cut sizes for common pillow forms
| Pillow form | Front (cut 1) | Back (cut 2) | Overlap | Fabric, 44 in wide |
|---|---|---|---|---|
| 16 × 16 in | 17 × 17 in (43.2 × 43.2 cm) | 17 × 11 1/2 in (43.2 × 29.2 cm) | 4 in | 5/8 yd |
| 18 × 18 in | 19 × 19 in (48.3 × 48.3 cm) | 19 × 13 in (48.3 × 33 cm) | 5 in | 1 yd |
| 20 × 20 in | 21 × 21 in (53.3 × 53.3 cm) | 21 × 14 in (53.3 × 35.6 cm) | 5 in | 1 1/8 yd |
| 12 × 20 in lumbar | 21 wide × 13 tall in | 14 wide × 13 tall in | 5 in | 7/8 yd |
The math, so you can make any size: the front is the pillow form plus 1 in each way (a 1/2 in seam on every side). Each back panel is as wide as the front. Its height is half of (the form size + the overlap), plus 1 1/2 in: 1/2 in for the outer seam and 1 in for the double-fold hem. For the 18 in pillow, (18 + 5) ÷ 2 + 1 1/2 = 13 in. Check: each finished back panel covers 13 − 1 1/2 = 11 1/2 in, and two of them cover 23 in of an 18 in pillow, leaving a 5 in overlap. On the lumbar cover, the hemmed edges run along the 13 in sides, so the opening is vertical.
The yardage allows for some shrinkage when you prewash and assumes a non-directional print. Large motifs or stripes you want to match need extra.
Tip: These sizes give a cover the same size as the form, which looks neat and tailored. For a fuller, plumper pillow, put a form about 2 in larger inside (a 20 in insert in an 18 in cover), or sew the cover 1 in smaller each way.
How to sew an envelope pillow cover
Prewash, press and cut
Wash and dry the fabric as you plan to wash the cover, then press out every crease. Cut the front with any feature motif centered. Cut both backs with the print running the same way as the front: the long 19 in edge of each back will become the hemmed opening in the middle.
Hem the back panels
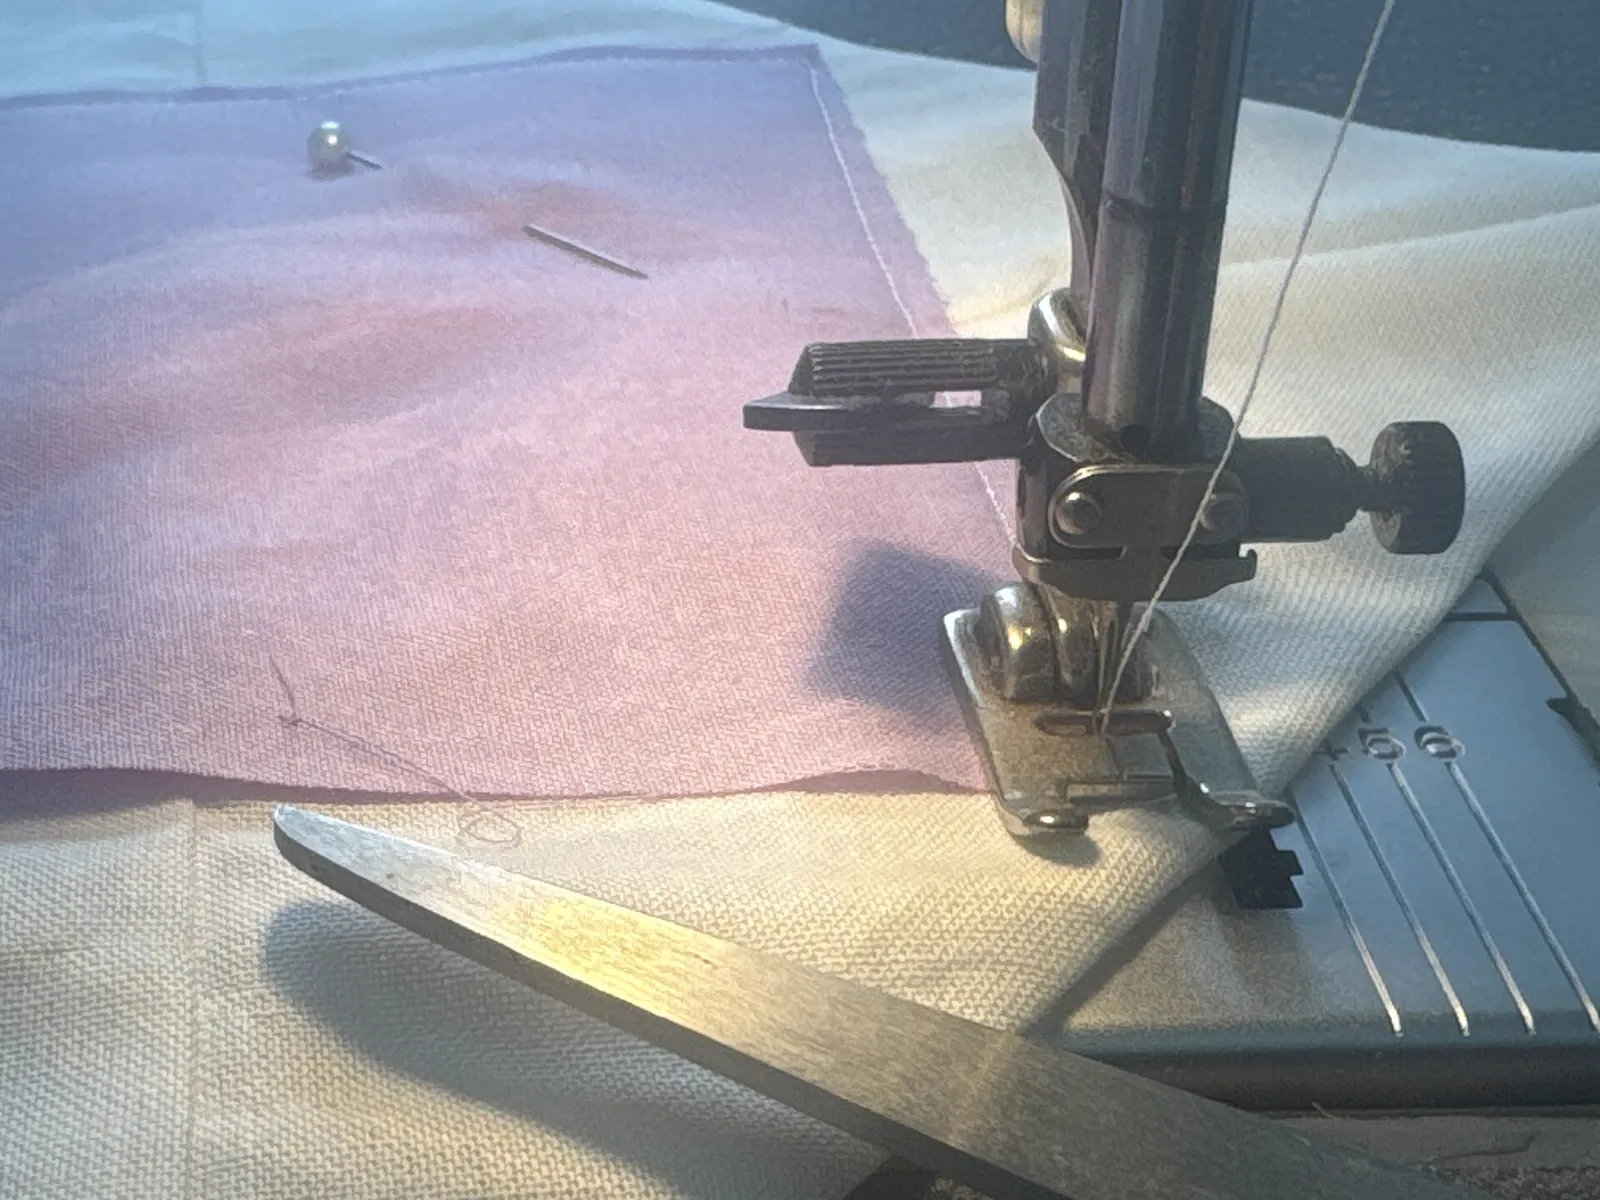
On one long edge of each back panel, fold 1/2 in to the wrong side and press, then fold another 1/2 in and press again. Stitch close to the inner fold with a straight stitch, about 3/16 in from the edge. A second row of topstitching near the outer fold looks crisp and adds strength where hands will push the insert in.
Layer the pieces
Lay the front right side up. Place one back on top, right side down, raw edges matching the top and sides, hemmed edge toward the middle. Place the second back right side down, raw edges matching the bottom and sides, so it overlaps the first. The hems should overlap by 5 in. Pin or clip all around, with extra pins through the overlap.
Sew around all four sides
Stitch 1/2 in from the raw edges all the way around, using a stitch length of about 2.5 mm. At each corner, stop with the needle down 1/2 in from the edge, lift the presser foot, pivot and continue. Backstitch at the start and end, and sew back and forth a few stitches where the hemmed edges cross the seam, since this is where the cover takes the most strain.
Trim and finish the seams
Clip each corner diagonally, about 1/8 in from the stitching, without cutting the thread. Finish the raw edges with a zigzag or overcast stitch, pinking shears or a serger so the cover survives the washing machine.
Turn and press
Turn the cover right side out through the envelope opening. Ease the corners out with a point turner or chopstick, working gently so you do not poke through the fabric. Press the edges flat, rolling the seam slightly to the back.
Insert the pillow form
Fold the form in half, slide it through the opening and push each corner of the form into a corner of the cover. Smooth the back flaps so they lie flat over each other.
Personalizing the cover
- Embroidery: stitch initials, a house number or a small motif on the front before sewing, centered within the finished area (keep 1 1/2 in clear of the raw edges). Our embroidery hoop art tutorial covers basic stitches.
- Contrast back: use a second fabric for the backs, or a striped back with a solid front.
- Piping or pompom trim: baste it to the front, raw edges together, before layering. Use a zipper foot to sew close to the cord.
- Patchwork front: piece scraps into a square the same size as the front cut, a good way to turn old shirts or a child's outgrown clothes into a keepsake for a grandparent.
Safety notes
- Switch the machine off before threading the needle or changing the foot, keep fingers away from the needle, and unplug it when you are done. Inspect the cord before you start.
- Remove pins before they reach the needle; hitting a pin can break the needle and send fragments flying.
- Close the rotary cutter blade every time you put it down.
- Rest the iron on its heel, keep the cord out of reach of children and pets, and take care with steam when pressing hems.
- Decorative pillows do not belong in a baby's crib or sleep space; give a cover for a nursery chair instead.
Wrapping it as a gift
Give the cover on its insert so it looks finished, or give two covers and one form so the recipient can swap them. Tie it with wide ribbon or slip it into a large drawstring bag; our tutorial for reusable fabric gift bags includes a 12 × 14 in size, and the fabric scraps can become the bag. Add a care card with the fiber content and washing instructions from the fabric bolt. A pair of covers is a natural housewarming present, especially for a first place (see more apartment housewarming gifts), and you will find more projects in our sewing collection.
Frequently asked questions
What size pillow cover do I need for an 18 inch insert?
A finished 18 in cover gives a neat fit, which means cutting the front 19 × 19 in with 1/2 in seams. If you prefer a plump, squishy look, make the cover an inch or two smaller than the insert.
How much overlap should an envelope pillow have?
Four to five inches keeps the opening closed without gaping on 16 to 20 in pillows. Smaller overlaps tend to pull open and show the insert.
What is the best fabric for pillow covers?
Medium-weight woven fabrics such as cotton canvas, duck, linen blends and home-decor cotton hold their shape and resist wear. Thin quilting cotton works but may show the insert through light colors; lightweight fusible interfacing on the back of the front panel helps.
Can I make an envelope pillow cover without sewing?
You can use fusible hem tape for the hems and seams following the package instructions, but sewn seams last much longer through washing.
Sources
- Heather Handmade — How to make an envelope pillow cover. heatherhandmade.com
- Electrical Safety First — Sewing machines: product safety guidance. electricalsafetyfirst.org.uk
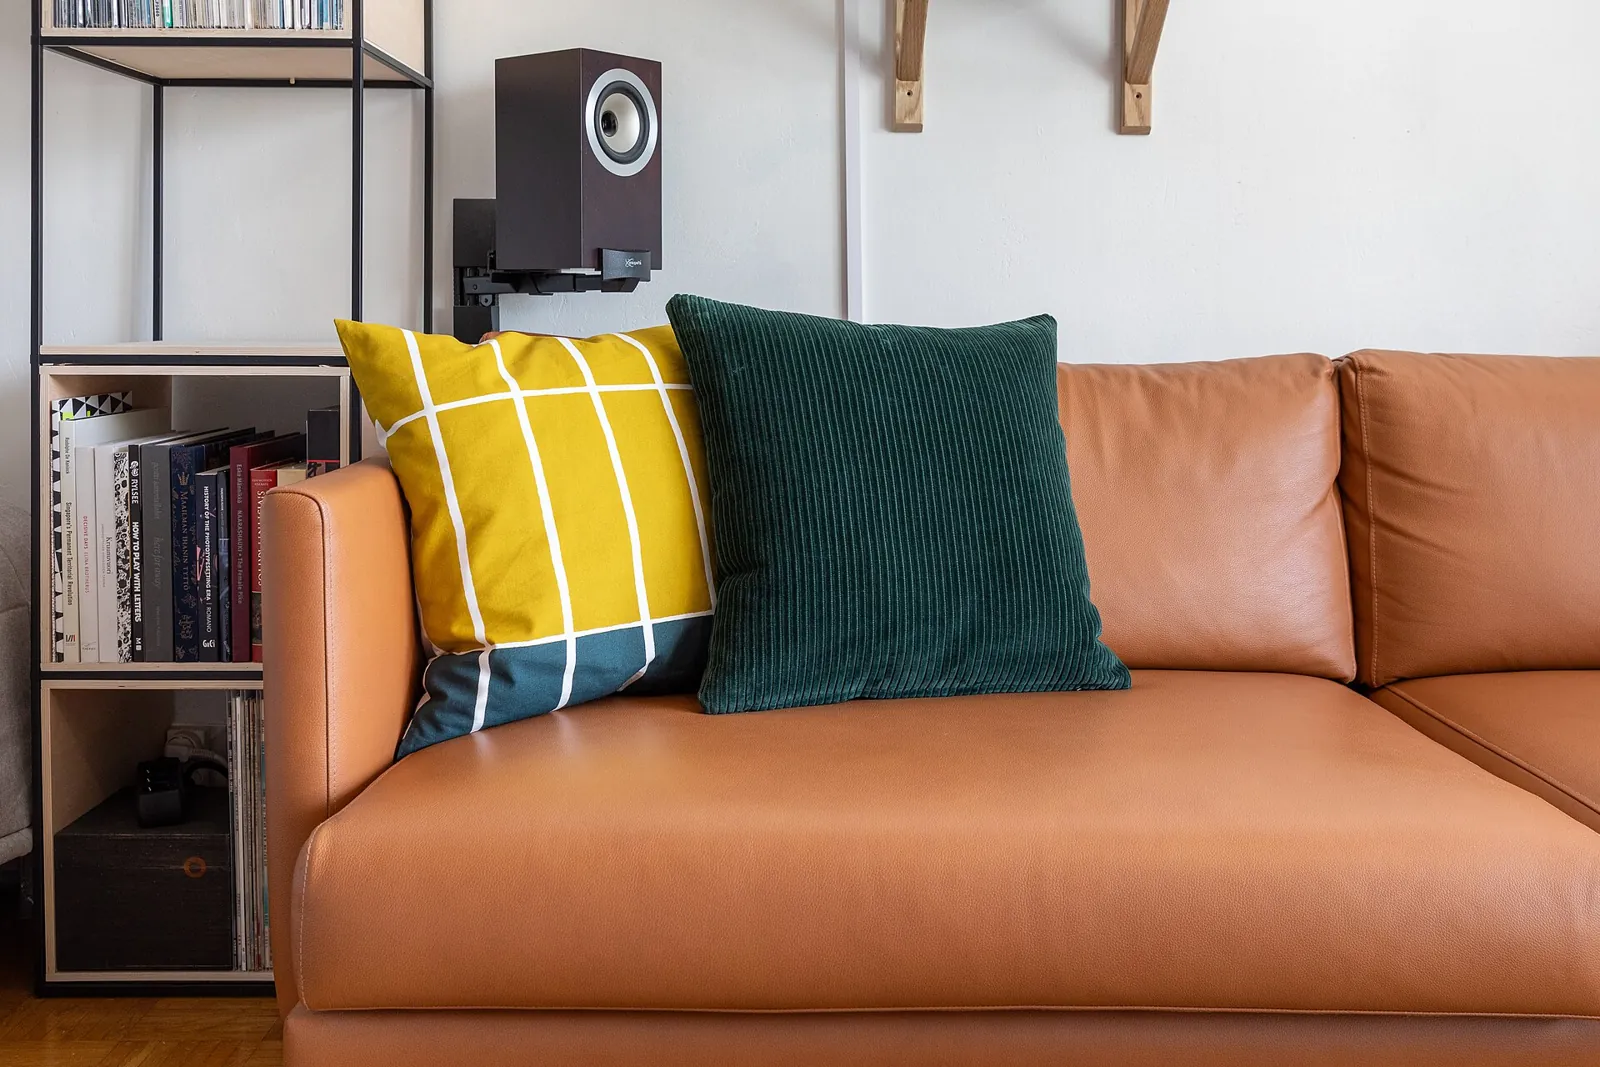
Image credits. Top image: Decorative pillows on a leather sofa by Aaaatu, CC BY-SA 4.0, via Wikimedia Commons · In-article image: A sewing machine needle on pink & white fabric by Stch2022, CC0 1.0, via Wikimedia Commons
Spotted something out of date or a gift that's no longer available? Tell our editors — we review every correction.