DIY wooden key holder for the entryway
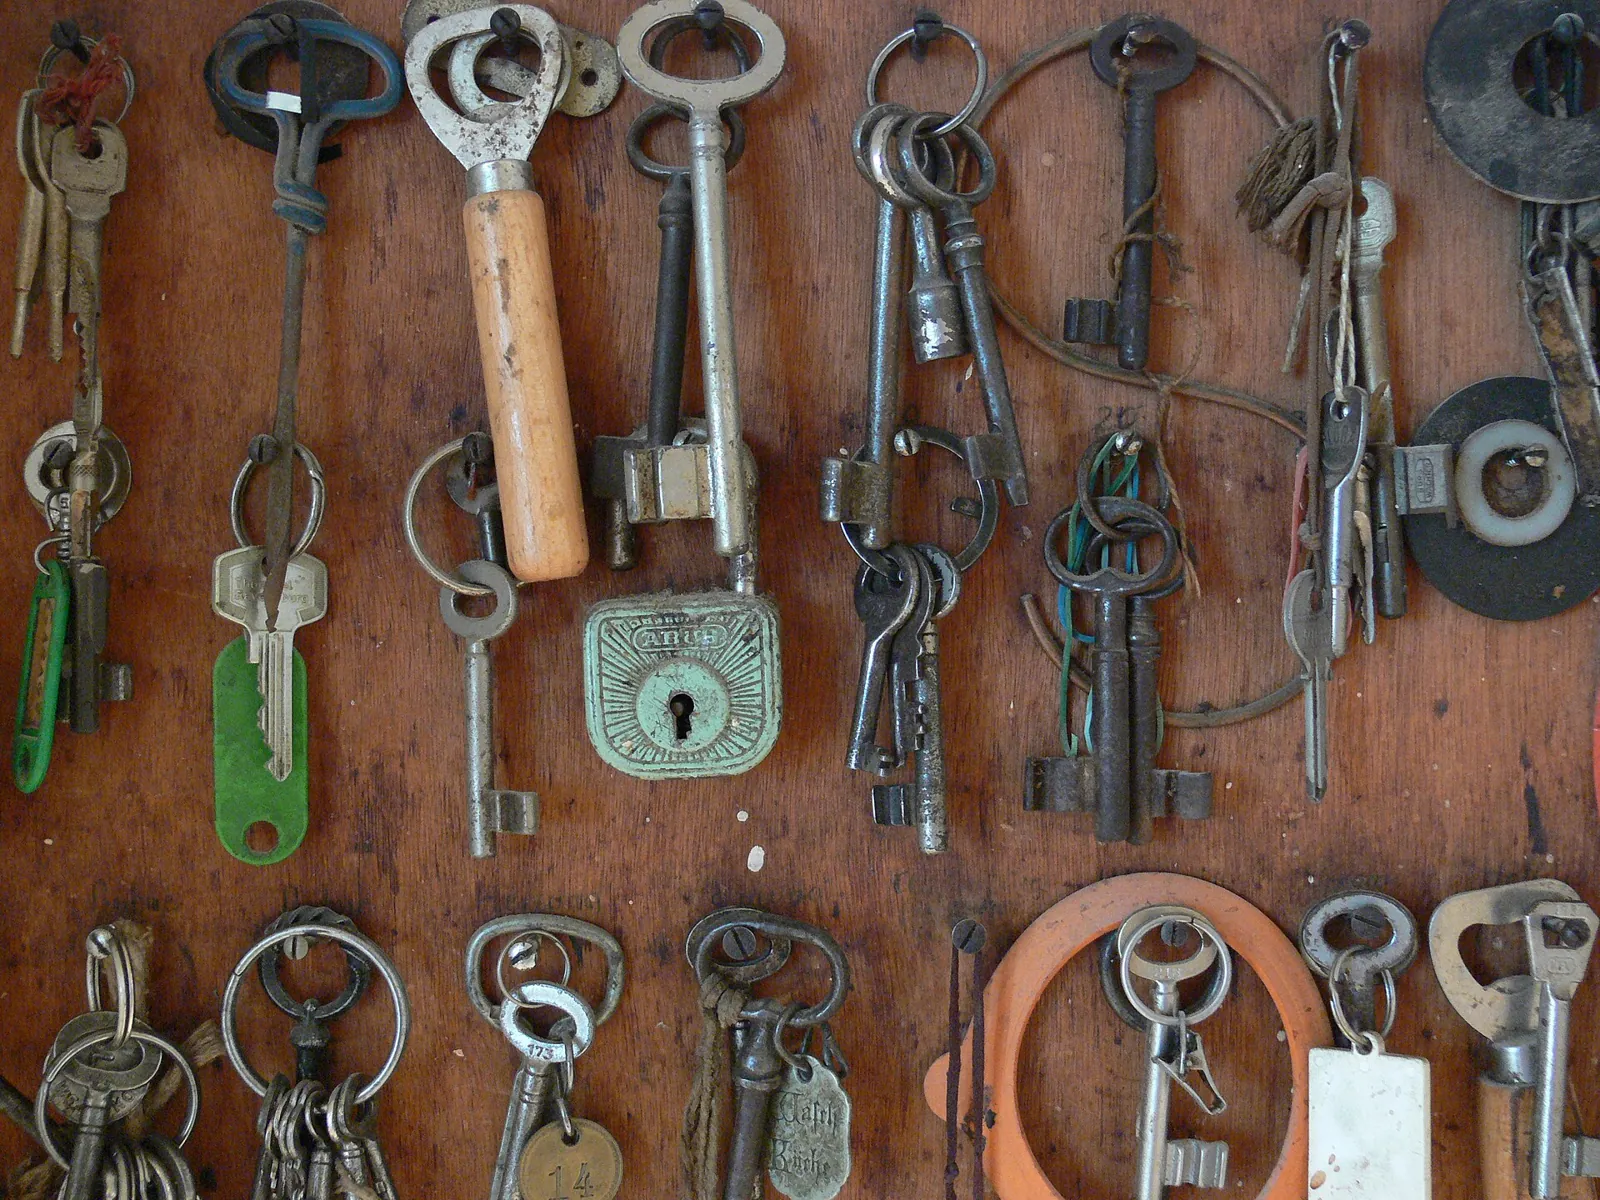
A handmade key rack gets used every day, which makes it a thoughtful housewarming gift. Here is how to build, personalize and mount one securely.
Quick answer
A wooden key holder is a sanded board with a few screw-in hooks along the bottom, finished with paint, stain or a clear coat and hung by the door. It takes an afternoon and basic tools. Pre-drill every hook so the wood does not split, personalize the face with a name or house number, and mount it into a wall stud or with wall anchors rated for the load, following the anchor maker's instructions.
- Time 2 – 3 hours of work, plus finish drying time
- Difficulty Easy; needs a drill and a saw (or a pre-cut board)
- Cost About $15 – $35
- Makes One key holder about 12 – 16 inches wide with 4 – 6 hooks
A key holder by the front door is a small, practical gift that gets used every single day, which is exactly why it makes a good handmade present for a first home, a new apartment or a couple moving in together. It is also an easy project to personalize: a family name, house number, wedding year or a simple wood-burned motif turns a plain rack into something that feels made for that household.
Choose a design
- Simple board with hooks: one board, four to six hooks. The easiest version and the one described in the steps below.
- Board with a small ledge: add a narrow shelf strip on top for sunglasses or mail. This adds weight and leverage on the wall fixings, so mounting matters more.
- Peg rail: wooden pegs glued into drilled holes for a Shaker-style look; needs a drill bit that matches the peg size.
- Personalized face: paint, stencil or wood-burn a name, house number or "Est." date. See how to make a personalized wooden sign for lettering methods.
What you need
- Solid wood board about 3/4 inch thick, 4 – 6 inches tall and 12 – 16 inches long (pine, poplar, oak or a reclaimed board that has not been pressure-treated or painted with old, flaking paint)
- 4 – 6 screw-in hooks (cup hooks or J-hooks) or small screw-mounted hooks
- Saw and clamps, if cutting the board yourself
- Drill with small bits for pilot holes
- Sandpaper in 120 and 220 grit
- Paint, stain or a clear finish such as water-based polyurethane
- Mounting hardware: two keyhole hangers or two D-ring hangers, plus screws long enough to reach a stud, or wall anchors rated for the load
- Stud finder, level, tape measure and pencil
- Safety glasses and a dust mask
How to make a wooden key holder
Cut and sand the board
Cut the board to length with the work clamped firmly, wearing safety glasses. Sand all faces and edges with 120 grit, then 220 grit, and soften the corners so they will not catch on coats or bags. Wear a dust mask: OSHA notes that wood dust can cause respiratory symptoms, including allergic reactions.
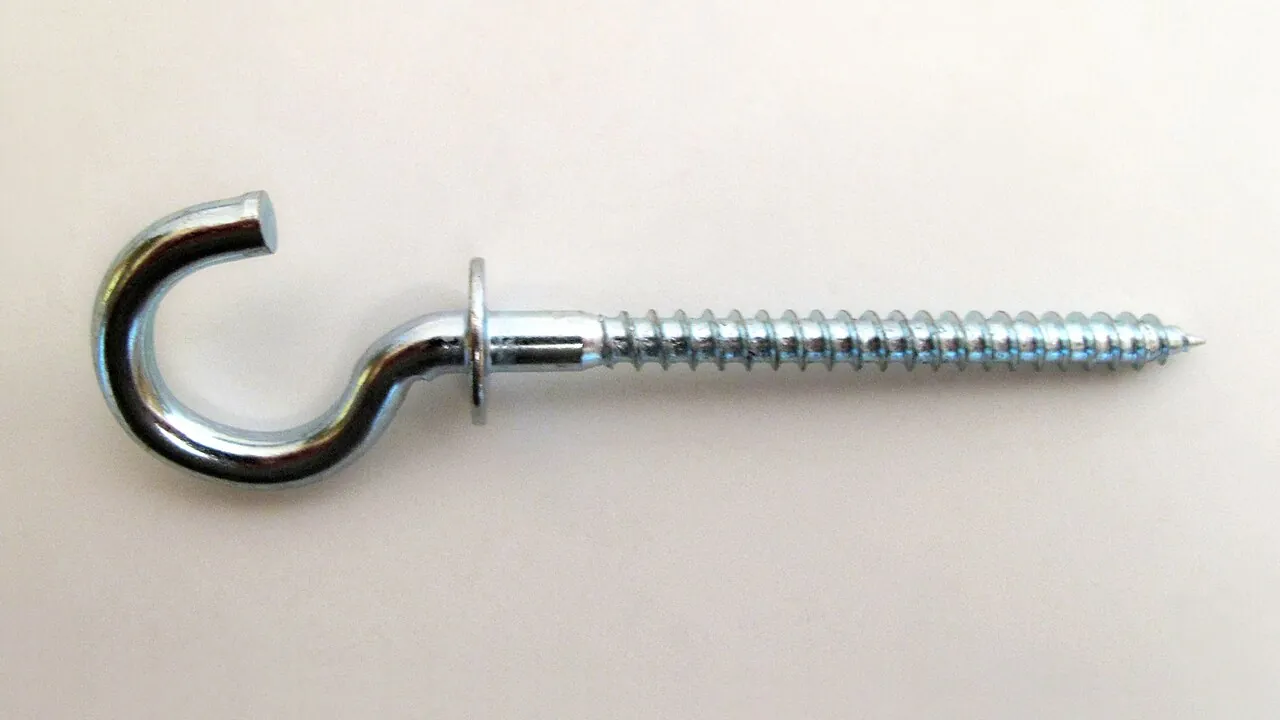
A screw-in cup hook of the kind used along the bottom of a key rack Lay out the hooks
Draw a light pencil line about 3/4 to 1 inch above the bottom edge. Mark hook positions evenly spaced along it, keeping at least 1 1/2 inches from each end so the wood does not split and keys do not tangle. Three inches between hooks suits most key rings.
Decorate the face
Paint, stain or letter the board now, before the hooks go in. Test stain on a scrap first. If you are wood-burning a name, use bare, untreated wood and follow the safety notes in our wood-burning guide, then let everything cool before finishing.
Apply a finish
Brush on thin coats of clear finish (or paint), sanding lightly with 220 grit between coats. Follow the product label for recoat and dry times and work with adequate ventilation. Hands touch a key holder daily, so a durable film finish such as polyurethane or a good-quality paint holds up better than wax alone.
Drill pilot holes and add hooks
At each mark, drill a pilot hole slightly narrower than the hook's threaded shank and a little shallower than the thread length. Twist the hooks in by hand until the base sits snug against the wood, all facing the same direction. Pilot holes keep the hooks straight and greatly reduce the risk of splitting, especially near edges.
Attach the hanging hardware
Fit two keyhole hangers or D-rings on the back, near each end and at the same height, using short screws that will not poke through the front. Two hangers keep the rack level and stop it from tipping when someone grabs a key.
Mount it securely
Use a stud finder to locate a stud behind the spot by the door. Screwing at least one fixing into a stud is the most secure option. Where there is no stud, use wall anchors rated for the load, drilled and installed exactly as the anchor maker specifies, and check with a level before tightening. If you are giving the key holder as a gift, include the right screws or anchors and a short note on mounting.
Tip: Hold the finished rack against the wall with painter's tape before drilling. Living with it for a minute shows whether the height suits everyone in the house and clears the door swing and light switch.
Wall mounting: what to know
A key holder is light, but it gets tugged many times a day and may end up carrying bags or dog leashes too. That repeated pulling is harder on a wall fixing than the same weight hanging still. A few rules keep it on the wall:
- Studs first: a screw into a wood stud is stronger than an anchor in drywall alone.
- Follow the rating: anchor ratings depend on the anchor type and the wall material and thickness. Choose anchors from a reputable maker, check their technical data or package instructions, and stay well within the stated load rather than at its limit.
- Do not overstate it: if the giftee plans to hang heavy bags or coats on the rack, a dedicated coat rack mounted into studs is the better choice.
- Check for hidden services: avoid drilling directly above or below outlets and switches, where wiring usually runs, and stop if you hit metal unexpectedly.
Safety notes
- Tools: clamp the board when sawing or drilling, wear safety glasses, and let an adult handle power tools. Children can help sand and choose colors.
- Dust and finishes: sand with a dust mask on, use finishes with ventilation, and follow the label for cleanup and disposal of rags.
- Reclaimed wood: skip boards that may be pressure-treated or covered in old paint, which should not be sanded indoors.
How to package it as a gift
- Let the finish dry fully, then wrap the rack in tissue with the hooks padded so they do not tear the paper.
- Tape a small bag to the back containing the mounting screws or anchors and a note: "Mount into a stud or with anchors rated for the load."
- Add a new key ring, a house-key-shaped ornament or a tag with the new address for a first home gift.
- Pair it with other handmade pieces such as wood slice coasters for a small housewarming set.
For more ideas, browse our housewarming gifts and wood DIY gifts.
Frequently asked questions
What kind of hooks are best for a key holder?
Small screw-in cup hooks or J-hooks are the easiest; screw-mounted hooks with a flat base are sturdier for bags or leashes. Always drill pilot holes so the wood does not split.
How high should a key holder be mounted?
There is no fixed rule; mount it where the people using it can reach easily, often around shoulder height for adults, clear of the door swing and light switches. Lower it if children need to hang their own keys.
Can I hang a key holder without drilling?
Removable adhesive strips can hold light items, but only within the weight limit on the package and on suitable surfaces. A key rack is pulled every day, so screws into a stud or rated anchors are more reliable.
What wood should I use?
Any solid board about 3/4 inch thick works: pine is cheap and easy, while oak or walnut looks more finished. Avoid pressure-treated lumber and boards with old flaking paint.
Sources
- Cobra Anchors — Frequently asked questions. cobraanchors.com
- InspectAPedia — Wall anchor choices. inspectapedia.com
- Occupational Safety and Health Administration — Wood Dust. osha.gov
Image credits. Top image: Schlüsselbrett Pension Hindelang Ravensburg MHQ by Photo: Andreas Praefcke, Public domain, via Wikimedia Commons · In-article image: Half Ring screw by Juan de Vojníkov, CC BY-SA 3.0, via Wikimedia Commons
Spotted something out of date or a gift that's no longer available? Tell our editors — we review every correction.