Embroidery hoop art for beginners: stitch a name hoop
A personalized name hoop with a small floral sprig, worked in five standard stitches and finished with a felt back, so the hoop doubles as the frame.
Quick answer
Trace a name and a small flower sprig onto a 10 in (25 cm) square of woven cotton or linen, mount it drum-tight in a 6 in (15 cm) wooden hoop, and stitch it with two or three strands of six-strand embroidery floss. Stem stitch or backstitch handles the lettering, lazy daisy stitches make the petals, French knots make the flower centers and satin stitch fills the leaves. Finish the back with a gathering stitch and a felt circle, and the hoop becomes the frame.
- Time 3 – 6 hours, depending on the length of the name
- Difficulty Beginner (five basic stitches)
- Cost $10 – $20 for hoop, fabric, floss and needles
- Makes One 6 in (15 cm) hoop, ready to hang
An embroidered name hoop is one of the most personal handmade gifts you can make with very little equipment. It works for a new baby's nursery wall, a wedding (initials and date), a new home (the street name), or a beloved pet. The stitches below are the standard building blocks of surface embroidery, and each one is named the way you will find it in stitch dictionaries, so you can look up a diagram or video whenever a step is unclear.
Materials and tools
- 6 in (15 cm) wooden embroidery hoop with a screw closure
- 10 × 10 in (25 × 25 cm) piece of tightly woven, non-stretch fabric: quilting cotton, cotton muslin, linen or a linen-cotton blend, pre-washed and pressed
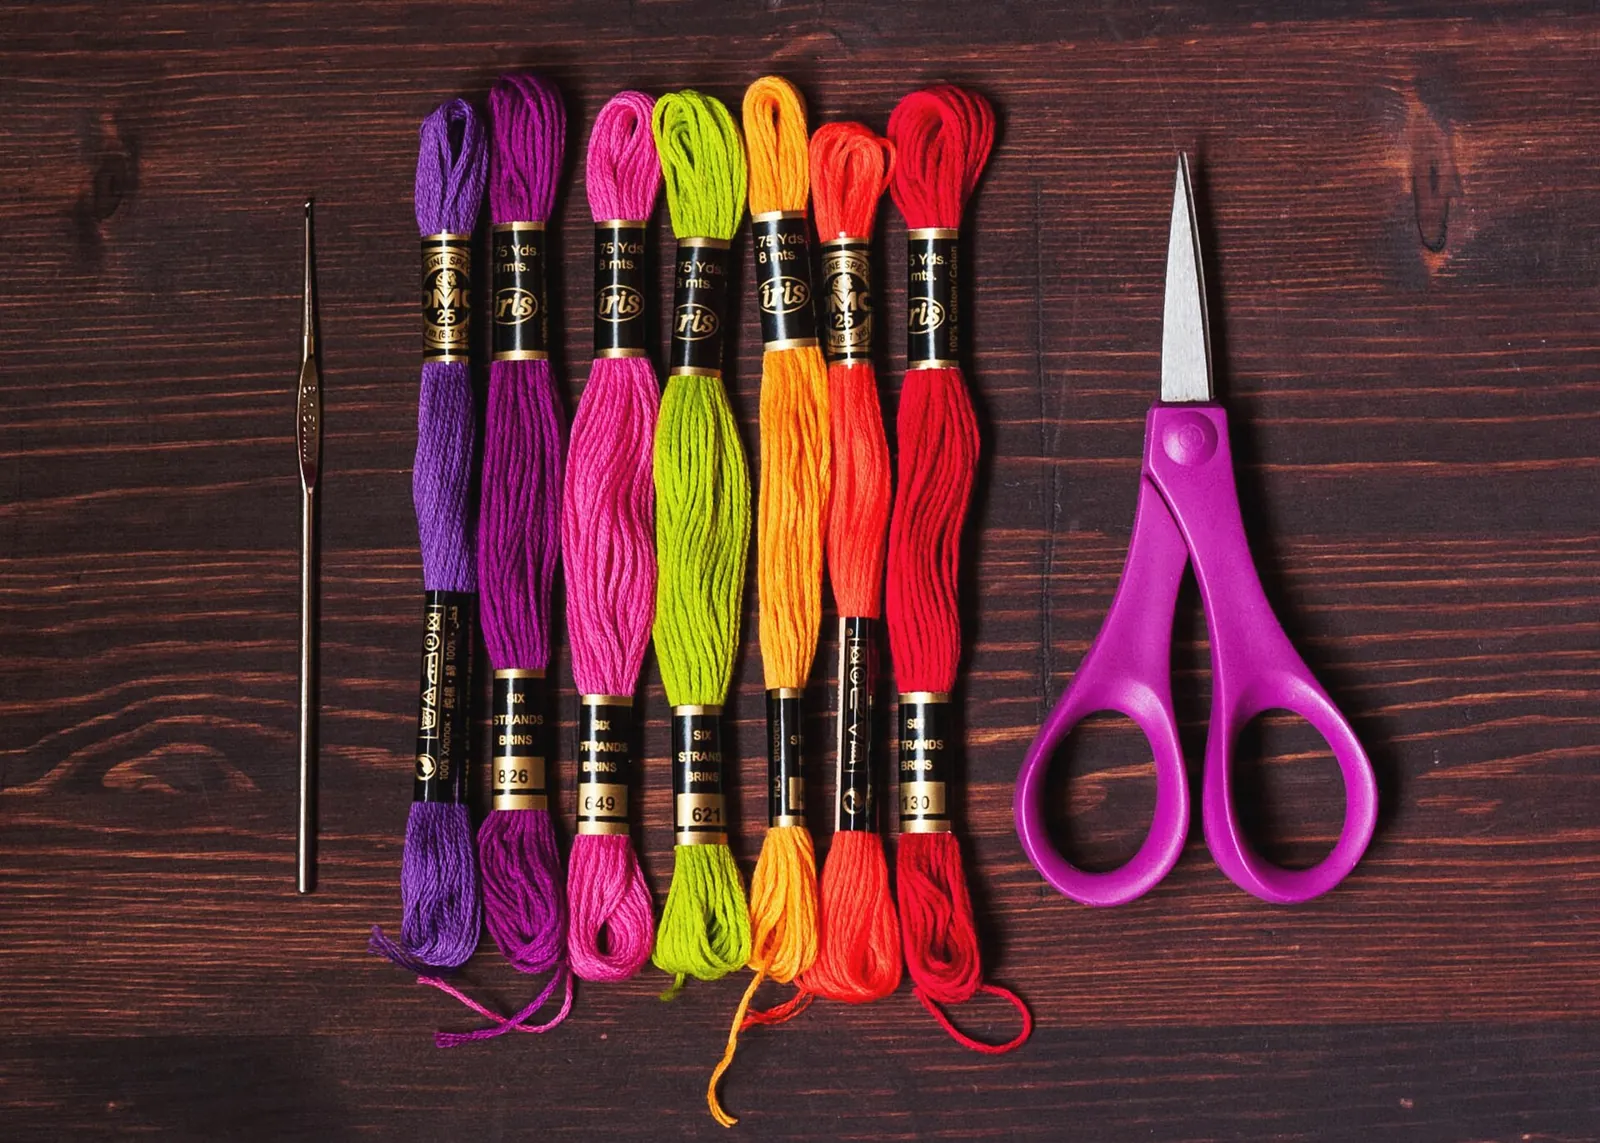
- Six-strand cotton embroidery floss: one skein each of 2 – 4 colors (for example, dark for the name, green for leaves, one or two flower colors)
- Crewel (embroidery) needles, size 7 or 8
- Small sharp embroidery scissors
- Water-soluble fabric marker or a sharp pencil
- Printed design: the name in a simple script or print font, letters about 1 in (2.5 cm) tall
- Square of felt about 7 in (18 cm) for backing, plus sewing thread to match
- Optional: ribbon or twine for hanging, a needle minder or pincushion
Fabric size check: the design area of a 6 in hoop is the 6 in circle, and you need about 2 in (5 cm) of extra fabric on every side to grip and to finish the back, so 6 + 2 + 2 = 10 in. Keep the name within about 4½ in (11.5 cm) of width so it does not crowd the rim.
Tip: Before you trace onto the gift fabric, test your marker on a scrap: mark it, then remove the mark exactly as the pen's instructions say. Some marks can become permanent if ironed, so never press over the lines until they are gone.
The five stitches you need
- Backstitch: a solid line worked backward against the direction of travel: come up one stitch-length ahead, go down at the end of the previous stitch. Best for print lettering and straight lines.
- Stem stitch: a twisted rope-like line. Each stitch starts halfway back along the previous one, with the working thread kept on the same side of the needle every time. Best for script lettering and stems, with shorter stitches on tight curves.
- Detached chain (lazy daisy): a single loop held down at its tip by a small tacking stitch. Several arranged in a circle make a daisy.
- French knot: a raised dot made by wrapping the thread once or twice around the needle and going back down very close to where it came up, keeping the thread taut.
- Satin stitch: closely laid parallel stitches that fill a small shape. Keep each stitch short (the Royal School of Needlework suggests about 3 mm on its stitch page) and, if you like, outline the shape in split stitch first for a crisp edge.
How to make the hoop
Plan the design
Print the name at about 1 in tall and center it on a 6 in circle drawn on paper. Add a small sprig on one side or a few daisies and leaves below the name. Simple shapes work best on a first piece: three to five daisies, a handful of leaves and a single curved stem.
Transfer it
Tape the printout to a bright window or light box, center the fabric over it with the grain straight, and trace the lines lightly with the water-soluble marker. Mark each daisy with a dot for the center and short dashes for the petal tips rather than drawing every petal.
Hoop the fabric
Loosen the screw and separate the rings. Lay the inner ring on the table, place the fabric over it with the design centered, press the outer ring down over both, and tighten the screw partway. Gently pull the fabric edges, keeping the grain straight, until the surface is drum-tight, then tighten the screw fully.
Prepare the floss
Cut a length no longer than your fingertip-to-elbow, about 18 in (45 cm); DMC advises no more than about 50 cm because longer thread wears and frays. Pull the six strands apart one at a time and recombine the number you need: three strands for a bold name, two for a finer line and for the flowers.
Stitch the name
Start with a small knot on the back, or leave a short tail to weave in later. Work script letters in stem stitch and print letters in backstitch, keeping stitches about ⅛ in (3 mm) long, shorter around tight curves. At the end of each length, run the needle under several stitches on the back to secure it, and carry thread between letters only when they are close; for longer gaps, finish off and start again so the dark floss does not show through.
Add the flowers and leaves
For each daisy, come up at the center, go back down in the same hole leaving a small loop, come up at the petal tip inside the loop, and make a tiny stitch over it. Repeat five or six times around the center, then fill the center with one to three French knots. Fill each leaf with satin stitch, angling the stitches from the center vein out to the edge, and add the stem in stem stitch.
Remove the marks
Check the front for any visible lines and remove them as the pen's instructions direct (most water-soluble markers need a cool-water dab or spritz). Let the fabric dry completely in the hoop, then tighten the screw again.
Finish the back
Trim the fabric to a circle about 1 in (2.5 cm) beyond the hoop. With strong thread, sew a running stitch around the edge, pull it to gather the fabric over the inner ring and knot it. Trace the outer hoop onto felt, cut just inside the line, and whipstitch the felt to the gathered fabric all the way around, starting with a stitch through the fabric only to hide the knot.
Safety notes
- Keep needles in a pincushion or needle minder, not loose on the sofa, and count them back in when you finish.
- Children old enough to embroider should use a blunter needle and work with an adult nearby; small scissors and needles belong out of reach of toddlers.
- If you glue the backing instead of stitching it, hot glue can cause burns: use a low-temperature gun and keep fingers clear of the nozzle.
- A hoop is wall decor, not a toy. In a nursery, hang it securely and out of reach of the crib.
Gift ideas and packaging
A name and birth date make a lovely gift for new parents; a couple's initials, wedding date and a sprig of their wedding flowers suit an anniversary; a pet's name with a paw print works for any animal lover. Tie a loop of ribbon through the hoop screw for hanging. Wrap the finished hoop in tissue and tuck it into a flat box or a fabric gift bag to protect the stitches. For more ideas along these lines, see our personalized gifts and the sewing projects section. If you enjoy hand stitching, the felt heart keychains use similar skills.
Frequently asked questions
What fabric is best for beginner embroidery?
A medium-weight, tightly woven cotton or linen with no stretch. Quilting cotton and linen blends are easy to find and hold stitches well. Avoid knits and very sheer fabrics on a first project.
How many strands of floss should I use?
Six-strand floss is usually split before stitching. Three strands give a bold, readable line, two a finer line, and one is for delicate detail. Follow the pattern when it specifies a number.
Can I wash an embroidered hoop?
A finished hoop is not meant to be washed. Dust it with a soft brush. If you need to remove marker before finishing, follow the pen's instructions and let the fabric dry completely.
Why is my fabric puckering?
Usually the fabric was not tight enough in the hoop, or stitches were pulled too hard. Heavy thread in very small stitches can also pucker the fabric, so lengthen stitches slightly when using more strands.
Sources
- Royal School of Needlework Stitch Bank — Back stitch. rsnstitchbank.org
- Royal School of Needlework Stitch Bank — Stem stitch. rsnstitchbank.org
- Royal School of Needlework Stitch Bank — Detached chain stitch. rsnstitchbank.org
- Royal School of Needlework Stitch Bank — French knot. rsnstitchbank.org
- Royal School of Needlework Stitch Bank — Satin stitch. rsnstitchbank.org
- DMC — How to use stranded embroidery thread. dmc.com
- Needle 'n Thread (Mary Corbet) — How Many Strands Should I Use? needlenthread.com
- Embroiderers' Guild of America — Guide to Embroidery Needles. egausa.org
- Crewel Ghoul — How to Back an Embroidery Hoop With Felt. crewelghoul.com
Image credits. Top image: Embroidery floss by LornaWatt, CC BY 2.0, via Wikimedia Commons
Spotted something out of date or a gift that's no longer available? Tell our editors — we review every correction.