How to make polymer clay earrings to give as a gift
Lightweight, colorful and cheap to make, polymer clay earrings are an easy first handmade jewelry gift. Here is the full process, from conditioning to card-mounting.
Quick answer
Condition the clay until it is soft, roll it to an even sheet, cut shapes with small cutters, pierce a hole for the jump ring, then bake on a lined tray at the time and temperature printed on your clay's package. Once cool, sand the edges, add jump rings and ear wires, and mount the pair on a card. Plan on an afternoon for your first set.
- Time 2–3 hours, plus cooling
- Difficulty Easy
- Cost $20 – $40 for a starter kit that makes many pairs
- Makes 4–8 pairs from a few small blocks
Polymer clay is a PVC-based modeling clay that stays soft until it is baked in a home oven. That makes it forgiving for beginners: you can reshape a piece as often as you like before it goes in. Earrings are a good first project because the shapes are small, the clay is light enough to wear all day, and a single block in a few colors goes a long way. If you are making a batch of handmade presents, see our wider collection of DIY gifts and the clay and resin projects.
What you need
- Polymer clay in 2–4 colors (a brand made for jewelry tends to be firmer and stronger after baking)
- A smooth work surface: ceramic tile, glass mat or parchment paper
- An acrylic roller, or a pasta machine kept only for clay
- Small clay cutters (circles, arches, teardrops) or a craft knife
- A needle tool or thick sewing needle for piercing holes
- A baking tray or tile lined with parchment or plain printer paper
- An oven thermometer
- Wet-dry sandpaper in a few fine grits (optional, for smoother edges)
- Jump rings, ear wires or studs with flat pads, and two pairs of flat-nose pliers
- Strong jewelry glue suitable for metal and plastic, if you use stud backs
- Earring cards and a small box or pouch for gifting
Tip: Choose hypoallergenic findings (often labeled nickel-free, surgical steel, titanium or sterling silver) if you do not know whether the recipient has sensitive ears. The clay rarely touches the skin; the metal does.
Step-by-step instructions
Condition the clay
Knead, twist and fold the clay in your hands until it is soft, pliable and does not crack when bent. Firm clay takes a few minutes; a pasta machine speeds this up by folding and re-rolling the sheet. Clean your hands or wipe them with a baby wipe between colors so dark pigments do not stain light ones.
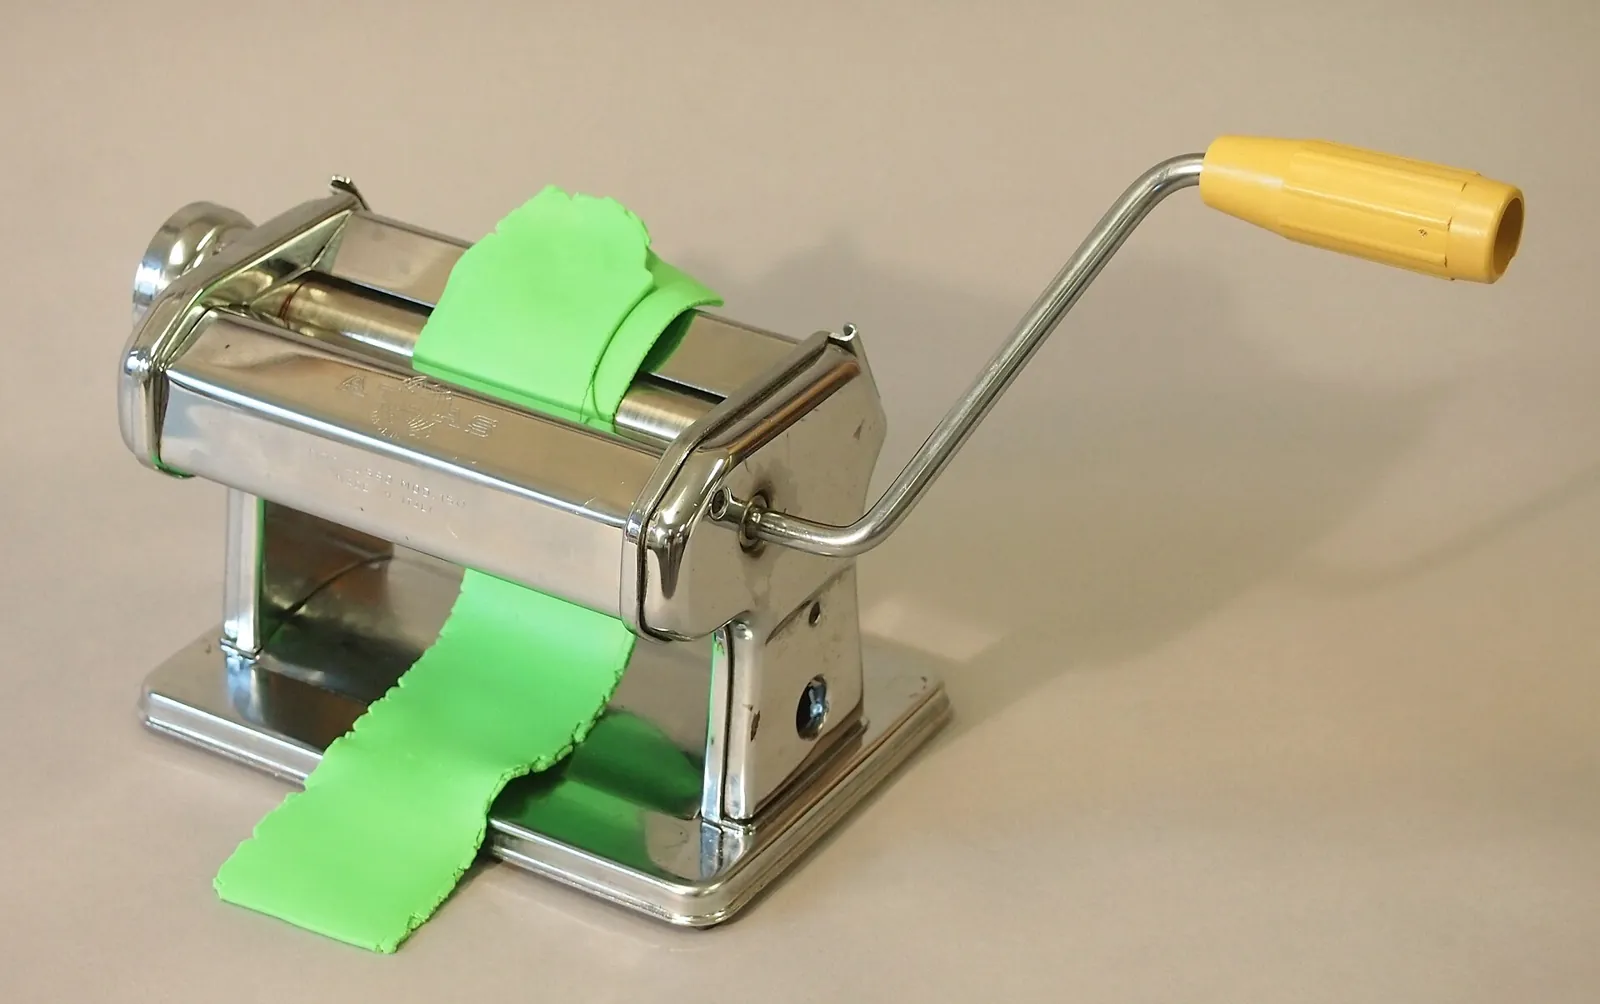
Conditioning polymer clay with a pasta machine Plan the design
Simple designs look most polished: a solid arch over a small circle, a terrazzo slab with flecks of contrasting color, or two-tone stripes. Sketch a few pairs and decide which piece hangs on top. Keep each finished earring small enough to feel light; large slabs can tug on the earlobe.
Roll an even sheet
Roll the clay to an even thickness, roughly that of a few stacked playing cards, so pieces are sturdy without being heavy. Even thickness matters more than the exact number, because uneven pieces bake and wear differently. Work on parchment so you can move the whole sheet without distorting it.
Cut matching shapes
Press cutters straight down and lift them cleanly. Cut both earrings of a pair from the same area of the sheet so the pattern matches. Smooth any rough edges gently with a fingertip; fewer fingerprints now means less sanding later.
Pierce the holes
Use a needle tool to make a hole near the top of each hanging piece, and at the top and bottom of any connector pieces. Leave enough clay around each hole (at least a couple of millimeters) so it does not tear when a jump ring goes through. For studs you can skip holes and glue the post on after baking.
Bake as the package directs
Move the pieces, still on their paper, onto a tray. Bake at the temperature and for the time printed on your clay's package, because these differ between brands and product lines. Place an oven thermometer next to the tray: home ovens often run hotter or cooler than the dial says, and an overheated oven can scorch clay. Keep the room ventilated while baking and let an adult handle the oven if children are helping.
Cool, sand and finish
Let the pieces cool completely; polymer clay finishes hardening as it cools. If edges are rough, sand them under a little water with fine wet-dry paper, which keeps dust down. Many makers leave a matte finish; if you want gloss, use a glaze made for polymer clay and follow its label.
Attach the findings
Open jump rings by twisting the ends sideways with two pliers rather than pulling them apart, so they close neatly. Link the clay pieces, then attach the ear wire. For studs, glue the post pad to the back of the piece with a jewelry glue, and let it cure for as long as the glue's label says before handling.
Safety notes
- Bake only at the temperature on the package and do not let the clay burn; scorched clay releases unpleasant fumes. Open a window or run the hood fan while baking.
- Sculpey says it is safe to bake its clay in your home oven, but tools that touch clay (rollers, cutters, a pasta machine) should stay out of food preparation for good.
- Polymer clay is not meant for items that hold food or drink. Earrings, charms and ornaments are fine.
- Do not microwave polymer clay.
- Craft knives and needle tools are sharp; children should work with plastic cutters and an adult nearby.
- When sanding, use water to keep dust down, and do not rinse the dust down the sink; wipe it up and put it in the trash.
Design ideas that make good gifts
Match the earrings to the person rather than to a trend. A few ideas that work well for beginners:
- Birth-month colors: pick shades that echo the recipient's birthstone. Our birthstones by month list is a handy color chart.
- Terrazzo or speckled slabs: chop tiny bits of baked or raw clay in two or three colors and press them into a pale base sheet before cutting.
- Seasonal sets: small hearts for Valentine's Day, pumpkins in fall, or snowflake cutouts for winter.
- A matching pair for two: make one set for yourself and one for a sister or best friend in the same palette.
How to package earrings as a gift
Earrings look most finished on a card. Punch two holes in a small piece of card stock about an inch apart, thread the ear wires through, and secure studs with their backs. Write the clay brand and the metal of the findings on the back, which helps anyone with metal sensitivities. Slip the card into a small kraft box or a cotton pouch with a scrap of tissue. For a fuller present, pair the earrings with a handwritten note or tuck them into a larger box of jewelry gifts, and see how to make your own gift tags for a matching label.
Frequently asked questions
What temperature do you bake polymer clay earrings at?
Use the temperature and time printed on your clay's package. They vary between brands and product lines, so do not rely on a single number from another source. An oven thermometer helps you confirm your oven matches the setting.
Can I bake polymer clay in my kitchen oven?
Sculpey says its clay is safe to bake in the oven you use for food. Ventilate the room, keep the clay from scorching, and keep clay tools separate from kitchen utensils.
Why did my earrings break after baking?
The most common causes are under-baking (oven too cool or time too short), pieces rolled too thin, or holes placed too close to the edge. Check your oven with a thermometer and keep pieces a sturdy, even thickness.
Are polymer clay earrings waterproof?
Baked clay itself handles splashes, but metal findings can tarnish. Ask the recipient to take earrings off before swimming or showering and store them dry.
Sources
- Sculpey — Frequently Asked Questions (baking, ventilation, food use, sanding). sculpey.com
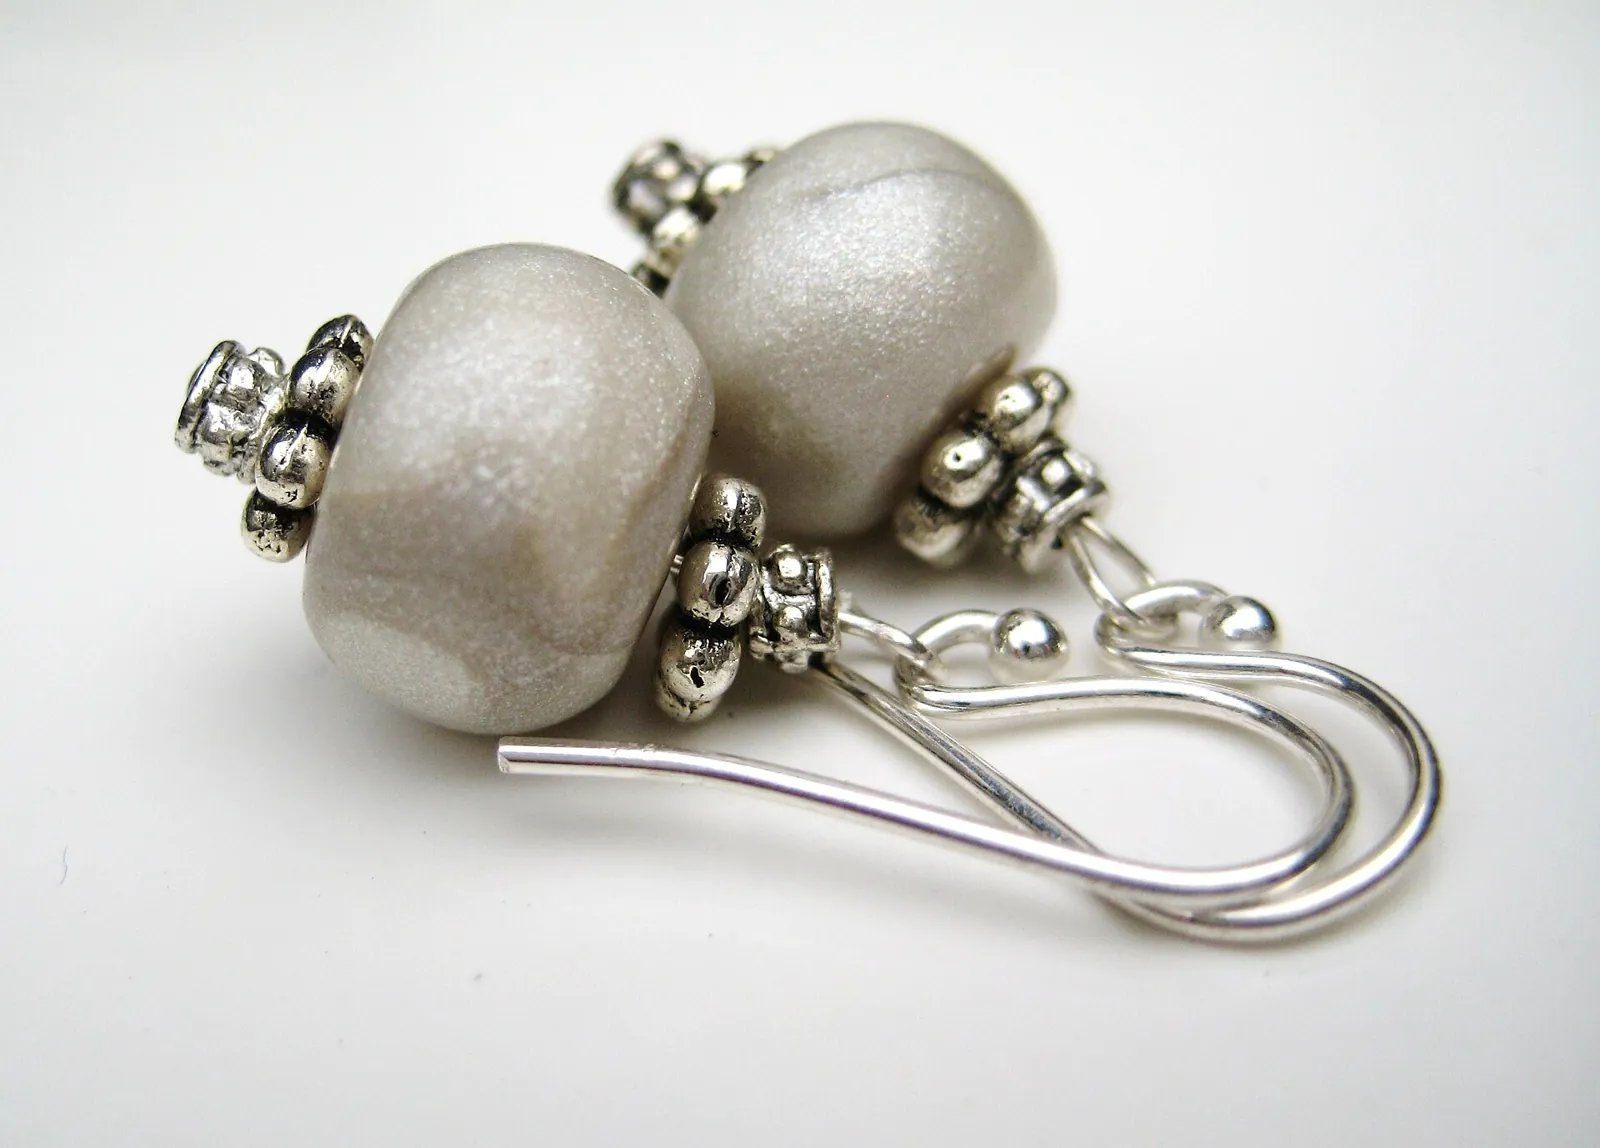
Image credits. Top image: Elegant silver and pewter earrings by Heather, CC BY 2.0, via Wikimedia Commons · In-article image: Polymer clay conditioning by Dan Bollinger, CC BY-SA 3.0, via Wikimedia Commons
Spotted something out of date or a gift that's no longer available? Tell our editors — we review every correction.