How to wrap a box neatly, step by step
Measure the right amount of paper, hide the seam and fold crisp ends with this step-by-step method for wrapping any rectangular box.
Quick answer
To wrap a box neatly, cut paper that goes all the way around the box with about 2 inches of overlap, and that extends past each end by a little more than half the box's height. Fold the raw edge under for a clean seam, tape it along the center of the bottom, then fold each end in the same order: sides in, top flap down, bottom flap up. Crease every fold with your fingernail and use small pieces of double-sided tape so nothing shows.
- Time 5 – 10 minutes per box
- Difficulty Easy
- Cost Under $10 for paper, tape and ribbon
- Makes One neatly wrapped box
What you'll need
- Wrapping paper (medium weight paper is easier than very thin or foil-coated paper)
- Sharp scissors, or a craft knife, metal ruler and cutting mat for perfectly straight edges
- Double-sided tape for invisible seams, and regular clear tape as backup
- A tape measure or ruler
- Ribbon, a gift tag and an optional bow
- A clean, flat surface such as a table or a hard floor
Step-by-step: wrapping a rectangular box
Prepare the box
Wrapping is easiest with a firm box with square corners. If the gift is in a soft or dented retail box, put it in a sturdier gift box first. Remove price tags and close any flaps with a little tape so the box stays flat.
Measure the paper
Lay the paper face down and place the box face down on it. For the length, wrap the paper loosely around the box and add about 2 inches of overlap. For the width, the paper should extend past each end of the box by a little more than half the height of the box (about two-thirds is a good target). Too much paper at the ends is the most common cause of bulky, messy corners.
Cut a straight edge
Cut along the grid lines printed on the back of many papers, or score a line with a ruler and a dull knife first. If your scissors are sharp, you can slide them along the paper in one smooth motion instead of snipping. Straight edges make the finished seam look professional.
Make the long seam
Center the box. Bring one long side of the paper up over the box and tape it in place with a strip of double-sided tape. Fold the opposite edge under by about ½ inch to hide the cut edge, add double-sided tape under the fold, and pull it snugly over the box. Line the seam up with an edge or the middle of the box bottom so it's out of sight.
Fold the first end
Turn the box so one open end faces you. Push the two side flaps in toward the box; they'll form triangles at the top and bottom. Crease all four diagonal edges firmly with your fingernail.
Close the end
Fold the top triangle flap down against the end of the box and crease. Fold the bottom triangle under by ½ inch for a clean edge if you like, add a piece of double-sided tape, and fold it up so it overlaps the top flap. Press firmly. Repeat the same order on the other end so both ends match.
Sharpen the edges
Pinch each of the box's long edges between your thumb and finger and run along them to create crisp lines. This simple step makes inexpensive paper look much neater.
Add ribbon and a tag
Wrap ribbon around the box in a cross, tie a bow at the top or on one corner, and trim the ends at an angle or into a V notch so they don't fray. Add a tag with the recipient's name.
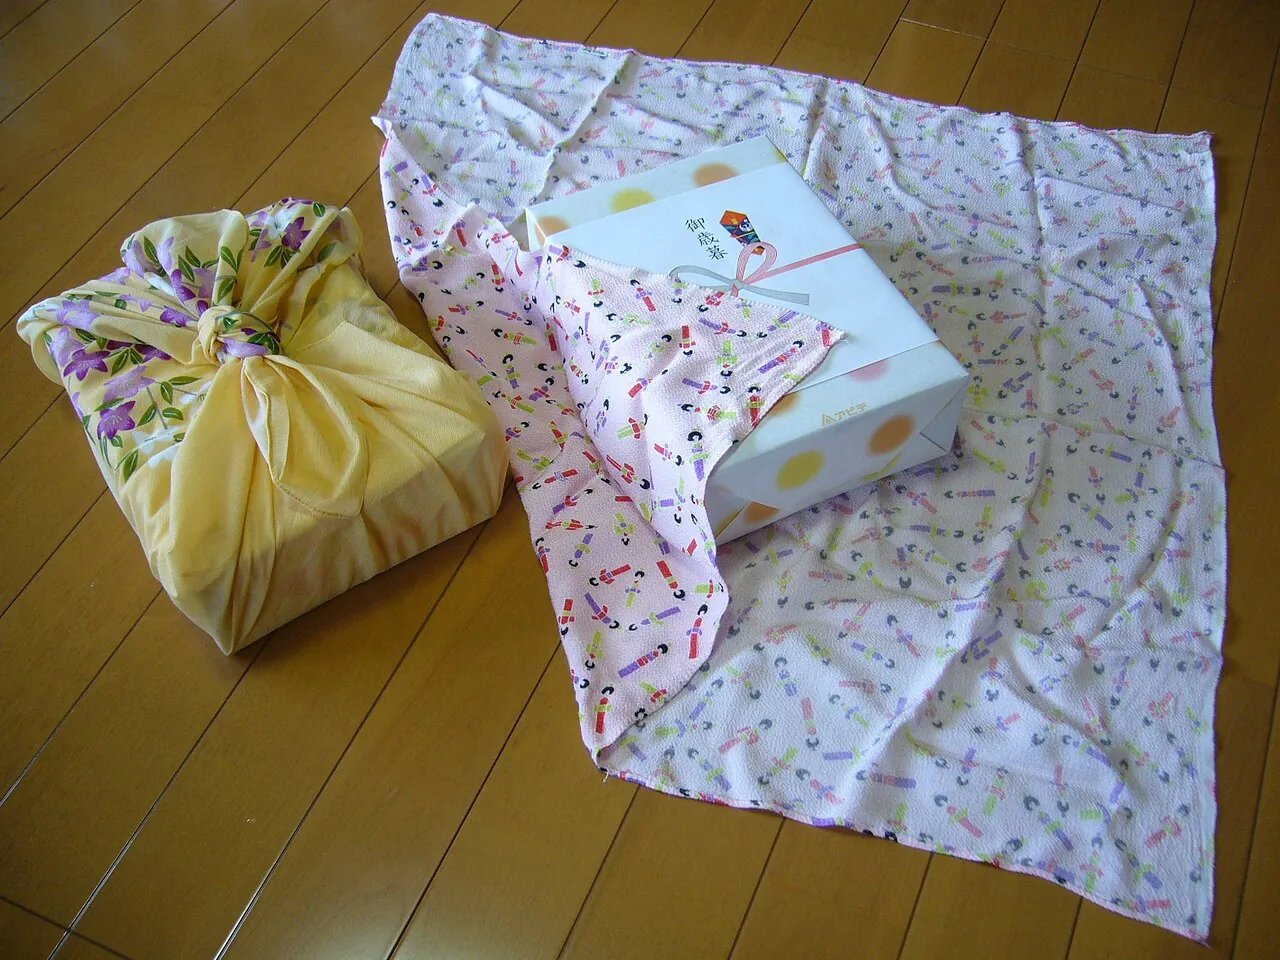
Tip: If the paper doesn't quite reach around the box, turn the box diagonally on the sheet. Set it in the middle of a square-ish piece, fold two opposite corners over the top so they overlap, then fold in the sides of the remaining two corners and bring them up like envelope flaps. A diagonal wrap often covers a box that a straight wrap can't.
Common mistakes and fixes
- Bulky ends: you have too much paper at the ends. Trim it back to a little more than half the box height.
- Visible tape everywhere: use double-sided tape under folds, and keep regular tape to small, straight pieces placed in the same spot on each end.
- Torn corners: the paper is pulled too tight over a sharp corner. Ease off slightly and crease rather than stretch.
- Box pattern looks crooked: line the paper's pattern up with one edge of the box before taping the first side.
- Not enough paper: patch it with a strip of contrasting paper or a wide ribbon band over the gap instead of starting again.
Wrapping square, tall and very large boxes
Square boxes
Use the same method, but pay extra attention to centering: on a cube, uneven paper at the ends is easy to see. Measure the end flaps on both sides before you tape.
Tall, narrow boxes
Wrap the seam up the back of the box rather than on the bottom, and close the bottom end first so the box can stand while you finish the top.
Very large boxes
Join two sheets with double-sided tape along a folded edge, or use plain kraft paper from a roll and add a wide ribbon. Large flat boxes can also be wrapped on the floor, which gives you more room.
Safety notes
Cut away from your body and fingers, close craft knives after each use, and keep blades and scissors away from children. If kids are helping, give them blunt-tip scissors and let them add stickers, stamps or tags.
Finishing touches
Plain kraft paper with twine and a sprig of greenery looks elegant at any time of year. For reusable alternatives, see our eco-friendly gift wrapping ideas and the tape-free methods in how to wrap gifts without tape. Gifts that aren't boxes are covered in how to wrap odd-shaped gifts, and there's more in our gift wrapping section.
Frequently asked questions
How much wrapping paper do I need for a box?
Enough to go around the box with about 2 inches of overlap, and wide enough to extend past each end by a little more than half the box's height.
How do you hide tape when wrapping a gift?
Use double-sided tape under folded edges. The seam and the end flaps then hold without any tape showing.
Why do my wrapped corners look bulky?
Usually there is too much paper at the ends. Trim the excess so the end flaps just overlap, and crease each fold firmly.
Should the seam go on the top or the bottom?
On the bottom, along an edge or the center line, so the top of the gift looks seamless.
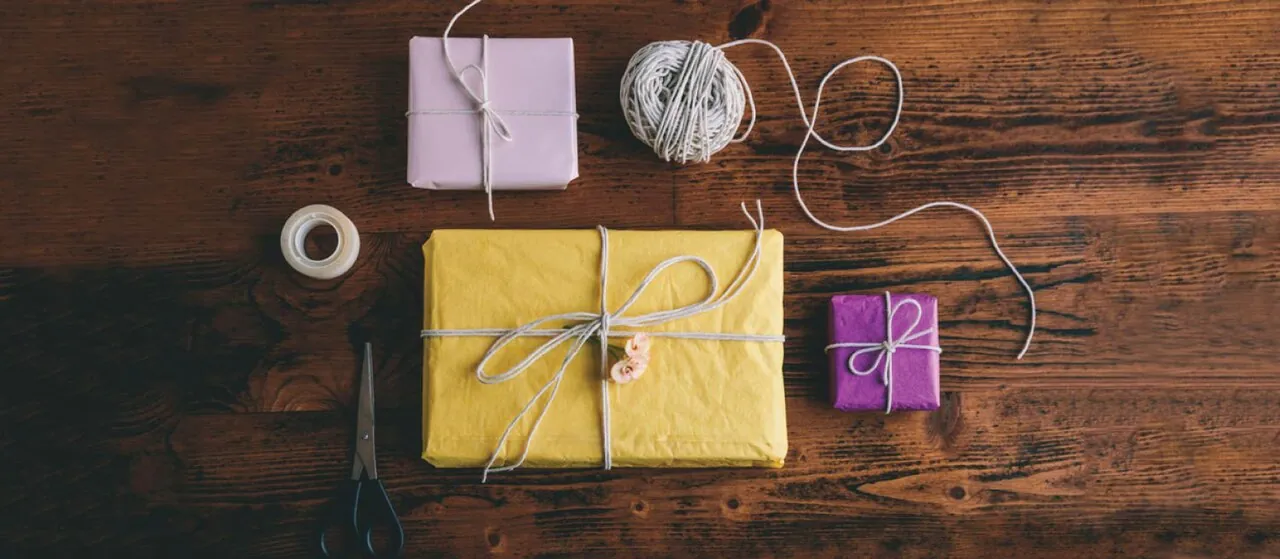
Image credits. Top image: Wrapped gifts with string and paper tape scissors on wood table (18495564258) by Personal Creations, CC BY 2.0, via Wikimedia Commons
Spotted something out of date or a gift that's no longer available? Tell our editors — we review every correction.