Homemade Christmas cards: 5 easy designs to make
Five homemade Christmas card designs anyone can make, with the cardstock weight, envelope sizes and mailing rules that keep them looking good when they arrive.
Quick answer
Start with 80 lb (about 216 gsm) cardstock cut to 8½ × 5½ inches and folded in half: it makes a 4¼ × 5½ inch card that fits a standard A2 envelope (4⅜ × 5¾ inches). Then pick a design: a pop-up tree, a button tree, a stamped or embossed card, a watercolor wash, or a kid's thumbprint card. Keep anything bulky flat if you plan to mail it, because lumpy or square envelopes can cost extra postage.
- Time 10 – 30 minutes per card, less when you batch
- Difficulty Easy to moderate (the pop-up takes the most care)
- Cost About $15 – $35 for a pack of cardstock, envelopes and basic supplies; well under $1 per card in a batch
- Makes Two card bases per letter-size sheet
These five designs are all built on the same folded base, so you can make one style for everyone or mix them. If you want a general card-making walkthrough (layering, scoring, adhesives) first, see how to make handmade greeting cards.
Materials, card weight and envelope sizes
- Cardstock for the base: 80 lb cover (about 216 gsm) is a good all-round weight; Cricut's card-making guide recommends 100 – 110 lb for pop-up or extra-sturdy cards
- Lighter cardstock (around 65 lb) for layers and cut shapes
- Bone folder or scoring tool, metal ruler, craft knife and cutting mat, scissors
- Glue stick or double-sided tape; foam adhesive dots for raised layers; strong craft glue for buttons
- Envelopes to match your card size
- Design extras (per design below): buttons, a rubber stamp and ink pad, embossing folder or heat-embossing supplies, watercolor paper and paints, a washable ink pad and fine markers
Common sizes. A letter-size sheet (8½ × 11 inches) cut in half gives two 8½ × 5½ inch pieces, each folding to a 4¼ × 5½ inch card. French Paper lists the matching A2 envelope at 4⅜ × 5¾ inches, the A6 at 4¾ × 6½ inches for note cards and 4 × 6 photos, and the A7 at 5¼ × 7¼ inches for 5 × 7 cards. Leave about ⅛ inch of clearance around the card so it slides in easily.
Score before you fold. Run a bone folder along a ruler on the fold line, then fold. Heavier cardstock cracks along the fold if you skip this. If it still cracks, Cricut suggests turning the paper 90 degrees and scoring in the other direction.
Five easy Christmas card designs
Pop-up Christmas tree
Fold an inner card in half. Near the middle of the fold, cut two parallel slits from the folded edge inward, about 1 inch deep and 1 inch apart. Fold the strip between them forward and back to crease it, then open the card halfway and push the strip through to the inside: it becomes a small box-shaped tab that stands up when the card opens. Cut a paper tree (a stack of green triangles works well, or patterned paper) and glue its lower part to the front face of the tab, keeping the tree clear of the fold so it doesn't stick out when closed. For a forest, add two shorter tabs on either side. Glue this inner card into a slightly larger outer card, keeping glue off the tab area, so the cuts are hidden. Heavier cardstock (100 – 110 lb) keeps the tab crisp; try it on scrap first.
Button tree
Draw a light pencil triangle on the front of the card and a short brown rectangle for the trunk. Arrange buttons inside the triangle, largest at the bottom and smallest at the top, with a star button or a paper star on top. Glue them down with strong craft glue and let them dry flat under a light book. Flat, two-hole buttons look neatest. This card is the one to hand-deliver: raised buttons make an envelope lumpy, which matters for mailing (see below).
Stamped or embossed card
For the quickest card in this list, stamp a snowflake, tree or holly motif with pigment ink and add a short greeting. For a raised effect, run the card front through a dry embossing folder, or try heat embossing: stamp with embossing ink, sprinkle embossing powder, tap off the excess and melt it with a heat tool. Heat tools get very hot, so use them on a heat-resistant surface, keep them away from children and follow the maker's directions. Embossed white-on-white or gold-on-kraft looks elegant with almost no effort.
Watercolor wash
Use watercolor paper for the painted panel; ordinary cardstock buckles when it gets wet. Tape a panel slightly smaller than your card front to the table, wet it lightly and drop in green, blue or red. While it dries, paint simple shapes: three triangles for a forest, round baubles or a single sprig of holly. Once fully dry, add white gel pen snow or a fine black outline, then glue the panel onto the card base with double-sided tape.
Kid's thumbprint card
Children press a thumb onto a washable ink pad and then onto the card to make baubles hanging from a drawn garland, a column of prints for a snowman, or reindeer heads with drawn antlers and a red nose. An adult can add the greeting and date inside. Choose washable, non-toxic inks (look for the Art and Creative Materials Institute AP seal on the packaging), keep wipes nearby and supervise younger children. These are the cards grandparents tend to keep.
Tip: Batch your cards. Cut and score all the bases in one sitting, then do one design step across the whole stack before moving on. It is faster and the results look more consistent.
Writing inside the card
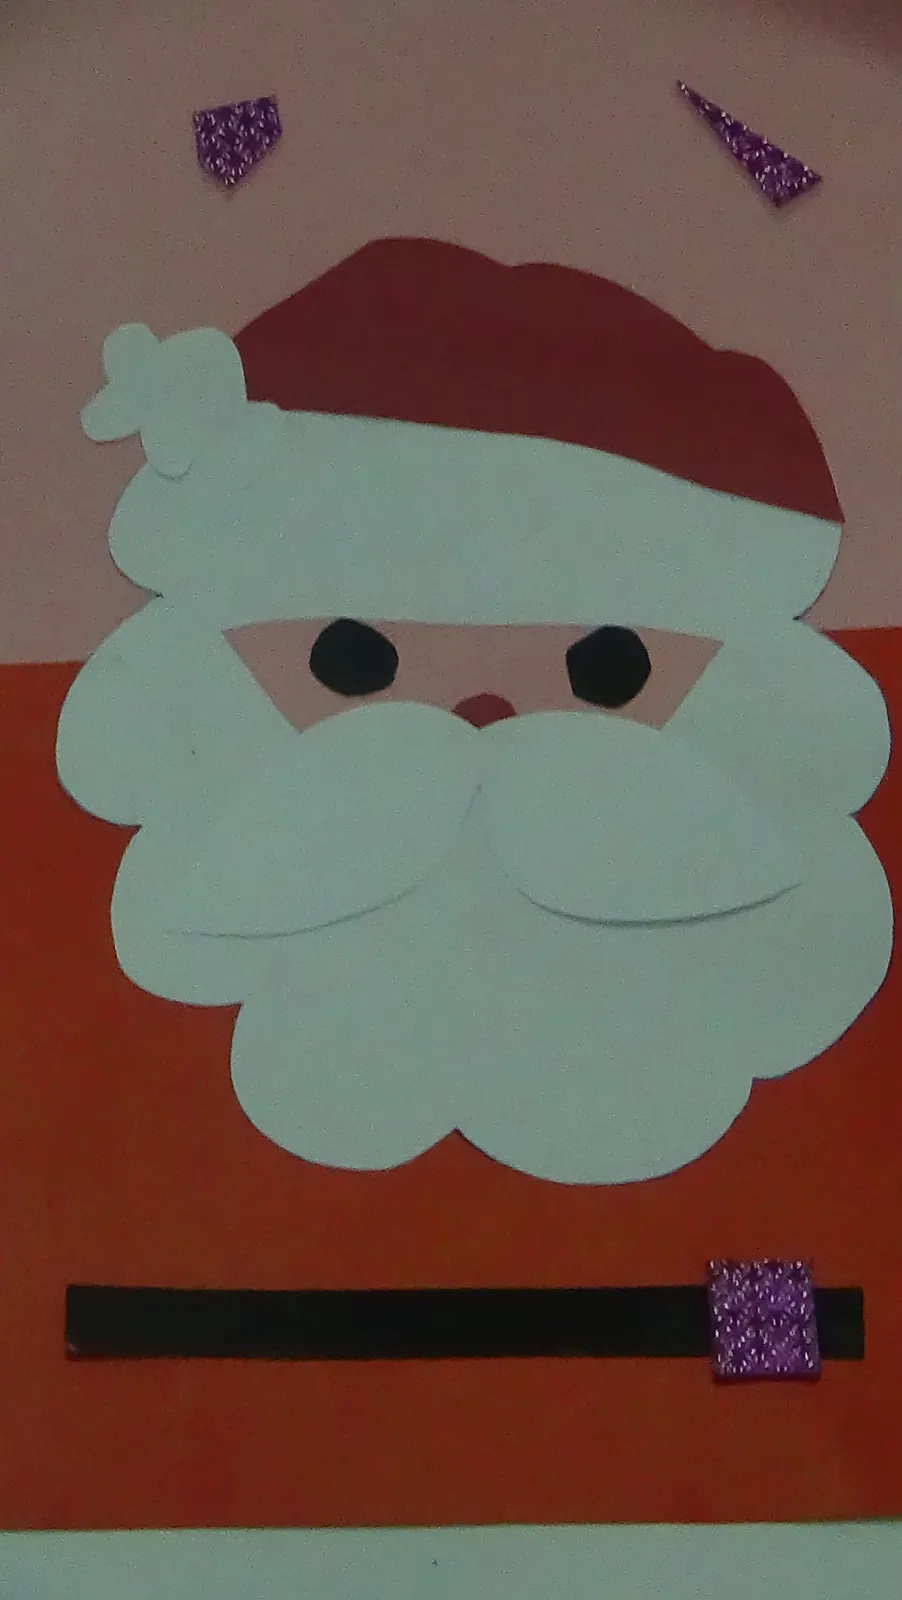
A homemade card earns a handwritten message. Two or three specific lines beat a long generic one: a memory from this year, something you are looking forward to, and a warm sign-off. If you are stuck, our card message ideas can help. For a workplace or client list, see business holiday card etiquette before choosing a design.
Mailing homemade cards
Most flat homemade cards mail like any greeting card, but a few features can change the postage. In the US, USPS Publication 25 lists characteristics that make a First-Class letter "nonmachinable," which adds a surcharge. They include:
- An aspect ratio (length divided by height) under 1.3 or over 2.5, which is why square envelopes usually cost more.
- Clasps, strings, buttons or similar closures on the envelope.
- Items inside that make the thickness uneven.
- Pieces that are too rigid to bend.
So a button tree, thick pop-up or card with a ribbon bow may need extra postage. The simplest approach is to take one finished card to the post office and have it weighed and measured before you stamp the whole batch. Outside the US, check your postal service's letter size and thickness limits (Royal Mail, Canada Post and Australia Post all publish them), since a chunky card can fall into a more expensive category. For timing, see our holiday shipping deadlines.
Giving cards as a gift
A set of six or eight handmade cards with envelopes, tied with twine or tucked into a clear sleeve, is a thoughtful gift in itself for someone who still sends cards. Mix two or three of the designs above, add a few blank ones, and include a book of stamps if your budget allows. For more paper projects, browse paper crafts or our other DIY Christmas ideas.
Frequently asked questions
What weight cardstock is best for Christmas cards?
80 lb cover (about 216 gsm) is a good default for the base: sturdy but easy to fold after scoring. Use heavier 100 – 110 lb stock for pop-ups and lighter stock for layers.
What size envelope do I need for a homemade card?
A 4¼ × 5½ inch card fits an A2 envelope (4⅜ × 5¾ inches). A 5 × 7 inch card fits an A7 envelope (5¼ × 7¼ inches).
Do square Christmas cards cost more to mail?
In the US, usually yes. USPS treats letters with an aspect ratio below 1.3 as nonmachinable, which adds a surcharge. Check the current price at the post office or on the USPS site.
How far ahead should I start making cards?
Give yourself time to make them, write them and mail them before the carriers' holiday cutoffs, especially for international mail. Batching steps makes a stack of 20 cards very doable over a couple of evenings.
Sources
- Cricut — Cardstock for Card Making 101: The Best Supplies, Weights, and Techniques. cricut.com
- French Paper — Envelope Types and Sizes. frenchpaper.com
- USPS — Publication 25, Designing Letter and Reply Mail: Nonmachinable Criteria. about.usps.com
- ASPCA — Crafting with Care (explains the ACMI AP and CL seals on art materials). aspca.org
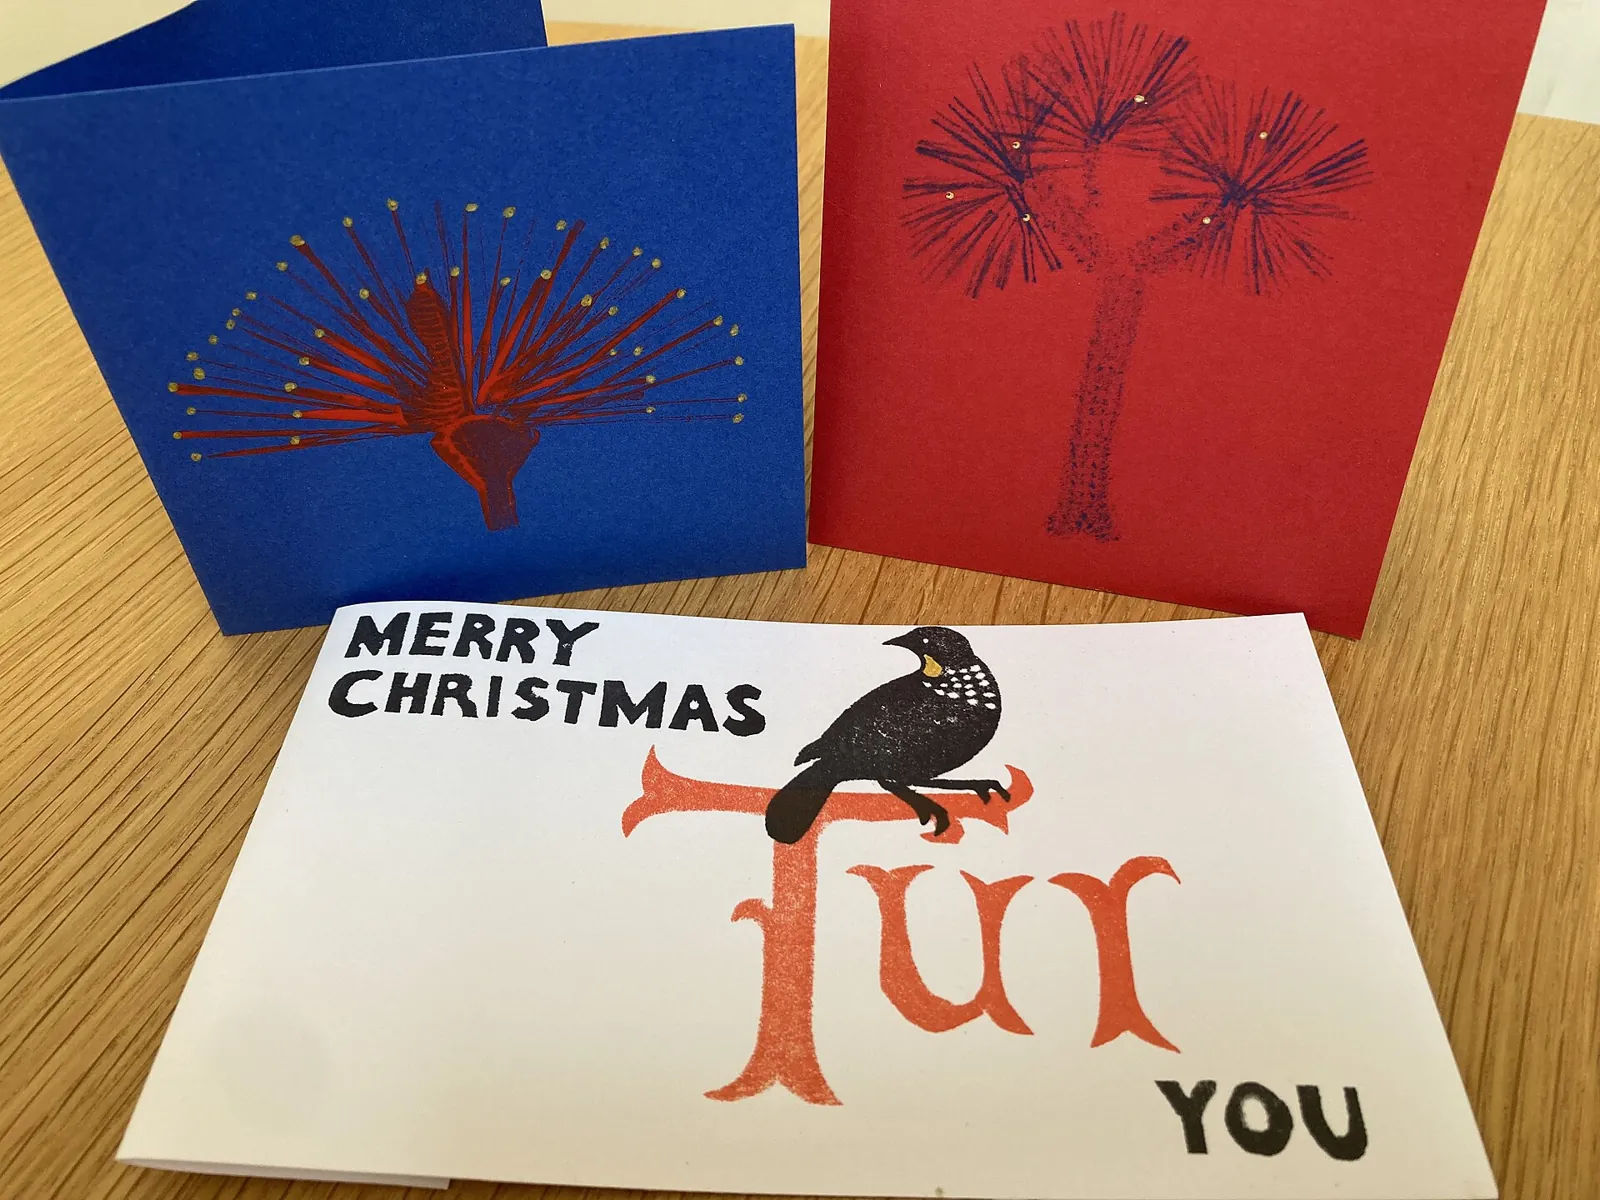
Image credits. Top image: NZ Christmas cards by DrThneed, CC BY 4.0, via Wikimedia Commons · In-article image: A Christmas card having Santa Claus with Red costume and cap by Quratt ul ain, CC BY-SA 4.0, via Wikimedia Commons
Spotted something out of date or a gift that's no longer available? Tell our editors — we review every correction.