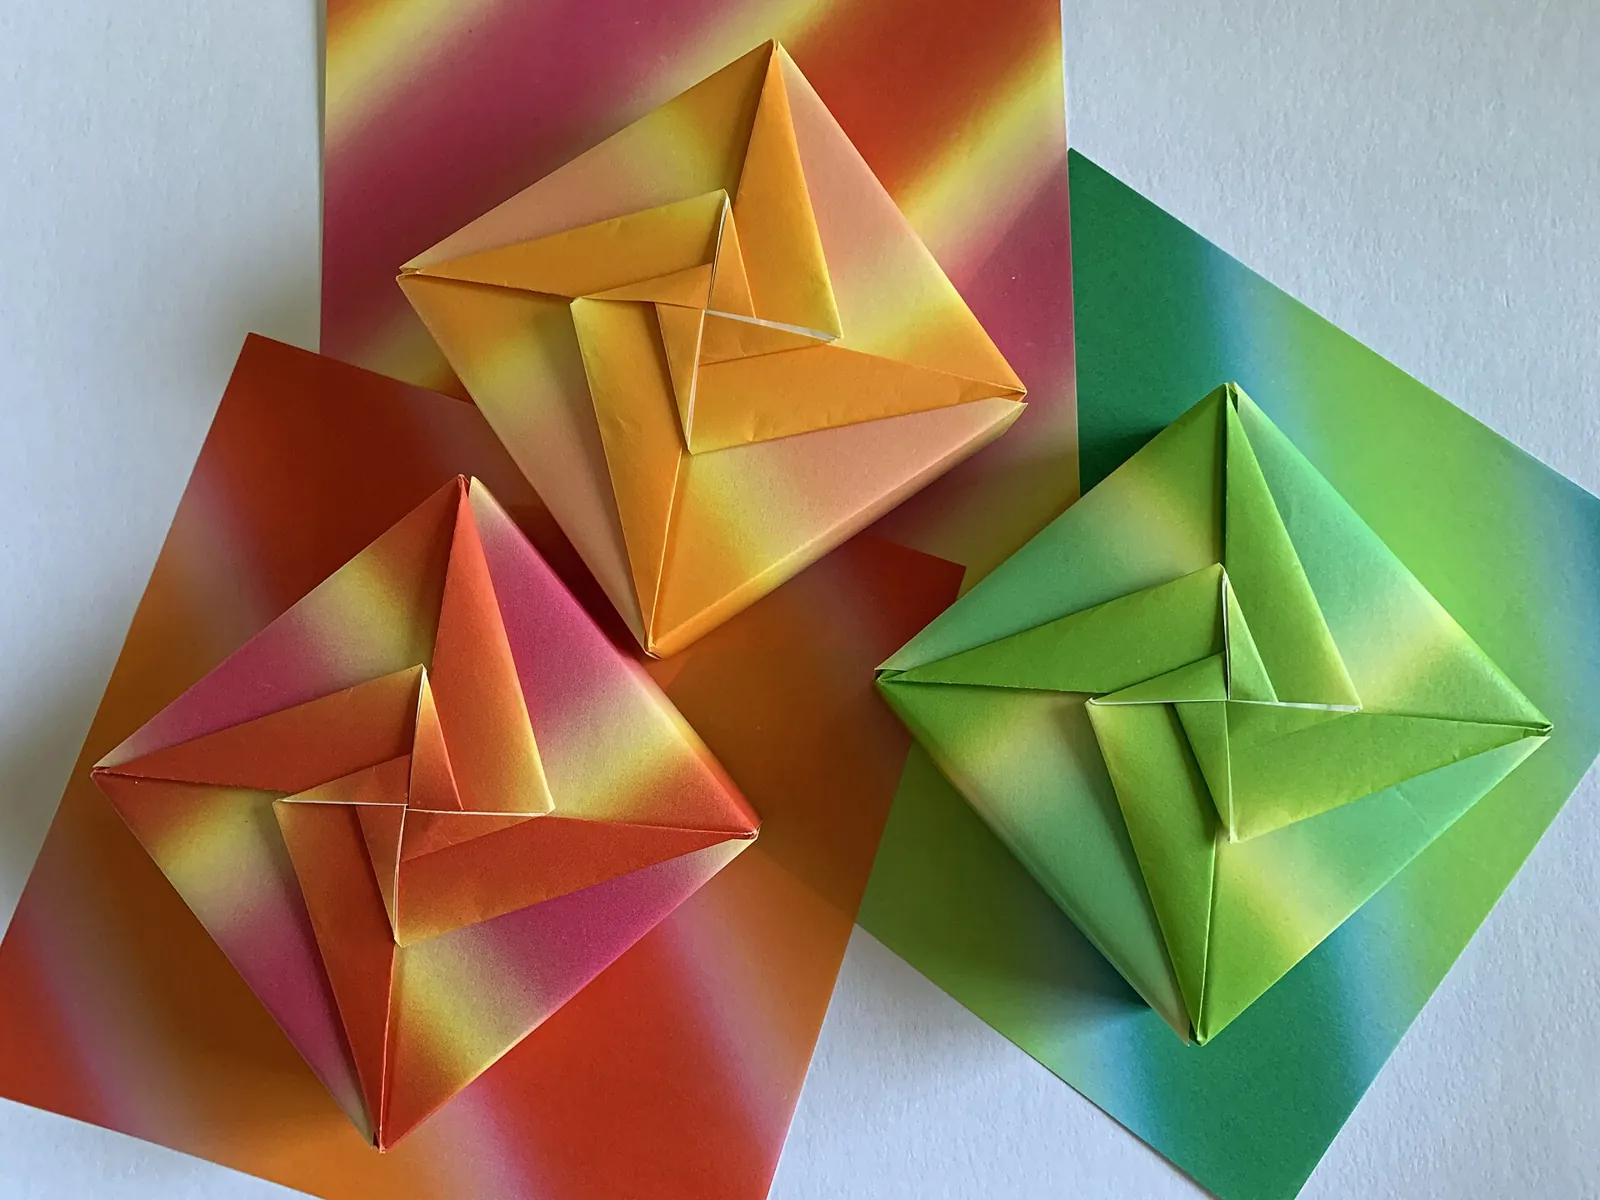
How to make handmade greeting cards
A step-by-step guide to a classic layered card: exact cut sizes in inches and centimeters, clean folds, one focal point and tips for mailing it.
Quick answer
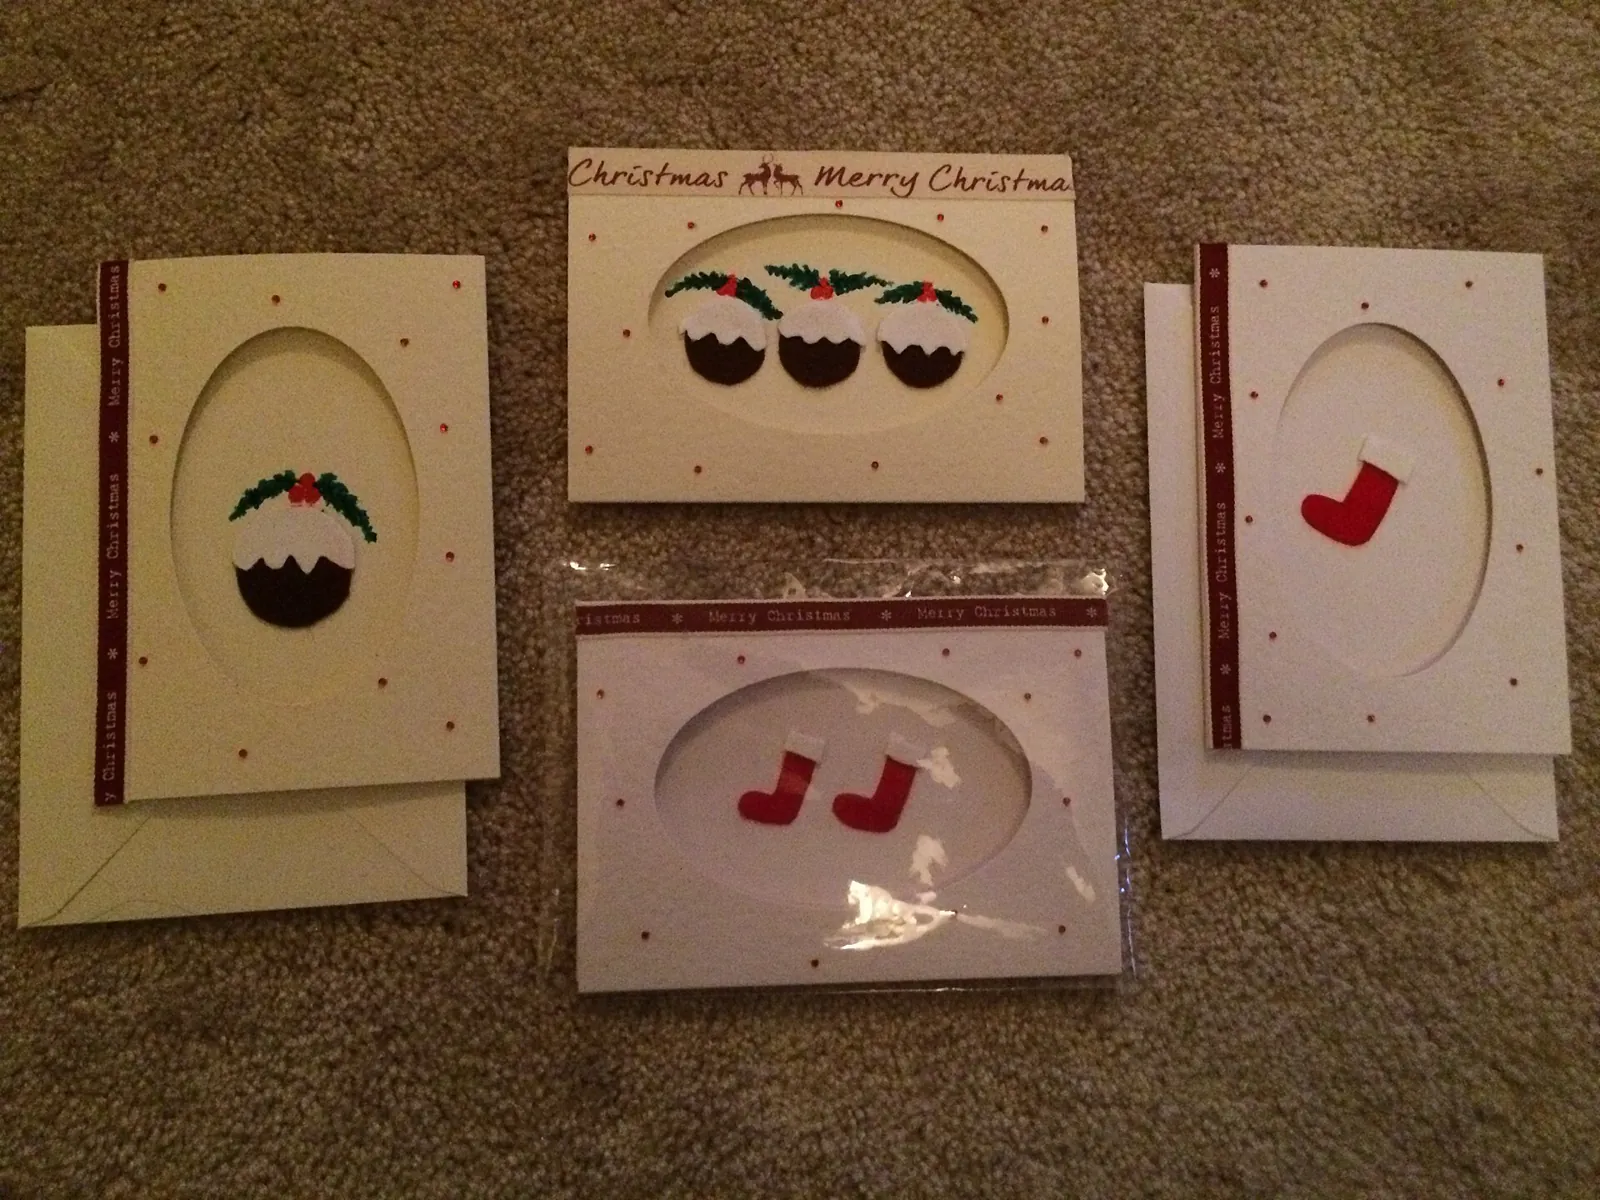
Cut a letter-size sheet of cardstock in half to 8½ × 5½ inches, score and fold it to a standard 4¼ × 5½ inch card, then layer a slightly smaller piece of patterned paper on the front, add one focal point (a stamp, a die-cut shape, a pressed flower or a hand-lettered word) and write your message inside. It fits a standard A2 envelope and takes about 30 minutes.
- Time 20 – 45 minutes per card
- Difficulty Beginner
- Cost $10 – $25 for supplies that make 10 or more cards
- Makes One 4¼ × 5½ in (10.8 × 14 cm) folded card
A handmade card does a job a store-bought one cannot: it shows the person that you set aside time for them before you wrote a single word. The good news is that a card does not need to be elaborate to feel special. A clean fold, a neat layer of paper and one well-chosen detail look more polished than a front crowded with stickers. This tutorial walks through the basic layered card that most card makers start with, then shows easy ways to vary it for birthdays, thank-yous and holidays.
Materials and tools
- Cardstock for the card base, 80 – 110 lb (216 – 300 gsm), in white, cream or a solid color
- Patterned or contrasting paper for the front panel (scrapbook paper or lighter cardstock)
- A2 envelopes (4⅜ × 5¾ in / 11.1 × 14.6 cm)
- Paper trimmer or a metal ruler and craft knife on a cutting mat
- Bone folder or the back of a butter knife for scoring
- Double-sided tape, tape runner or liquid glue made for paper
- Optional: rubber or clear stamps and ink, foam adhesive squares, ribbon, washi tape, pressed flowers, a fine-tip pen
Tip: Heavier cardstock (around 100 lb or more) stands up on a shelf without bowing, which is what makes a homemade card feel substantial in the hand.
How to make a layered greeting card
Cut the card base
Cut a letter-size sheet (8½ × 11 in) of cardstock in half crosswise so you have two pieces of 8½ × 5½ in (21.6 × 14 cm). Each piece makes one card. If you work in A4, a 21 × 14.8 cm piece (half an A4 sheet) folded in half makes an A6 card that fits a C6 envelope.
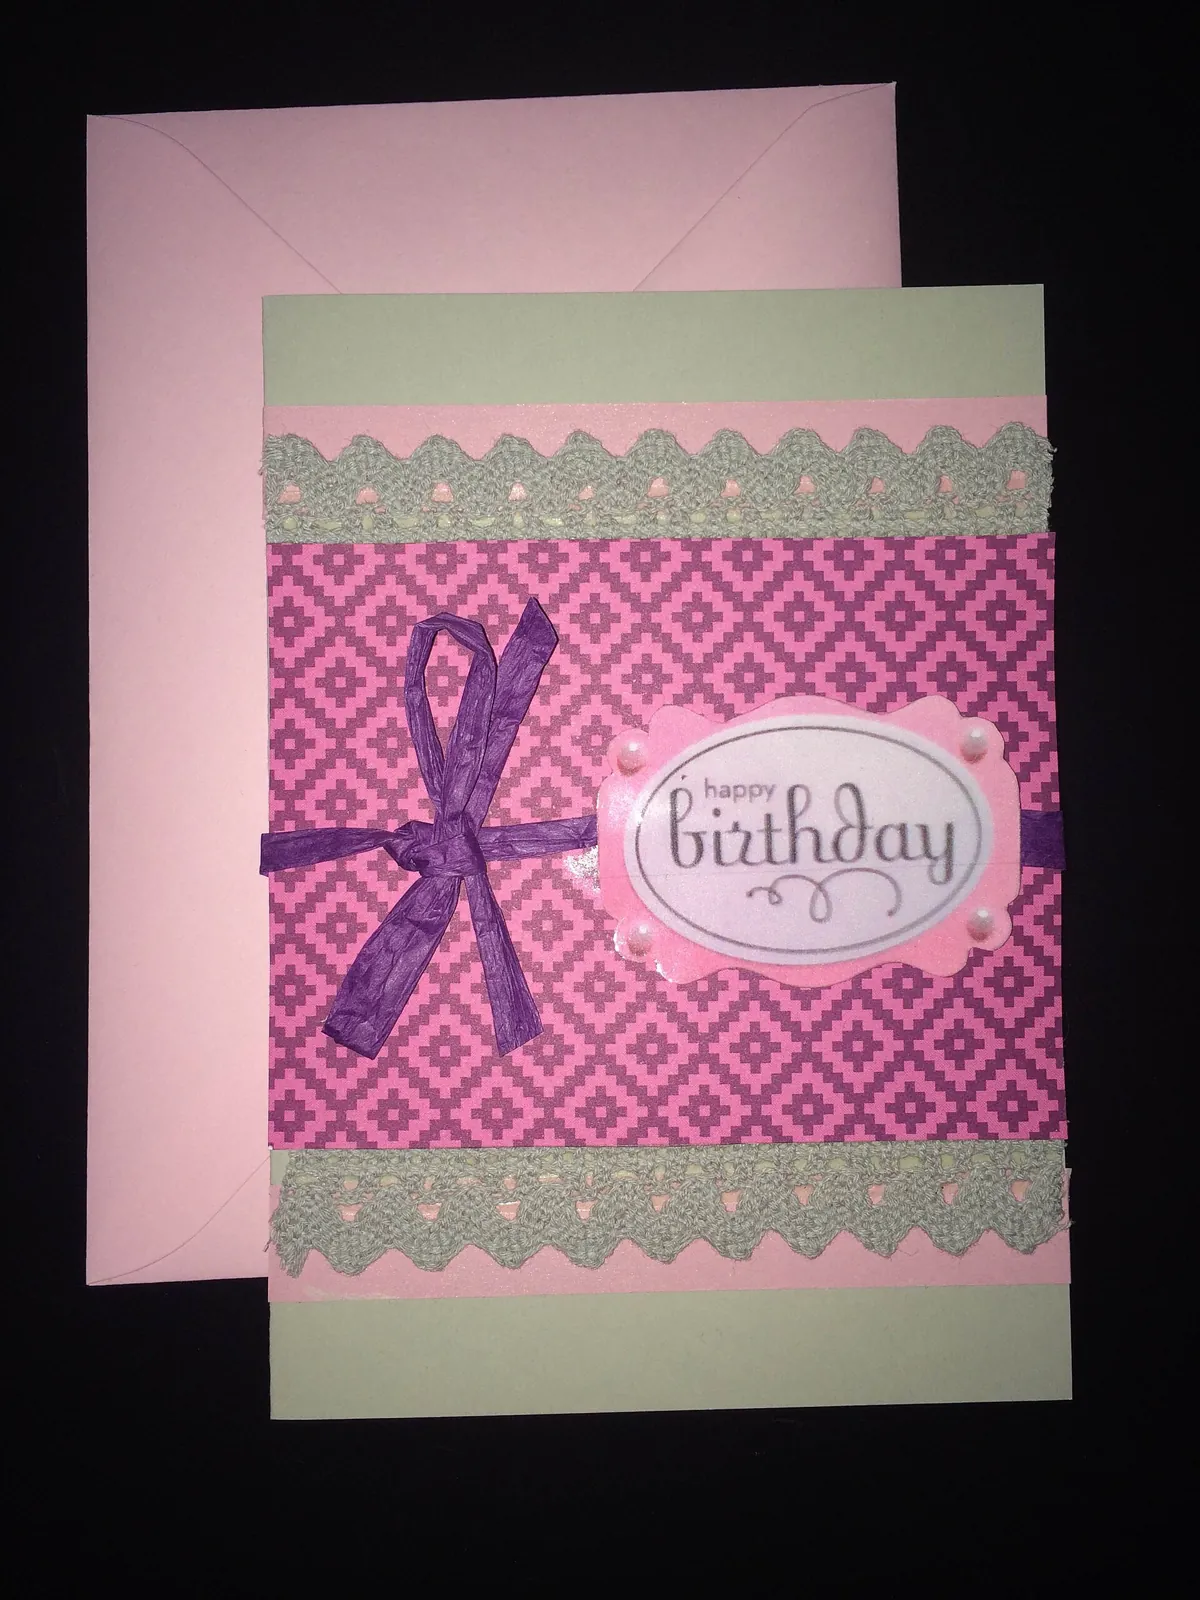
A layered card: patterned panel, ribbon and one focal greeting Score and fold
Mark the center of the long side at 4¼ in (10.8 cm). Lay a ruler on the mark and run a bone folder firmly along it to make a dent, then fold along that line and burnish the fold flat. Scoring first gives a crisp edge and stops the cardstock from cracking.
Cut the front panel
Cut patterned paper to 4 × 5¼ in (10.2 × 13.3 cm). That leaves an even ⅛ in (3 mm) border of the base color showing on every side. For a double mat, cut a solid layer at 4 × 5¼ in and a patterned one at 3¾ × 5 in (9.5 × 12.7 cm).
Plan the design before gluing
Lay the panel and your focal element on the card without adhesive. One strong point of interest works best: a stamped image, a die-cut heart, a strip of ribbon across the lower third, or a short word lettered by hand. Leave some empty space so the eye has a place to rest.
Stamp or letter the focal point
If stamping, ink the stamp evenly, press straight down without rocking, and lift straight up. Let dye inks dry for a minute and pigment inks longer before you touch them. Practice lettering on scrap paper first, then write in pencil, go over it in pen and erase the pencil once the ink is dry.
Assemble the layers
Run tape or glue along all four edges and an X through the middle of each layer so corners do not lift. Raise the focal element on foam squares if you want a little dimension, but keep the total thickness under about ¼ in (6 mm) because the US Postal Service caps letter-size mail at ¼ in thick.
Finish the inside and envelope
Glue a white panel of 4 × 5¼ in inside if your base is dark, so the ink of your message shows up. Write the message, sign it, and decorate the envelope flap with a matching strip of paper or a small stamp.
Easy variations
Pressed flower card
Arrange thin, fully dried pressed flowers on the front panel and fix them with a few dots of clear-drying glue applied with a toothpick. Flat blooms such as pansies, violas and ferns work better than thick ones.
Pop-up message
Inside the fold, cut two parallel slits about 1 in (2.5 cm) long and 1 in apart, push the tab forward, and glue a small paper shape to its front. It springs up when the card opens.
Holiday batch
Cut all the bases and panels at once, then assemble in an assembly line. For seasonal ideas, see our handmade Valentine cards and handmade thank-you cards.
Safety notes
- Always cut away from your hand with a craft knife, keep fingers behind a metal ruler, and replace dull blades, which slip more easily than sharp ones.
- Children can tear, glue and stamp happily, but an adult should handle craft knives and rotary trimmers.
- Use solvent-based inks or spray adhesives only in a ventilated room and follow the label directions.
Writing and giving the card
Write the message after the card is assembled so you know how much space you have. A specific memory or one concrete thing you appreciate beats a long generic paragraph; our guide on what to write in a birthday card has wording examples. Slip the finished card into a clear cellophane sleeve before the envelope if it has raised elements, and add a little extra postage or ask at the post office if it is thick, rigid or square, since those cards can be charged as non-machinable mail.
A set of four to six blank handmade cards tied with twine also makes a thoughtful gift on its own. More projects live in our paper crafts collection.
Frequently asked questions
What size is a standard greeting card?
The most common small size in the US is A2: 4¼ × 5½ in, made by folding half a letter sheet, which fits a 4⅜ × 5¾ in envelope. A7 cards (5 × 7 in) are the next common size and fit 5¼ × 7¼ in envelopes.
What weight of cardstock is best for card bases?
Around 80 to 110 lb cover stock is a good range. Lighter paper works for layers on the front, but the base should be stiff enough to stand up.
What glue does not warp paper?
Double-sided tape and dry tape runners do not wrinkle paper. If you use liquid glue, apply a thin layer and press the piece under a heavy book while it dries.
Can I make cards without stamps or a cutting machine?
Yes. Layered paper, a strip of ribbon, washi tape and a hand-written greeting are enough for a clean, attractive card.
Sources
- USPS Postal Explorer — Retail mail: letters, cards, flats and parcels (size, thickness and nonmachinable rules). pe.usps.com
Image credits. Top image: Ina's Handmade Cute Card by Inacapo, CC BY-SA 4.0, via Wikimedia Commons · In-article image: Scrapbooking by Adriana Kleinert, Public domain, via Wikimedia Commons
Spotted something out of date or a gift that's no longer available? Tell our editors — we review every correction.