How to make a scrapbook album as a gift
How to turn 20 to 40 photos into a scrapbook someone will treasure: picking a theme, photo-safe mounting, captions that tell the story and a neat finish.
Quick answer
Pick one theme (a year together, a trip, "reasons I love you"), choose 20 to 40 photos, and build the album in an acid-free, ring- or post-bound album or a DIY binding of cardstock pages and two binder rings. Mount photos with photo corners or photo-safe tape rather than glue, add short handwritten captions, and keep each spread simple: one to three photos, one memento, one line of story.
- Time 4 – 10 hours over a few sessions
- Difficulty Beginner
- Cost $25 – $60 (album, paper, photo prints, adhesives)
- Makes One 8 × 8 in (20 × 20 cm) album of 10 – 20 spreads
A scrapbook is one of the few gifts that gets better every time someone opens it. What makes it work is not elaborate decoration but story: the ticket stub from a first concert, a photo of the kitchen where every holiday happened, a note in your own handwriting explaining why it mattered. This guide covers how to plan, assemble and finish an album that will survive years of page-turning.
Materials
- An album: a post-bound or ring-bound 8 × 8 in or 12 × 12 in album, or 10 – 20 sheets of heavy cardstock plus two 1½ in (38 mm) binder rings and a hole punch
- Acid-free, lignin-free cardstock and patterned paper
- 20 – 40 photo prints (4 × 6 in / 10 × 15 cm is standard; a few 3 × 4 in prints add variety)
- Photo corners (acid-free paper or clear polyester) or acid-free photo-safe tape runner
- Acid-free pens with pigment ink for captions
- Clear polypropylene page protectors and small sleeves for loose mementos
- Paper trimmer, scissors, ruler and pencil
- Optional: stickers, washi tape, die-cut shapes, a letter stamp set
Why archival materials matter
Photos and paper in a scrapbook are pressed against each other for years, so what touches them counts. The Library of Congress notes that scrapbooks are often made from poor-quality paper that deteriorates rapidly and that harmful tapes and adhesives are a common cause of damage. The US National Archives recommends acid-free pages and stable plastics such as polyester, polypropylene or polyethylene, and lists rubber cement, synthetic white glue, hot glue and old-style "magnetic" self-stick albums among the materials to avoid. Mounting photos without glue on the print itself, using corners or sleeves, is the safest approach.
Tip: Never glue or cut original one-of-a-kind photos. Scan or copy them, use the print in the album, and give the original separately.
How to make the scrapbook
Choose a theme and a story order
Decide what the album is about and who it is for. A timeline (oldest to newest) is the easiest structure; a themed album, such as "our favorite meals" or "Grandpa's garden," can jump around. Write a list of 10 to 20 moments, one per spread.
Select and print the photos
Pick the strongest one to three photos for each moment, plus a few close-ups and wide shots for variety. Print at a photo lab or at home on photo paper, and let home inkjet prints dry fully before handling.
Gather mementos
Collect flat keepsakes: tickets, maps, postcards, menus, recipe cards, a pressed flower. Put lumpy or acidic items, like newspaper clippings or receipts (thermal paper fades), in a separate clear sleeve or use a photocopy.
Lay out each spread dry
Place photos, mats, mementos and a caption space on the page without adhesive. Leave a margin of at least ½ in (1.3 cm) around the edge, and about 1 in (2.5 cm) on the binding side for ring albums so nothing disappears into the gutter.
Mat and mount the photos
Cut a mat of cardstock ¼ in (6 mm) larger than the photo on each side, for example 4½ × 6½ in for a 4 × 6 print. Fix the mat to the page with acid-free tape, then hold the photo on it with four photo corners so it can be removed later.
Write the captions
Handwriting is what turns pages of photos into a gift. Add the date, place and one sentence of story: who was there, what happened, what someone said. Use a pigment-ink pen and pencil a light baseline first if you want straight lines.
Add light decoration
A strip of washi tape, a sticker or a stamped title is enough. Keep bulky embellishments few and spread across pages so the album closes flat and its binding is not strained.
Bind and protect
Slide finished pages into page protectors and into the album, or punch your cardstock pages and thread them onto binder rings with a heavier cover front and back. Write a short dedication on the first page.
Page ideas that work for most themes
- Then and now: an old photo beside a recent one taken in the same place.
- The list page: "10 things I learned from you" or "our best trips," with tiny photos.
- Letters from others: ask family or friends for a short note to include, a good idea for a milestone birthday or retirement.
- A pocket page: a glued envelope holding a letter or extra photos to pull out.
For other photo projects, see wooden photo blocks and a memory jar, or browse the photo gifts collection.
Safety and care notes
- Use craft knives with a metal ruler and cutting mat, cutting away from your hands; keep blades away from young helpers.
- If children help, give them stickers, stamps and glue sticks on separate decorative pieces, then mount those pieces with photo-safe tape.
- Tell the recipient to store the album upright or flat away from sunlight, heat and damp; the Library of Congress suggests a stable, moderate room environment and an acid-free box for extra protection.
Giving it as a gift
Wrap the album in acid-free tissue, then in paper or a fabric wrap, and tie it with ribbon rather than tape on the cover. Leave two or three blank pages at the end with a few spare photo corners so the recipient can keep adding to it. Our sentimental gifts guides have more ideas in the same spirit, and our paper crafts section covers cards and tags to go with it.
Frequently asked questions
What size scrapbook is best for a gift?
An 8 × 8 in album is easy to fill and handle. A 12 × 12 in album holds more photos per page but takes longer to complete.
Is a glue stick safe for photos?
Archival guidance advises against gluing photos directly. Use photo corners or sleeves for prints, and keep glue for decorative paper only.
Does "acid-free" mean photo-safe?
Not always. For anything touching photos, look for products labeled as having passed the Photographic Activity Test (PAT), which the National Archives recommends for photo storage materials.
How many photos do I need?
For 10 to 20 spreads, 20 to 40 photos is plenty. Fewer, well-chosen photos with captions make a stronger album than crowded pages.
Sources
- Library of Congress — Preservation of scrapbooks and albums. loc.gov
- US National Archives — Storing family papers and photographs. archives.gov
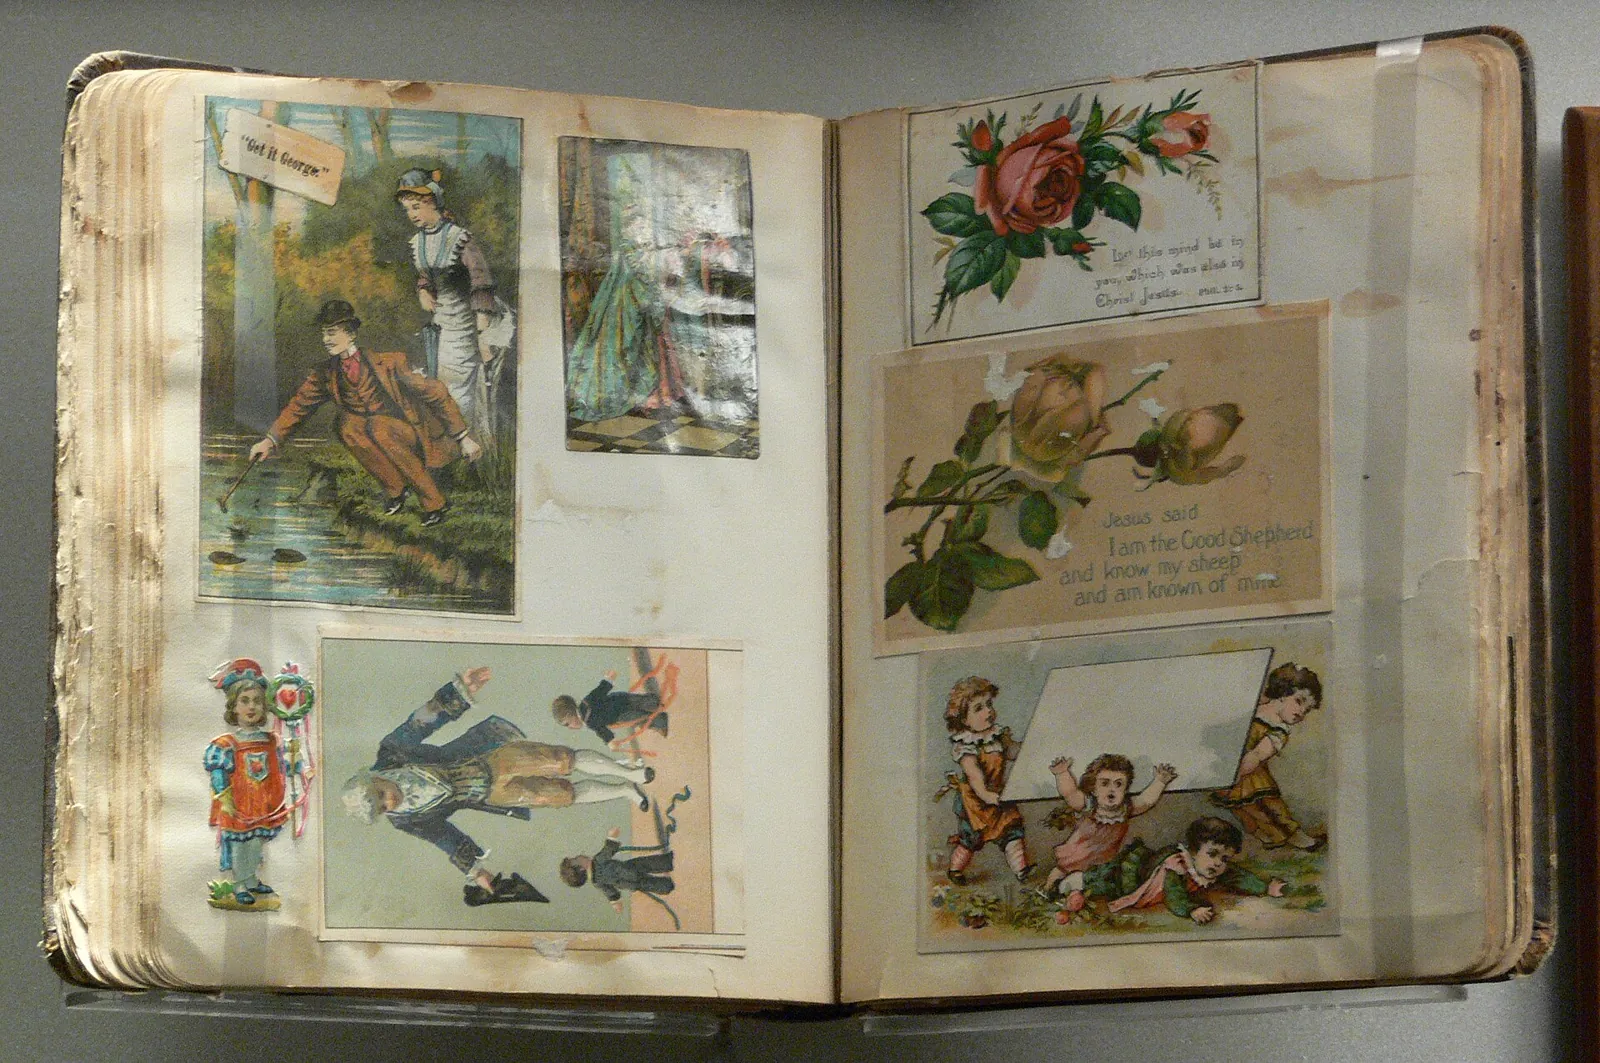
Image credits. Top image: Scrapbook old Womens Museum by Photo: User:FA2010, Public domain, via Wikimedia Commons
Spotted something out of date or a gift that's no longer available? Tell our editors — we review every correction.