How to sew a simple bib apron as a gift
A one-rectangle bib apron with straight bib cuts, double-fold hems and long ties. Every cut size is listed with the math, in inches and centimeters.
Quick answer
Cut one 28 × 34 in (71 × 86 cm) rectangle of sturdy cotton, cut a diagonal from each top corner to shape the bib, and finish every edge with a ½ in + ½ in double-fold hem. Add a 1 in wide neck strap and two long waist ties made from 4 in strips, plus a hemmed pocket. The finished apron is about 26 in wide and 32 in long, and most beginners can make it in an afternoon.
- Time 2½ – 3½ hours, including cutting and pressing
- Difficulty Beginner (straight seams and hems only)
- Cost $12 – $30 for fabric and thread
- Makes One adult bib apron, about 26 × 32 in (66 × 81 cm) finished
An apron is one of the most useful things you can sew for someone who cooks, bakes, gardens or makes things. This pattern uses a single rectangle with straight diagonal cuts for the bib, so you can draft it with a ruler directly on the fabric. Every measurement includes the hem allowance.
Materials and tools
- 1¼ yd (1.2 m) of medium-weight woven fabric, 44 – 45 in (112 – 115 cm) wide: cotton canvas, cotton twill, denim, linen or a linen-cotton blend
- All-purpose polyester thread to match or contrast
- Sewing machine with a universal 80/12 or 90/14 needle (a jeans needle for denim or heavy canvas)
- Fabric scissors or rotary cutter, mat and long quilting ruler
- Tape measure, fabric chalk or a washable marker, pins or clips
- Iron and ironing board
Tip: Pre-wash and dry the fabric the way the finished apron will be laundered, and zigzag or pink the cut ends first so they do not fray in the machine. Cotton and linen can shrink in the first wash, and an apron will be washed often.
Cutting list and the math behind it
| Piece | Quantity | Cut size | Finished size |
|---|---|---|---|
| Apron body | 1 | 28 × 34 in (71 × 86 cm), 34 in is the length | 26 × 32 in (66 × 81 cm) |
| Waist ties | 2 | 4 × 36 in (10 × 91 cm) | 1 × 35½ in (2.5 × 90 cm) |
| Neck strap | 1 | 4 × 28 in (10 × 71 cm) | 1 in (2.5 cm) wide, length set by fitting |
| 1 | 9 × 8 in (23 × 20 cm), 8 in is the height | 8 × 6½ in (20 × 16.5 cm) |
Every edge of the body gets a double-fold hem: fold ½ in (1.3 cm), then another ½ in. That uses 1 in (2.5 cm) per edge, so the finished width is 28 − 2 × 1 = 26 in and the finished length is 34 − 2 × 1 = 32 in. The ties and strap are folded into four layers, so a 4 in strip becomes a 1 in strap.
Layout: on 44 in wide fabric, place the body with its 34 in length along the selvage. That leaves a strip about 16 in wide beside it: cut the two ties and the neck strap there, side by side (3 × 4 in = 12 in). Cut the pocket from the 11 in strip left below the body. Even if the fabric shrinks to about 42 in wide, 28 + 12 = 40 in still fits.
How to sew the apron
Mark and cut the bib
Lay the body right side up with the 28 in edge at the top. Along the top edge, measure 8 in (20 cm) in from each corner and mark. Down each side, measure 10 in (25.5 cm) from the top corner and mark. Join each pair of marks with a straight line and cut off the two triangles. The bib top is now 12 in (30.5 cm) across; after hemming it finishes at about 11 in (28 cm): folding the top hem down moves the edge to where the bib is slightly wider, and the hem on each sloping edge takes a little off each side. For a softer shape, round the line using the edge of a dinner plate.
Make the ties and neck strap
Press each strip in half lengthwise, wrong sides together. Open it, fold both long raw edges in to meet the center crease and press, then fold in half again so the raw edges are enclosed. On each waist tie, tuck one short end in about ½ in before the final fold so the tie end is neat. Edgestitch about ⅛ in (3 mm) from both long edges with a straight stitch. Leave the neck strap ends raw for now.
Hem the sides and bottom
On the wrong side, fold the two straight side edges ½ in and press, then fold another ½ in and press. Stitch close to the inner fold. Repeat on the bottom edge.
Hem the sloping edges
Hem the two diagonal (or curved) edges the same way. These edges are slightly on the bias, so press gently without stretching them.
Hem the top and attach the neck strap
Fold the top edge ½ in and press, then fold another ½ in. Slip one end of the neck strap under the folded hem at each top corner, about ½ in in from the side, with the strap lying down over the apron and its end pushed up against the top fold. Check that the strap is not twisted. Before stitching, slip the apron on and adjust the strap so the bib sits at chest height, then trim any extra length. Stitch the hem close to the inner fold, catching the strap ends, then flip each strap up over the top edge and stitch along the very top of the hem to hold it upright.
Attach the waist ties
Fold the raw end of a tie under ½ in, then place it on the wrong side of the apron at the waist point, where the sloping edge meets the straight side, overlapping the side hem by about 1½ in. Sew a small rectangle with an X inside it through the tie and hem. This box-and-X stitch spreads the strain of pulling on the ties. Repeat on the other side.
Make and place the pocket
Fold the pocket top ½ in, then ½ in again, and stitch: the pocket is now 7 in tall. Press the other three edges ½ in to the wrong side, which makes it 8 in wide and 6½ in tall. Pin it centered on the apron about 4 – 5 in (10 – 13 cm) below the waist points, then stitch around the sides and bottom, backstitching at the top corners. A vertical line of stitching about 1½ in from one side makes a pen or thermometer slot.
Press and finish
Trim all threads, press the whole apron, and check every hem corner. Add a name now, if you like, with an iron-on label or hand embroidery on the pocket.
Safety notes
- Keep fingers clear of the needle and presser foot, sew slowly over thick hem corners, and switch the machine off before changing the needle or clearing a jam.
- Use the iron on the heat setting for the fiber, never leave it face down, and keep the cord and hot plate out of reach of children and pets.
- Close a rotary cutter blade every time you put it down.
- For the person who will wear it: cotton and linen still burn, so an apron is not protective gear. Keep long ties tied, not dangling, near gas burners and open flames.
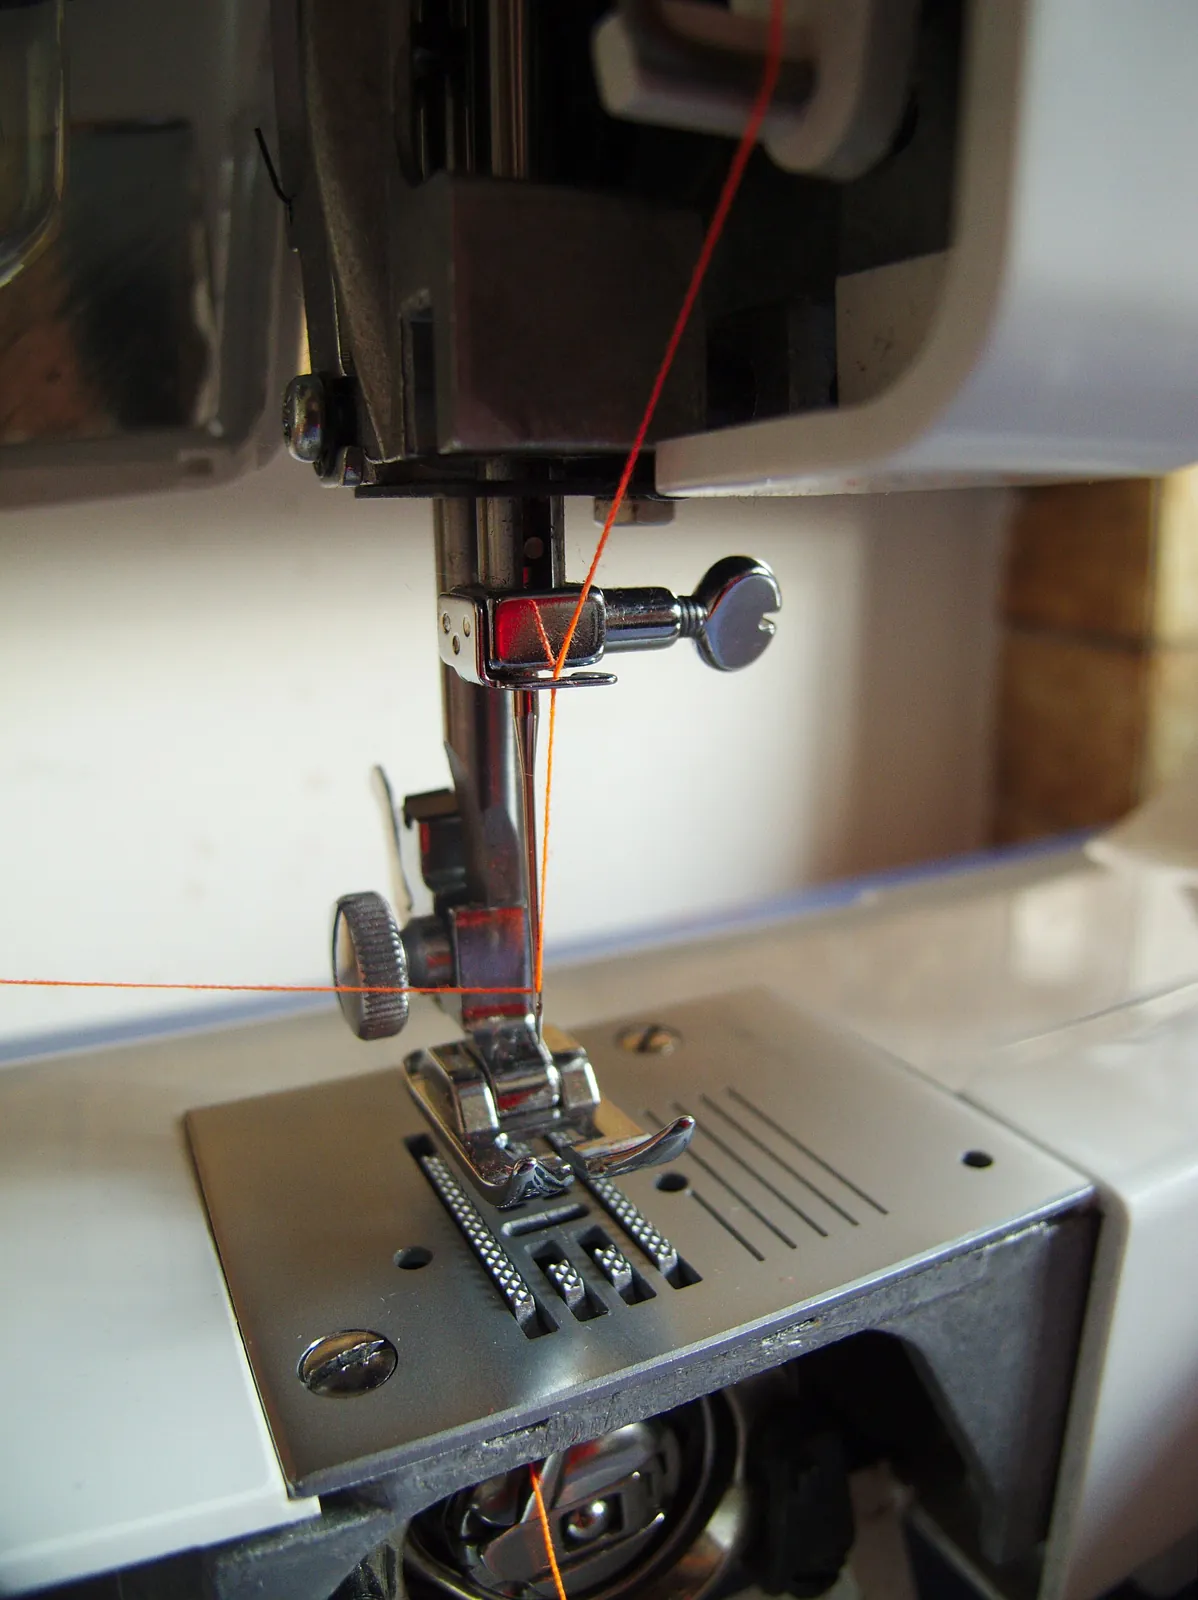
Making it a better gift
Choose the fabric for the person: denim or canvas for a grill cook or gardener, linen for a baker. Fold the apron with the pocket showing and tuck something useful in it, such as a wooden spoon, a recipe card in your handwriting, or a pair of kitchen towels. For a home cook, pair it with a jar of something homemade from our food gifts ideas or browse more presents for home cooks. Wrap it in a reusable cloth bag, like the ones in our fabric gift bags tutorial, and add a tag with washing instructions for the fabric you used.
If this is your first project, the tote bag tutorial uses the same strap-folding technique, and there are more projects in our sewing section.
Frequently asked questions
What fabric is best for an apron?
A medium-weight woven cotton such as canvas, twill or denim, or a linen or linen blend. Quilting cotton works but is thinner and creases more. Avoid stretch fabrics for a first project.
How long should apron ties be?
Many patterns cut ties around 36 in (90 cm) each. With a 26 in wide apron, two 35½ in ties reach around most waists and leave plenty to tie a bow. For a larger waist, cut the strips from the full fabric length instead.
How do I make the neck strap adjustable?
Cut the strap in two pieces, sew one end of each to the bib corners, and either tie them behind the neck or thread one through a pair of 1 in D-rings stitched to the other.
How do I make a child's apron from this pattern?
For a child of about 4 to 8, a body cut 18 × 22 in (46 × 56 cm) gives a finished apron of 16 × 20 in using the same hems. Mark the bib cuts about 5 in in and 6 in down, use ties about 24 in long, and give the neck strap a breakaway closure, such as a sew-on snap or hook-and-loop tape, rather than a fixed loop.
Sources
- Hobbycraft — How to Sew an Apron (adult waist ties cut 90 cm). hobbycraft.co.uk
- Paper & Stitch — How to Sew a DIY Apron in 10 Minutes (36 in ties; reader note that a short neck strap may not fit over the head). papernstitchblog.com
- Seamwork — Do You Really Have to Pre-wash Fabric? seamwork.com
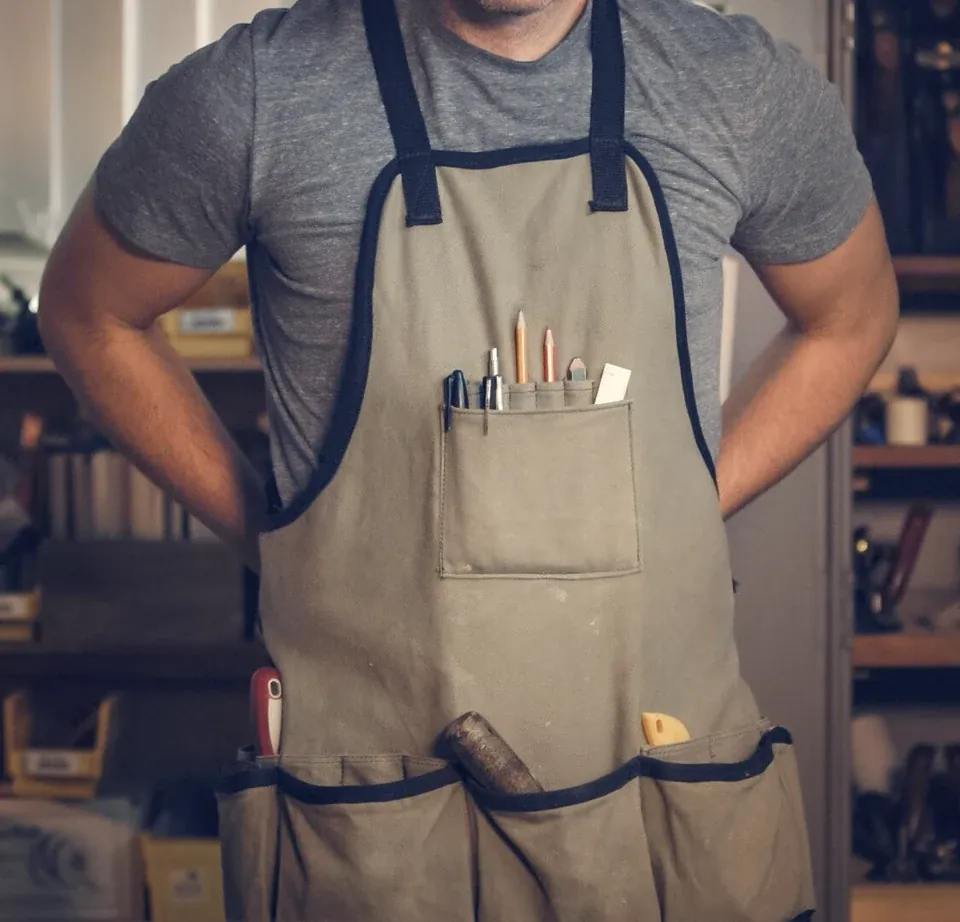
Image credits. Top image: Woodworking apron by FREERANGE - Burst, CC0 1.0, via Wikimedia Commons · In-article image: Needle plate presser foot needle with thread by Naberacka, Public domain, via Wikimedia Commons
Spotted something out of date or a gift that's no longer available? Tell our editors — we review every correction.