How to make melt-and-pour soap (no lye needed)
Melt-and-pour soap lets you make pretty, usable bars without ever handling lye. Here is the full process, the heat and additive safety rules, and how to wrap the bars as a gift.
Quick answer
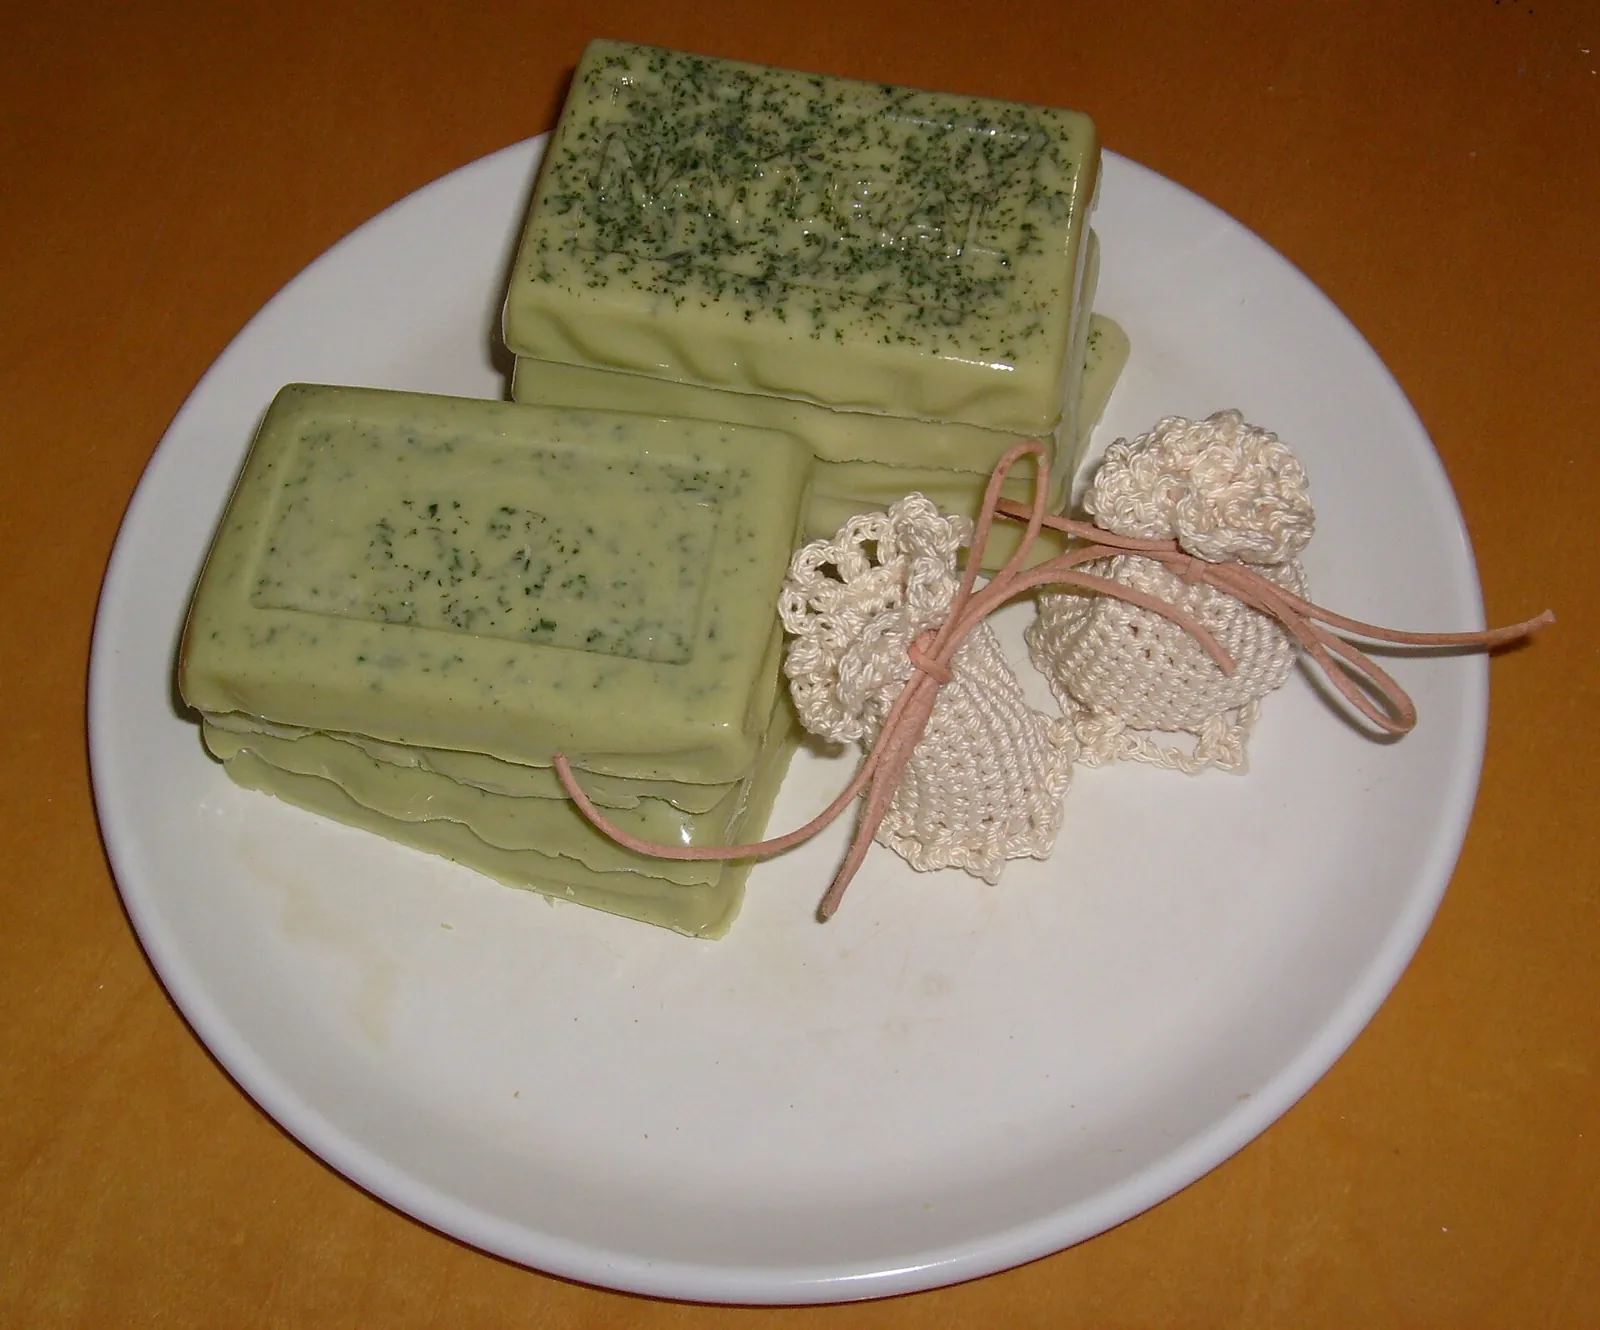
Melt-and-pour soap is the easiest way to make real, gift-worthy soap at home. You buy a ready-made soap base, melt it gently, add a skin-safe fragrance and color, pour it into molds and let it set. The lye step has already been done by the manufacturer, so you never handle lye. The main hazards are hot liquid base and overheating, so melt in short bursts and follow your base's instructions.
- Time About 45 minutes hands-on, plus several hours to set
- Difficulty Easy
- Cost About $20 – $40 for a 2 lb base, molds and fragrance
- Makes Roughly 6 – 8 bars from 2 lb of base, depending on the mold
A bar of handmade soap is one of those small gifts that feels personal without being fussy. It gets used, it smells good, and you can match the color and scent to the person. Melt-and-pour is the right starting point because the chemistry is finished before the base reaches you. Your job is design: scent, color, shape and wrapping.
What melt-and-pour soap is (and why there is no lye)
All true soap is made by reacting fats with lye. With cold-process soap, you do that yourself, which means measuring and handling a caustic chemical. Melt-and-pour base has already been through that reaction (or, in many bases, is a blend of soap and synthetic detergents), so it arrives as a solid block you can simply melt and remold. Bases come in clear glycerin, white, goat milk, shea butter, honey and other versions.
That makes it a good project for beginners and for older kids working with an adult. The base still gets very hot when melted, so treat it like hot wax or hot syrup.
What you need
- Melt-and-pour soap base (2 lb is a good first batch)
- Silicone soap molds or a loaf mold
- Microwave-safe glass measuring jug, or a double boiler
- Kitchen scale and a heat-safe spatula or spoon
- Fragrance oil or essential oil labeled as skin-safe for soap (optional)
- Soap colorant, mica or soap dye (optional; avoid craft paints and candle dyes)
- Spray bottle of rubbing alcohol (isopropyl) to pop surface bubbles
- Sharp knife and cutting board used only for crafts
- Gloves, plus plastic wrap or shrink bags for wrapping
Tip: Keep your soap tools separate from kitchen tools. Fragrance oils and colorants are not food ingredients, and residue is hard to scrub out of plastic.
How to make melt-and-pour soap
Prepare your space and molds
Clear a flat surface away from children and pets. Wipe molds clean and dry, and set them on a tray so you can move them without spilling. Have your fragrance, color and alcohol spray within reach, because the base starts to skin over quickly.
Cut and weigh the base
Cut the base into roughly 1-inch cubes so it melts evenly. Weigh out the amount your molds hold; fill a mold with water and weigh it if you are unsure.
Melt gently in short bursts
Microwave in short intervals, stirring between each, until just melted, or use a double boiler. Do not let it boil. CandleScience's beginner guide recommends one minute, then 20-second bursts, and says the base should not go above 160°F (71°C), or the bars can turn rubbery. If it foams, it is too hot: stop heating and stir. Always check your own base's label, since limits vary by brand.
Add color
Stir in colorant a drop or a pinch at a time until you like the shade. Colors look darker in the jug than in a finished bar.
Add fragrance
Let the base cool slightly, then stir in fragrance gently to avoid bubbles. Use the rate your fragrance supplier gives for soap; CandleScience suggests 0.5 oz of fragrance per 16 oz of base as a starting point. More is not better: too much fragrance can irritate skin.
Pour and spritz
Pour slowly into the molds. Right away, mist the surface lightly with rubbing alcohol to pop bubbles. For layers, let the first layer form a firm skin, spritz it with alcohol, then pour the next layer, which should be warm but not hot.
Let it set, then unmold
Leave the molds undisturbed until fully firm. Small bars may set in a few hours; CandleScience suggests leaving a loaf to cool for 24 hours. If bars stick, a short spell in the fridge usually helps them release.
Wrap promptly
Glycerin in the base draws moisture from the air, which can leave beads of "sweat" on the surface. Wrap bars tightly in plastic wrap or shrink bags soon after unmolding, before any paper packaging goes on.
Safety notes
- Heat: Melted base can cause burns. Use a heat-safe jug with a handle, pour slowly, and keep children at a distance while you pour. Let kids help with choosing colors and scents or with embedding once the base has cooled a bit.
- No lye needed: Melt-and-pour never requires you to add lye. If a recipe asks for sodium hydroxide, it is a cold-process recipe, which needs separate training and protective equipment.
- Skin-safe additives only: Use fragrance oils and colorants sold for soap or cosmetics. Candle fragrance and dye are not necessarily skin-safe. Essential oils can irritate skin at high levels and some are not recommended for children or during pregnancy; when in doubt, leave the bar unscented.
- Additives that spoil: Fresh fruit, fresh herbs and other wet ingredients can rot or grow mold inside a bar. Dried botanicals, oats and clays are safer choices.
- Alcohol spray: Rubbing alcohol is flammable. Spray away from open flames and hot stovetops.
Packaging soap as a gift
Once each bar is sealed in plastic, you can dress it up. A paper band printed with the scent name, a strip of kraft paper tied with twine, or a small muslin bag all look handmade in a good way. Group three bars in a box with tissue for a larger gift, or pair a bar with a washcloth and a homemade sugar scrub for a mini spa set. A spa gift basket is an easy way to bundle several handmade pieces.
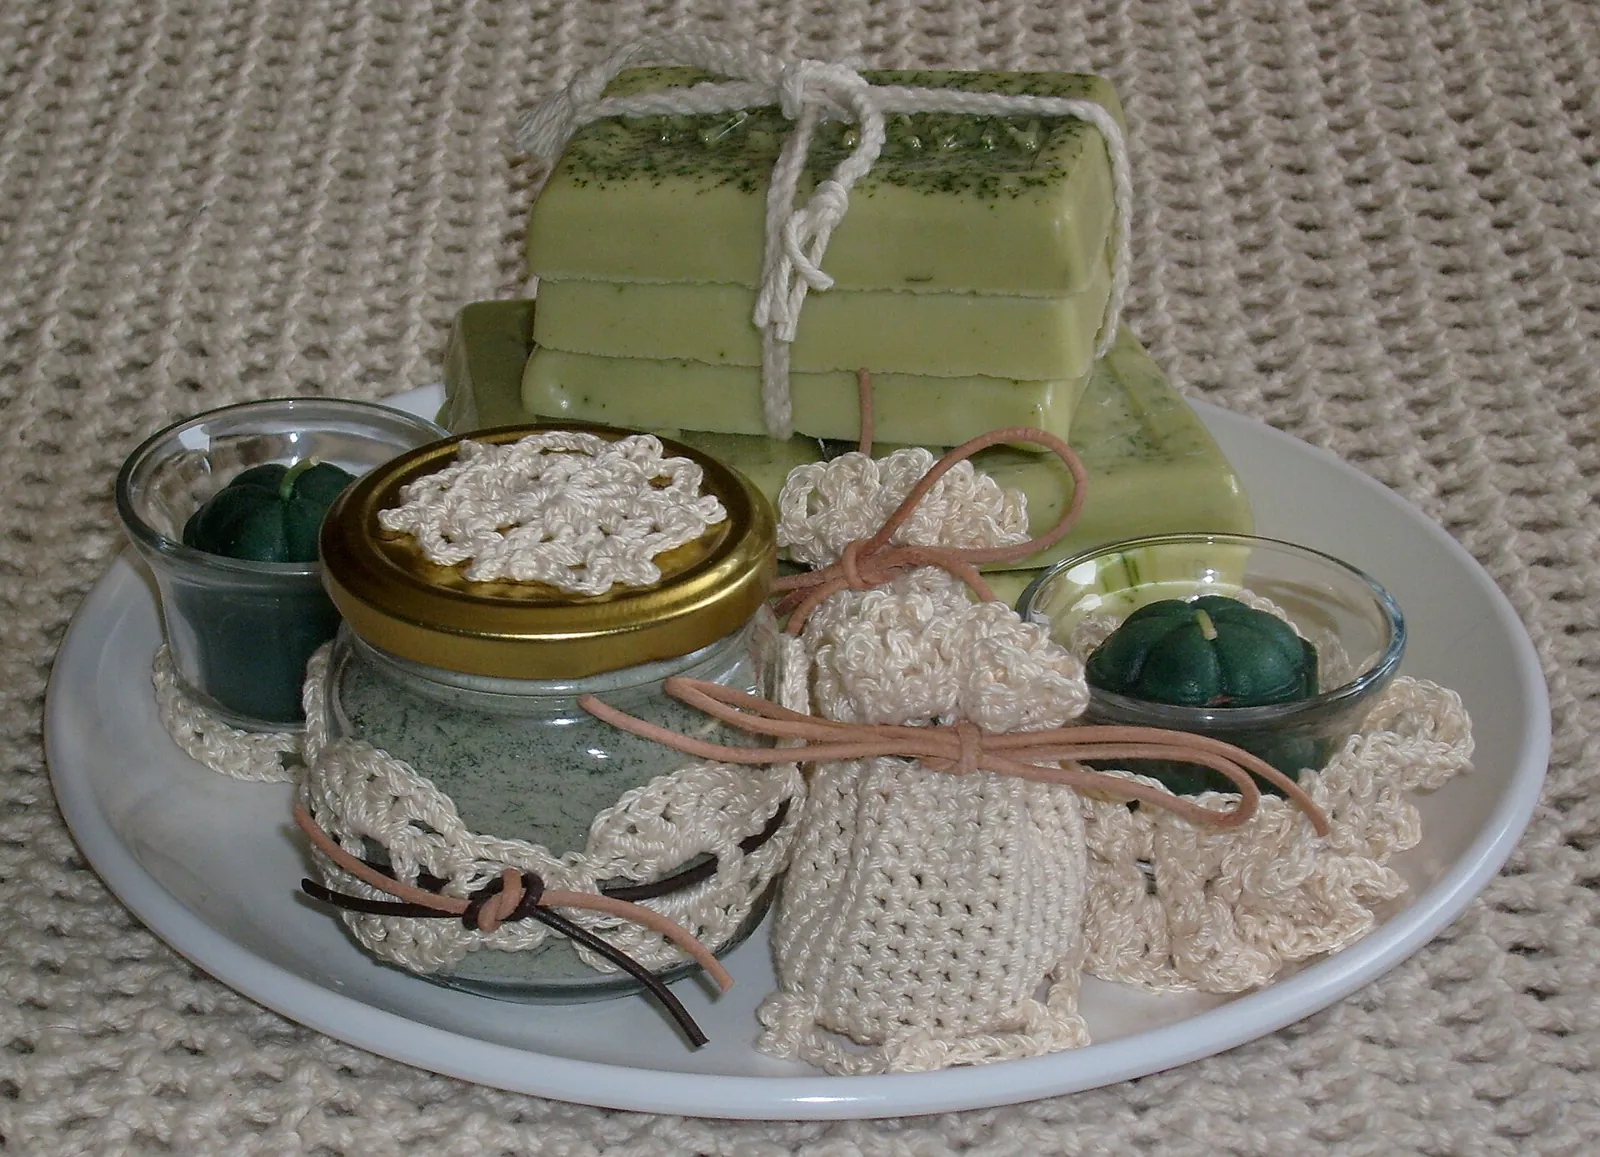
Add a small label listing the base type, fragrance and any colorants or botanicals. That helps anyone with sensitive skin or allergies decide whether to use it. If you give soap often, a set of homemade gift tags makes the labeling part feel like part of the gift.
Frequently asked questions
Is melt-and-pour soap "real" soap?
It is genuine, usable soap, made from a base that has already gone through saponification. Many bases also include detergents or extra glycerin for lather and clarity. The US Food and Drug Administration notes that a cleansing bar containing synthetic detergents is regulated as a cosmetic rather than as soap, which matters mainly if you plan to sell.
Why is my soap sweating?
Glycerin attracts moisture from humid air, leaving droplets on the surface. Wrap bars tightly as soon as they are unmolded and store them somewhere dry. Low-sweat bases are also available.
How long does melt-and-pour soap last?
Wrapped bars generally keep well for a long time, but fragrance can fade and some bases discolor over months. Check your base supplier's guidance and give bars within a few months for the best scent.
Can kids make melt-and-pour soap?
Yes, with an adult doing the melting and pouring. Children can pick colors, place dried flowers or toy embeds, and wrap the finished bars.
Can I sell soap I make this way?
Possibly, but rules apply. Depending on the ingredients and how it is marketed, it may be regulated as a cosmetic in the US, with labeling and safety responsibilities. Check FDA and local requirements before selling.
Looking for more projects in the same spirit? Browse our candles and soap section, or try soy candles next.
Sources
- CandleScience — Melt and pour soap making for beginners. candlescience.com
- U.S. Food and Drug Administration — Frequently Asked Questions on Soap. fda.gov
Image credits. Top image: Soap and sachets by Durova, CC BY-SA 3.0, via Wikimedia Commons · In-article image: Mother's day gifts by Durova, CC BY-SA 3.0, via Wikimedia Commons
Spotted something out of date or a gift that's no longer available? Tell our editors — we review every correction.