How to make a wooden serving tray as a gift
A sturdy wooden serving tray takes a weekend to build and gets used for years. Here is the build, the handles and the food-safe finish that makes it gift-ready.
Quick answer
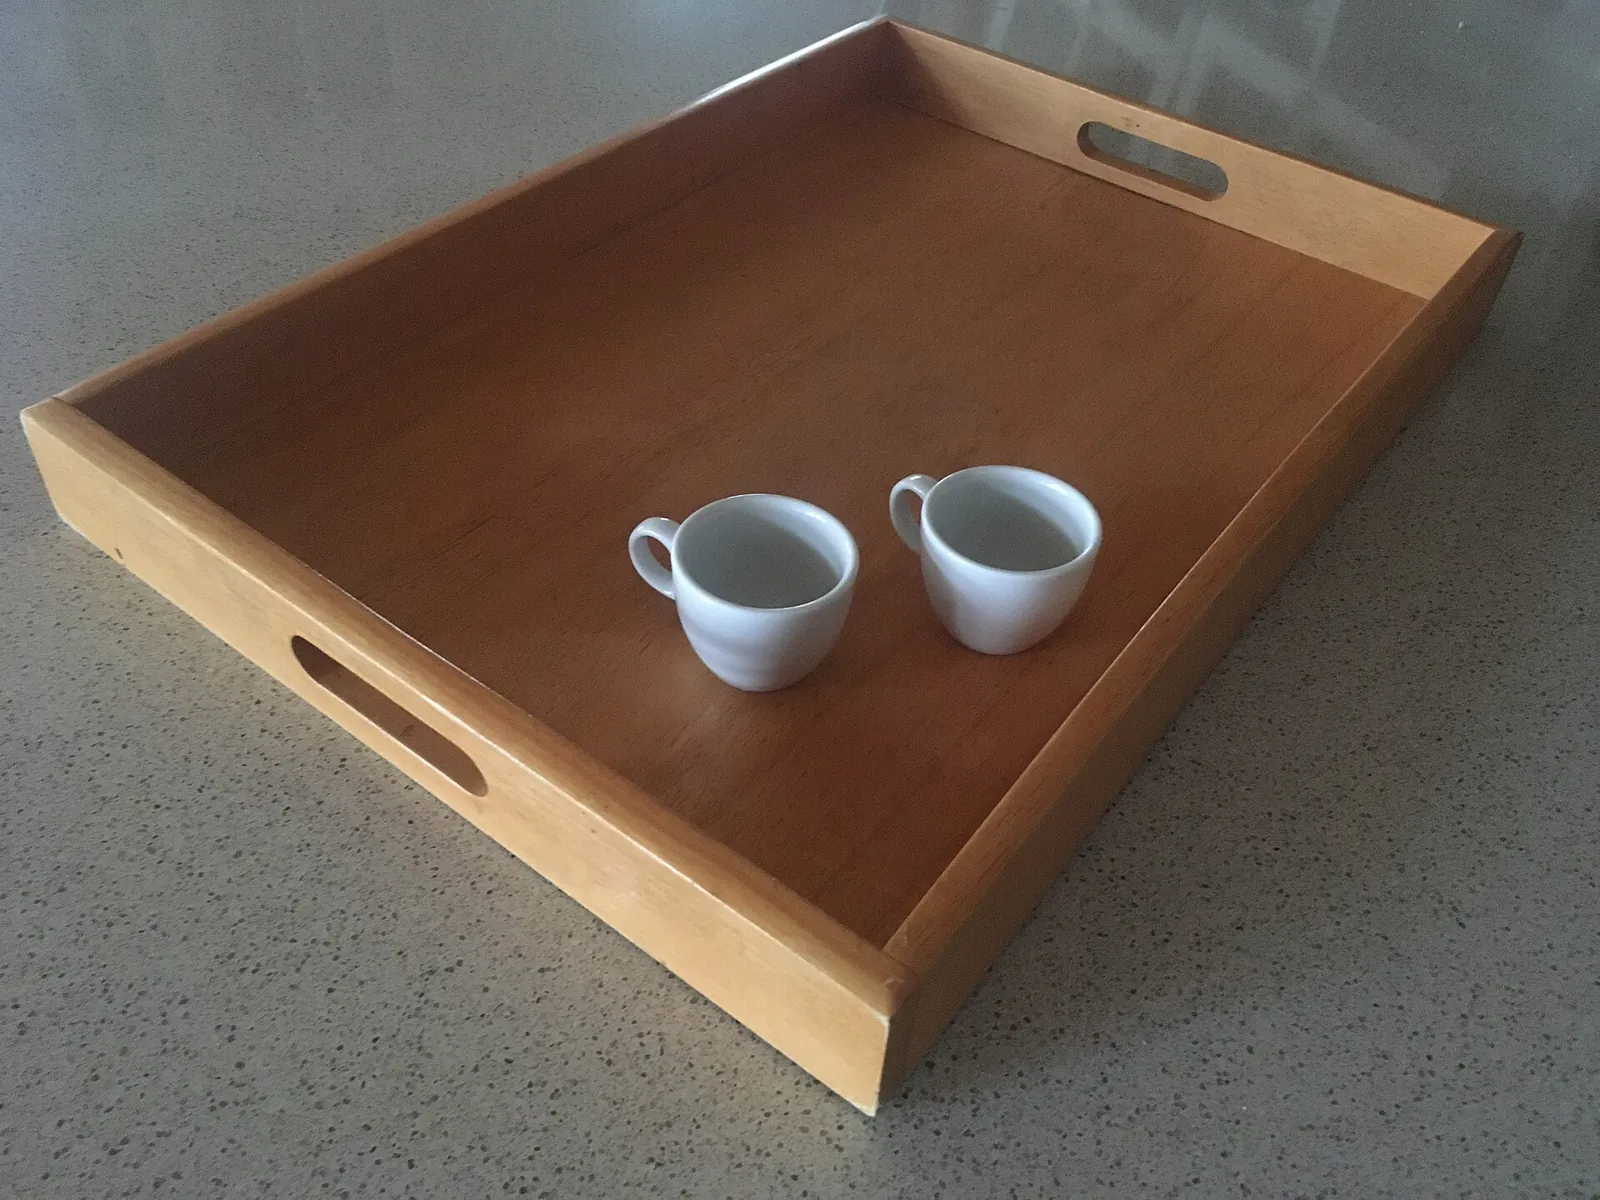
Cut a flat base panel and four short sides, glue and screw the sides onto the base, add handles, sand everything smooth, then finish the inside with a product labeled safe for food contact and let it cure fully before anything edible touches it. One weekend of work makes a sturdy serving tray; the finish is what decides when you can give it.
- Time 3 to 4 hours of work over a weekend, plus the finish's drying and curing time
- Difficulty Beginner to intermediate (straight cuts, gluing, drilling)
- Cost $25 to $60 if you already own a drill and a saw
- Makes One tray, about 12 x 18 inches
A wooden serving tray is one of those gifts that gets used every week: breakfast in bed, cheese and crackers for guests, coffee carried out to the porch. It is also forgiving for a first woodworking project, because it needs only straight cuts and simple butt joints. It suits a housewarming, a wedding or a fifth (wood) anniversary, and it pairs naturally with the people on your list who love to host or cook. More projects like this live in our wood gifts collection. If you want a project that sits directly under a knife, see our cutting board tutorial instead; a tray is for carrying and serving, not chopping.
What you need
- Base: one piece of 1/2-inch hardwood plywood or a glued-up hardwood panel, about 12 x 18 inches
- Sides: hardwood strips about 3/4 inch thick and 2 inches tall (oak, maple, cherry and walnut all work); you need two at 18 inches and two at the inside width
- Handles: two cabinet pulls with screws, or plan to cut hand holes in the short sides
- Wood glue and 1 1/4-inch wood screws (or brad nails if you have a nailer)
- A saw that cuts square: a miter saw, circular saw with a guide, or a handsaw and miter box
- Drill/driver, a countersink bit, clamps, a tape measure and a square
- Sandpaper in 120, 150 and 220 grits, and a sanding block or random-orbit sander
- A finish labeled for food contact: food-grade mineral oil or a cutting board oil/wax blend, or a salad bowl or wood bowl finish
- Safety glasses, hearing protection for power tools and a dust mask
- Felt or rubber feet for the bottom (optional)
Safety before you start
- Read the manual for each power tool and keep blade guards in place. Clamp small pieces instead of holding them near a blade.
- Protect eyes, ears and lungs: wear safety glasses, hearing protection when sawing or routing, and a dust mask when sanding. Fine wood dust irritates many people, and some species bother sensitive people more than others.
- Finishes: work with good airflow, follow the can's directions, and dispose of used rags exactly as the label says; some oil-based finishes carry specific warnings about rags.
- Kids can help sand and oil the tray, but keep them away from saws and drills.
Step-by-step instructions
Plan the size
A tray of roughly 12 x 18 inches holds two mugs and a plate and still fits through a doorway with both hands on it. Decide whether the sides sit on top of the base (simplest) or wrap around its edges (neater look). This guide uses sides that wrap around the base, with the long sides running the full length.
Cut the base and sides
Cut the base to size and check it is square by measuring both diagonals; they should match. Cut the two long sides to the base length plus twice the side thickness, and the two short sides to the exact base width, so the long sides overlap their ends. Sand saw marks off the ends now, while the pieces are easy to handle.
Shape the handles
For cut-out handles, mark a slot about 4 inches long and 1 inch tall centered on each short side, drill a large hole at each end of the slot and connect them with a jigsaw or coping saw. Round over the edges with sandpaper until they feel comfortable to grip. If you prefer pulls, mark the screw holes now and drill them after assembly.
Glue and fasten the frame to the base
Spread a thin bead of glue on the base edges, clamp the short sides on first, then the long sides. Drill countersunk pilot holes and drive screws through the sides into the base edge, or from underneath the base up into the sides if your base is thick enough. Keep the clamps on for the time your glue's label recommends and wipe away squeeze-out with a damp cloth before it dries.
Sand everything smooth
Sand with 120 grit to level the joints, then 150 and 220. Ease every outside edge and corner slightly so nothing feels sharp. Vacuum the dust and wipe the tray with a barely damp cloth, let it dry, and give it a final light pass with 220 grit to knock down raised grain.
Apply a food-safe finish
Choose a finish whose maker says it is suitable for food contact, and apply it exactly as the label directs. Food-grade mineral oil or an oil and beeswax blend soaks in, is easy to renew and is the simplest choice. A salad bowl or wood bowl finish builds a tougher film that resists spills better. Avoid products such as "tung oil finish" or Danish oil blends that contain driers unless the maker specifically rates them for food contact.
Let it cure, then add feet or pulls
A film finish can feel dry within a day and still be curing underneath. Follow the cure time on the can before food touches the tray; finishing expert Bob Flexner's widely quoted rule of thumb is about 30 days at room temperature for varnish-type finishes to cure fully. Oil-only finishes need no long cure but do need a few coats and an occasional refresh. Screw on the pulls and stick felt feet to the bottom.
Tip: Start the project at least a month before the occasion if you are using a film finish. That way the tray is fully cured on gift day instead of smelling of finish.
Making it personal
- Contrasting woods: walnut sides on a maple base, or the reverse, look striking with no extra skill.
- Initials or a date: burn or carve them on the underside or the outside of a short side, away from any surface food will touch.
- Matching set: add a few wood slice coasters that fit inside the tray.
- Painted outside, natural inside: paint only the outer faces of the sides and keep the serving surface in its food-safe finish.
How to package it as a gift
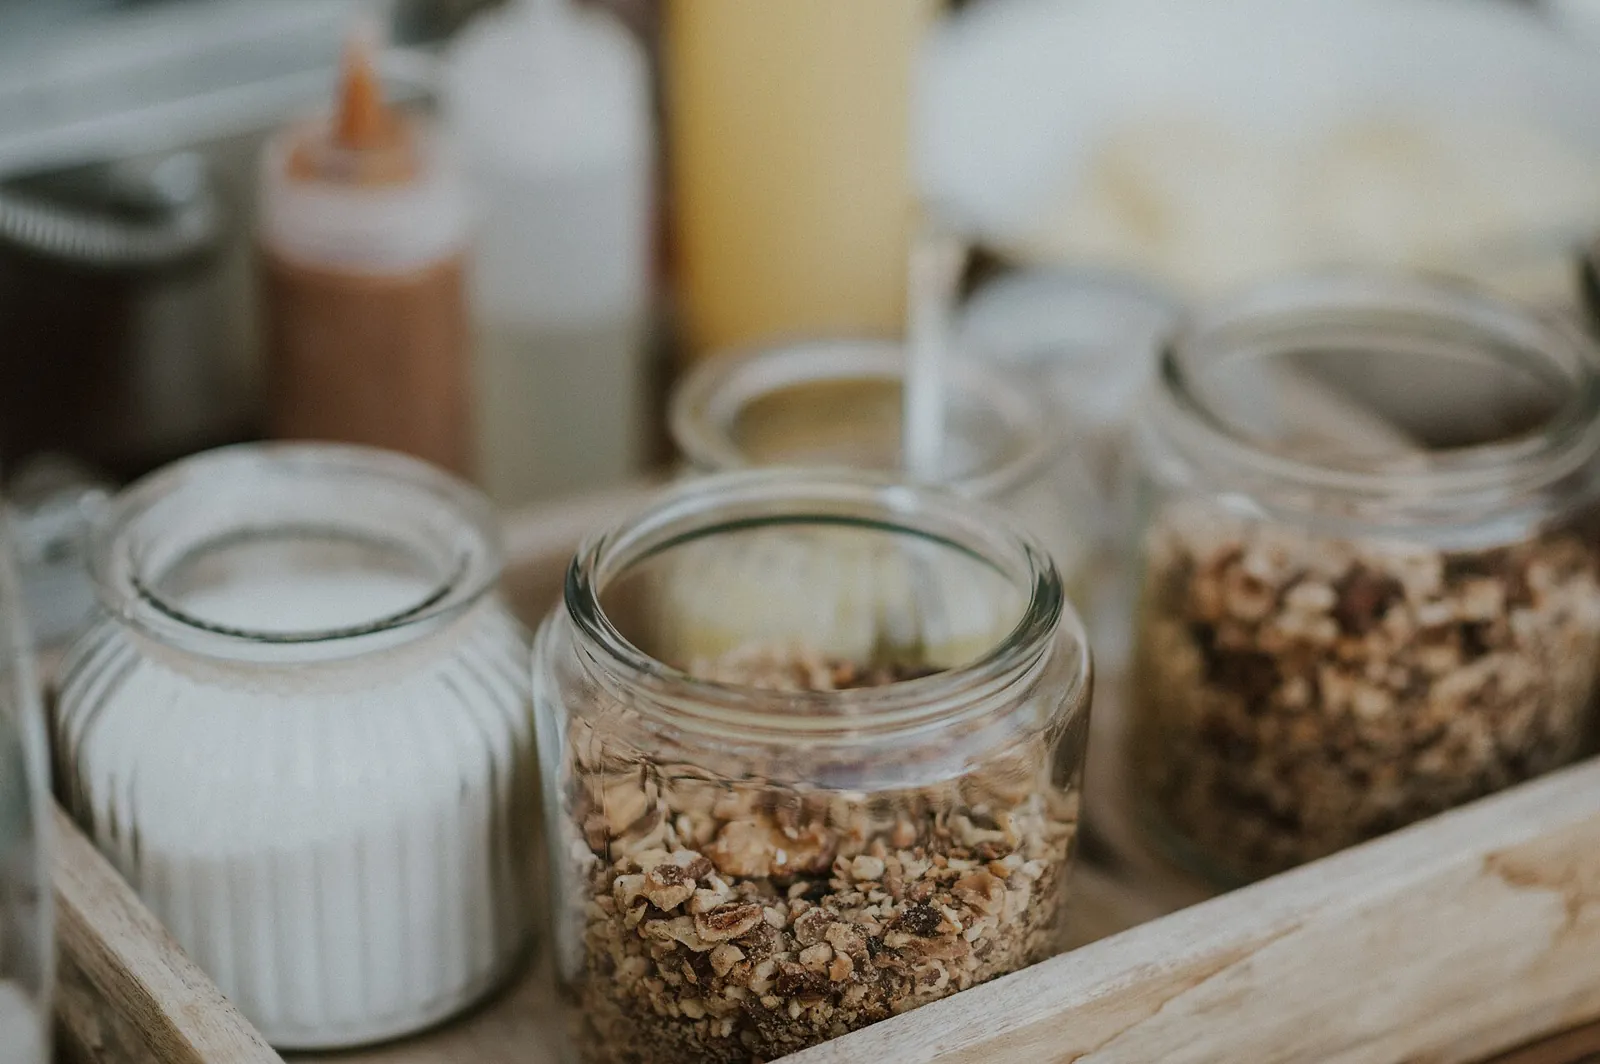
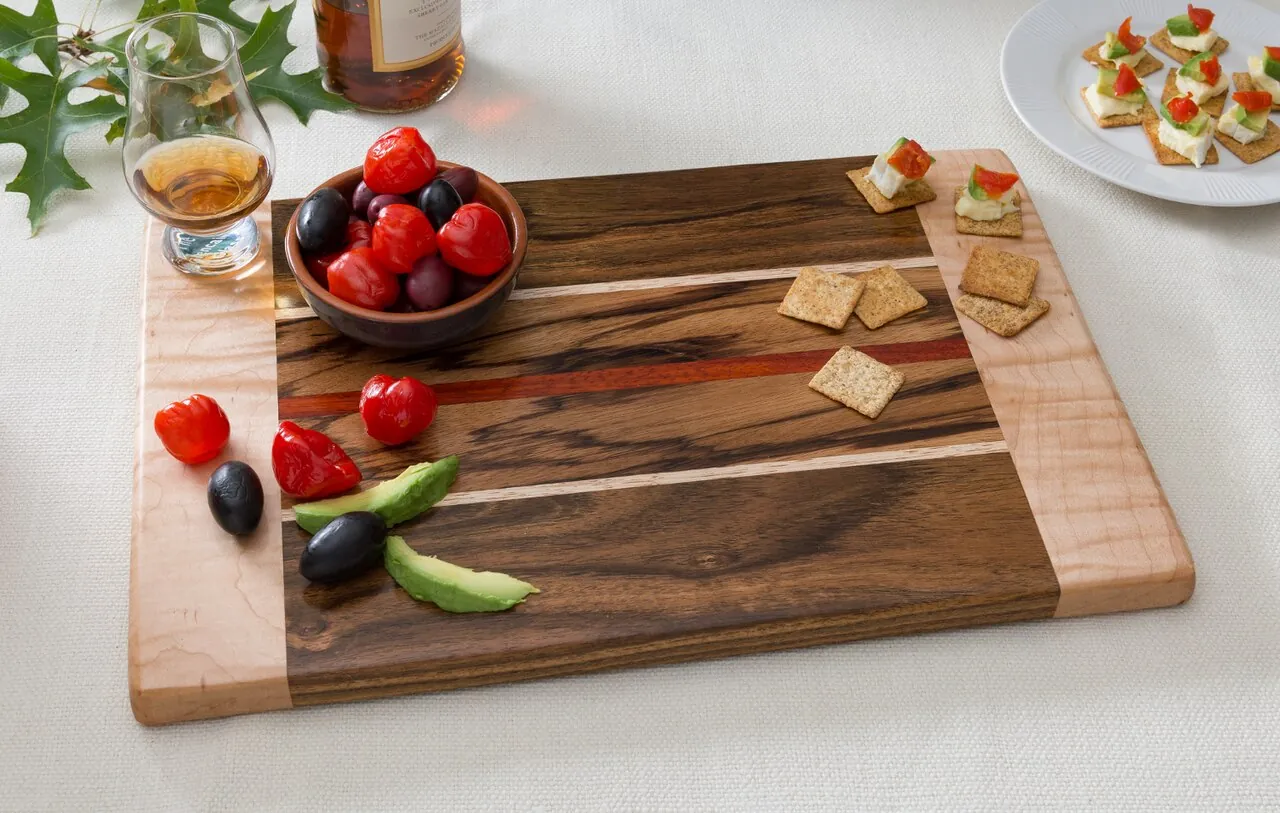
The tray is its own gift box. Fill it for the occasion: two mugs and a bag of good coffee for a couple, a jar of homemade granola for a host, or a cheese knife and crackers for someone who loves to entertain. Wrap the whole thing in a large tea towel or kraft paper tied with twine (see our gift wrapping ideas).
Always tuck in a small care card: which finish you used, "hand wash with mild soap, dry right away, no dishwasher or soaking", and how to refresh it (for oil finishes, a fresh coat of food-grade mineral oil when the wood looks dry).
Frequently asked questions
What is the best food-safe finish for a wooden serving tray?
For easy upkeep, food-grade mineral oil or an oil and beeswax board blend. For more spill resistance, a salad bowl or wood bowl finish. Whatever you choose, use one the maker says is suitable for food contact and follow its cure time before serving food on it.
Can I use polyurethane on a serving tray?
Woodworking experts generally consider fully cured finishes, including polyurethane, safe for incidental food contact, but the key word is cured: allow the full cure time, often quoted as about 30 days at room temperature. Avoid film finishes on any surface that will be cut on.
What wood is best for a serving tray?
Closed-grain hardwoods such as maple and cherry are easy to keep clean, and walnut and oak look handsome. Avoid softwoods for the base if the tray will carry heavy dishes, since they dent easily.
Can a wooden tray go in the dishwasher?
No. Heat and long soaking can loosen glue joints, raise the grain and crack the wood. Hand wash with mild soap and dry it right away.
Sources
- Woodsmith — Facts about food-safe finishes. woodsmith.com
- Kreg Tool — How to choose a food-safe finish. learn.kregtool.com
- Popular Woodworking — Q&A: Is polyurethane food safe? popularwoodworking.com
Image credits. Top image: Tray with espresso cups by Jberkel, CC BY-SA 4.0, via Wikimedia Commons · In-article image: Serving Tray - Maple & Other Rare Woods by Smsilverman342, CC BY-SA 4.0, via Wikimedia Commons
Spotted something out of date or a gift that's no longer available? Tell our editors — we review every correction.