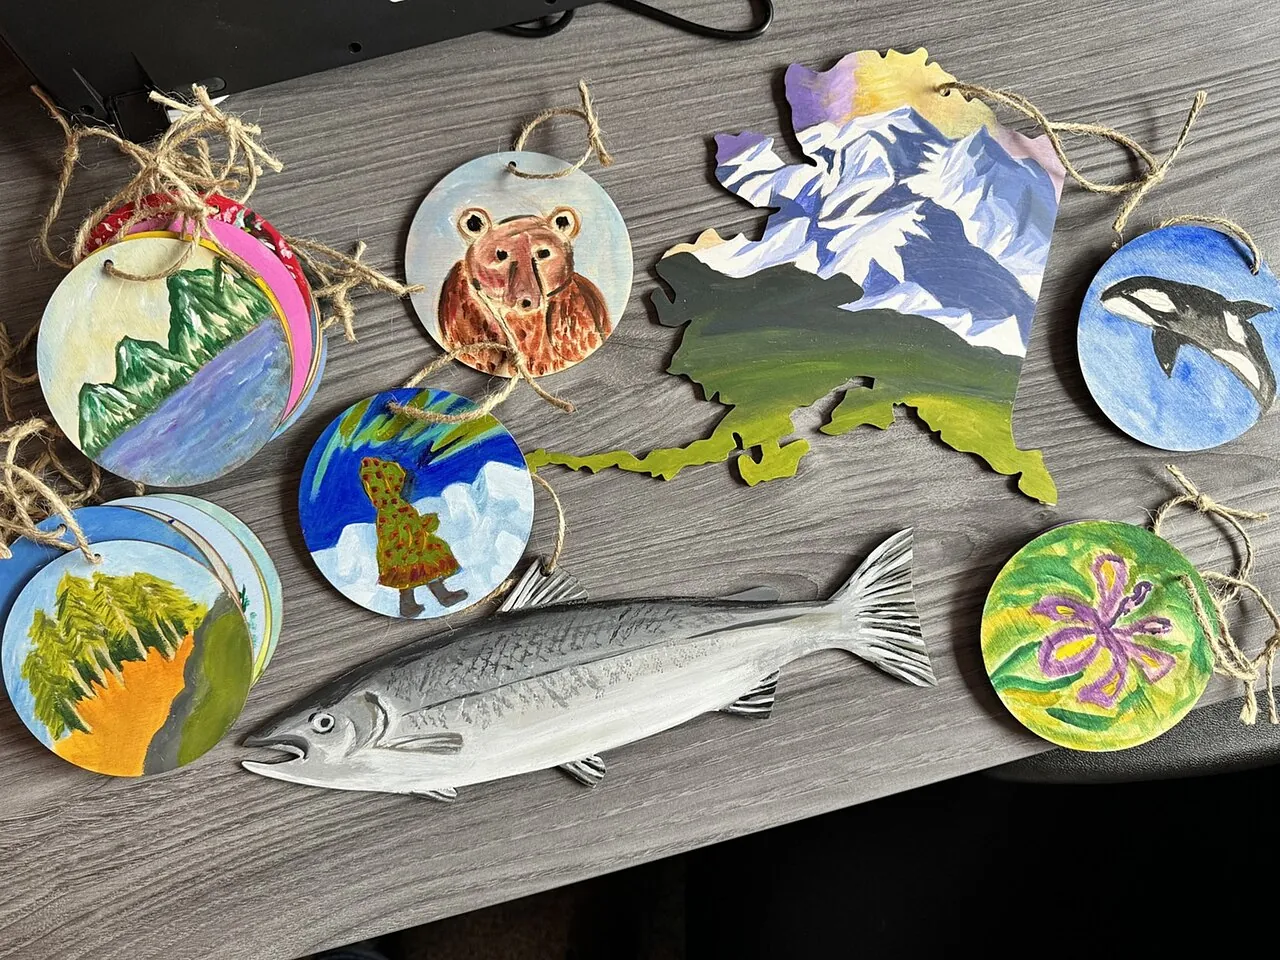
How to make custom tote bags with a Cricut
A personalized tote is a practical gift almost anyone will use. Here is how to make one with Cricut iron-on vinyl, or with Infusible Ink on a polyester blank.
Quick answer
For a cotton or canvas tote, use iron-on vinyl (HTV): mirror the design, cut it shiny side down, weed, then press it liner side up at the settings Cricut's Heat Guide gives for your bag and press. For a seamless, soft-feel print, use Infusible Ink, but only on a white or light blank with a high polyester content, because it does not transfer to 100% cotton. Wait 24 hours before the first wash and wash the bag inside out.
- Time 45–90 minutes
- Difficulty Easy
- Cost $8 – $20 per bag in materials (machine and press not included)
- Makes 1 tote; designs are easy to repeat for a group
Totes are one of the most forgiving Cricut projects: the surface is flat, the fabric is sturdy, and a simple name or line of text looks polished. They make thoughtful gifts for teachers, bridesmaids, new moms, book-club friends or anyone who carries groceries and library books. If you sew, you can even start with your own bag from our simple tote bag tutorial. For more machine projects, see Cricut gift ideas.
Choose your bag and your material
Iron-on vinyl (HTV)
Iron-on vinyl is a heat-activated film that you cut, weed and press onto fabric. It works on almost any color of bag, including black and navy, and comes in finishes such as glitter, foil and holographic. Cotton canvas totes are a good choice. It sits on top of the fabric, so you can feel the design.
Infusible Ink
Infusible Ink is a heat-transfer ink that bonds into the fibers, so the design does not crack, peel or flake. Cricut's FAQ is specific about the base: it works on compatible white or light-colored fabrics, it will not transfer to 100% cotton, and blanks with at least 75% polyester are the minimum for good results. It also needs a heat press that reaches 400°F (205°C), such as an EasyPress model Cricut lists. The simplest route is a Cricut tote blank or another blank labeled sublimation-compatible.
What you need
- A Cricut cutting machine and Design Space
- A tote bag: cotton canvas for iron-on, or a light polyester blank for Infusible Ink
- Cricut Everyday Iron-On (or another iron-on) or Infusible Ink transfer sheets
- Standard Grip mat and a weeding tool
- Cricut EasyPress, Autopress or a household iron (iron-on only); an EasyPress mat or a firm, flat pressing surface
- Iron-On Protective Sheet or parchment (optional, as your Heat Guide directs)
- Heat-resistant tape (optional)
- Lint roller and a ruler
- Butcher paper or cardstock to place inside the bag for Infusible Ink, per the material's instructions
Step-by-step: iron-on vinyl on a canvas tote
Prepare the bag
Cricut recommends pre-washing fabric base materials without fabric softener so they pre-shrink and lose finishes that can stop the vinyl from sticking. Let the bag dry and iron out wrinkles.
Design and size
Measure the flat front panel and size the design to leave a comfortable margin from the seams and handles. A name, monogram or short phrase about 8–10 inches wide reads well on a standard tote.
Mirror and cut
Turn on Mirror for the mat in Design Space, since iron-on is cut from the back. Place the iron-on on the mat shiny liner side down, select the material setting and cut. Cricut suggests a small test cut first if you are unsure of the setting.
Weed
Peel away the excess vinyl and use a weeder to lift the insides of letters, leaving the design on its clear liner.
Find a good pressing surface
Use a firm, flat surface at about waist height with a pressing mat; Cricut advises against flimsy ironing boards. Slip the mat or a folded towel inside the bag so you press only one layer.
Press
Look up the time and temperature for your exact iron-on, base material and press in the Cricut Heat Guide or the Cricut Heat app; settings differ for every combination. Preheat the bag as instructed, place the design liner side up, and press. With a household iron, Cricut's guidance for Everyday Iron-On is the Cotton/Linen setting with steam off, a short preheat, then medium pressure on the front and again from the back.
Peel and check
Peel the liner slowly when the design is cool to the touch, as Cricut specifies for Everyday Iron-On (other iron-on types can be warm or hot peel; check yours). If an edge lifts, lay the liner back down and press again briefly.
Step-by-step: Infusible Ink on a polyester tote
Do not pre-wash
Cricut does not recommend pre-washing Infusible Ink blanks. Lint-roll the bag and put a sheet of cardstock or butcher paper inside to stop ink bleeding through to the back.
Cut and weed
Mirror the design, load and cut the transfer sheet as Design Space directs, and weed. The sheet often looks duller before pressing than the finished print will.
Preheat, press and reveal
Preheat the bag to remove moisture and wrinkles, which Cricut says prevents steam from displacing the pigment. Place the design ink side down, cover it as directed, and press at the Heat Guide settings with a press that reaches the required temperature. Remove the liner once cool, as instructed.
Tip: Put the recipient's name on the inside lining pocket or the bottom gusset in a smaller size as well. It is a small touch that makes the bag feel custom-made rather than printed.
Safety notes
- Heat presses and irons get hot enough to burn. Keep the cord tidy, use the press's safety base, and keep children and pets away while pressing.
- Cricut advises using its presses and Infusible Ink in a well-ventilated area.
- Weeding tools and blades are sharp; store them out of reach of young children.
Care instructions for the recipient
Include a small care card. For Everyday Iron-On, Cricut's care guidance is to allow 24 hours after application before washing, wash and tumble dry inside out, and do not bleach. Hanging the bag to dry is gentler still. For Infusible Ink, follow the care printed on the blank's packaging.
Gift ideas
- Teacher tote: the teacher's name with a pencil or apple motif, filled with classroom supplies.
- Bridesmaid totes: each name in the same font and color, a set that pairs well with our bridesmaid gift ideas.
- Library or book-club bag: a favorite quote in a clean serif font.
- Beach or market bag: a bold graphic in a weather-friendly color.
How to package a tote as a gift
The bag is its own wrapping: fill it with tissue and a few small presents, such as a book, a water bottle or snacks, then tie the handles together with ribbon and attach the care card as a tag. For more ideas on filling it, see our guide to building a gift basket; the same layering approach works in a tote.
Frequently asked questions
Can I use Infusible Ink on a cotton tote bag?
No. Cricut says Infusible Ink will not transfer to 100% cotton. Use iron-on vinyl for cotton canvas, or choose a light-colored blank with at least 75% polyester.
Can I use a regular iron instead of an EasyPress?
For iron-on vinyl, yes. Cricut gives household-iron instructions for Everyday Iron-On (Cotton/Linen setting, steam off). For Infusible Ink, Cricut lists heat presses that reach 400°F, so check its instructions before trying an iron.
Why is my iron-on vinyl peeling off the tote?
Usually the press was too short, too cool or too light, the fabric had a finish that blocks adhesion (pre-wash without fabric softener), or the bag was washed within the first 24 hours. Re-press with the liner on, using the Heat Guide settings.
Do I need to mirror iron-on designs?
Yes. Iron-on and Infusible Ink are cut from the back, so Cricut says to mirror the mat before cutting. Adhesive vinyl for mugs and signs is not mirrored.
Sources
- Cricut Help Center — Cricut Everyday Iron-On. help.cricut.com
- Cricut Help Center — Infusible Ink FAQ. help.cricut.com
- Cricut Help Center — Cricut Mug Press FAQ (ventilation for presses and Infusible Ink). help.cricut.com
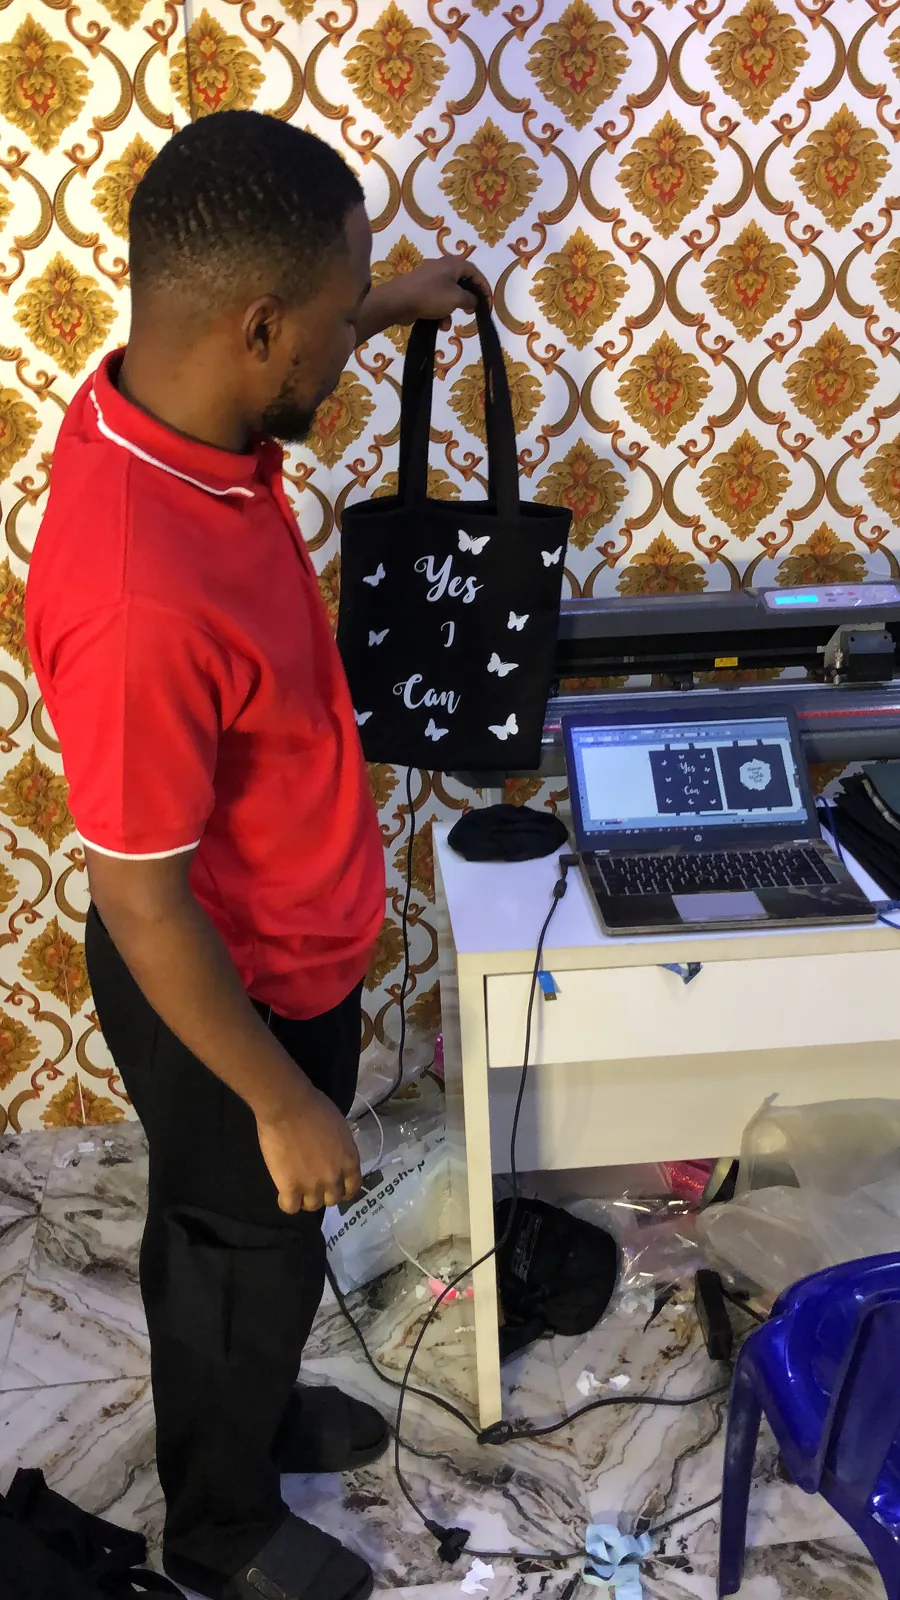
Image credits. Top image: Tote bag-making 17 by Aminwa 21, CC BY-SA 4.0, via Wikimedia Commons
Spotted something out of date or a gift that's no longer available? Tell our editors — we review every correction.