How to make beeswax candles that burn well
A step-by-step guide to poured beeswax candles, with supplier-backed temperatures, honest advice on wicking this tricky wax, and safe ways to package them as gifts.
Quick answer
To make beeswax candles, melt beeswax slowly in a double boiler, secure a pre-tabbed cotton wick in a heat-safe jar or tin, pour, and let the candle cool at room temperature for at least a day. Beeswax is harder to wick than soy, so buy a sample pack of wicks and burn-test one candle before you make a batch to give away. Keep the wax under about 180°F, never heat it directly on a burner, and never put water on a wax fire.
- Time About 1 hour of work, plus at least 24 hours to cure
- Difficulty Moderate (wicking takes testing)
- Cost About $30 – $60 for a first batch, including a thermometer and wick samples
- Makes Four to six small 4 oz tins or jars per pound of wax
Beeswax candles are a classic natural gift: golden, faintly honey-scented and needing no added fragrance, a good fit for eco-friendly gifts. Beeswax is less forgiving than soy, so this guide focuses on the two things that decide success: temperature and wick choice.
Before you start: why beeswax behaves differently
Candle supplier CandleScience describes beeswax as a challenging wax because of its high melt point and hardness, and generally does not recommend it for first-time candle makers. Its wax guide lists both its white and yellow beeswax with a melt point of 144°F and a pour temperature of about 175°F to 178°F (plus or minus 5°F). Utah State University Extension adds that beeswax heated above 180°F starts to discolor. In practice, that leaves a fairly narrow window: melt gently, check the thermometer often, and pour when the wax is fully liquid but not overheated.
If you have never made a candle, a batch of soy candles first will teach you the basic steps with a softer, easier wax.
Yellow or white beeswax
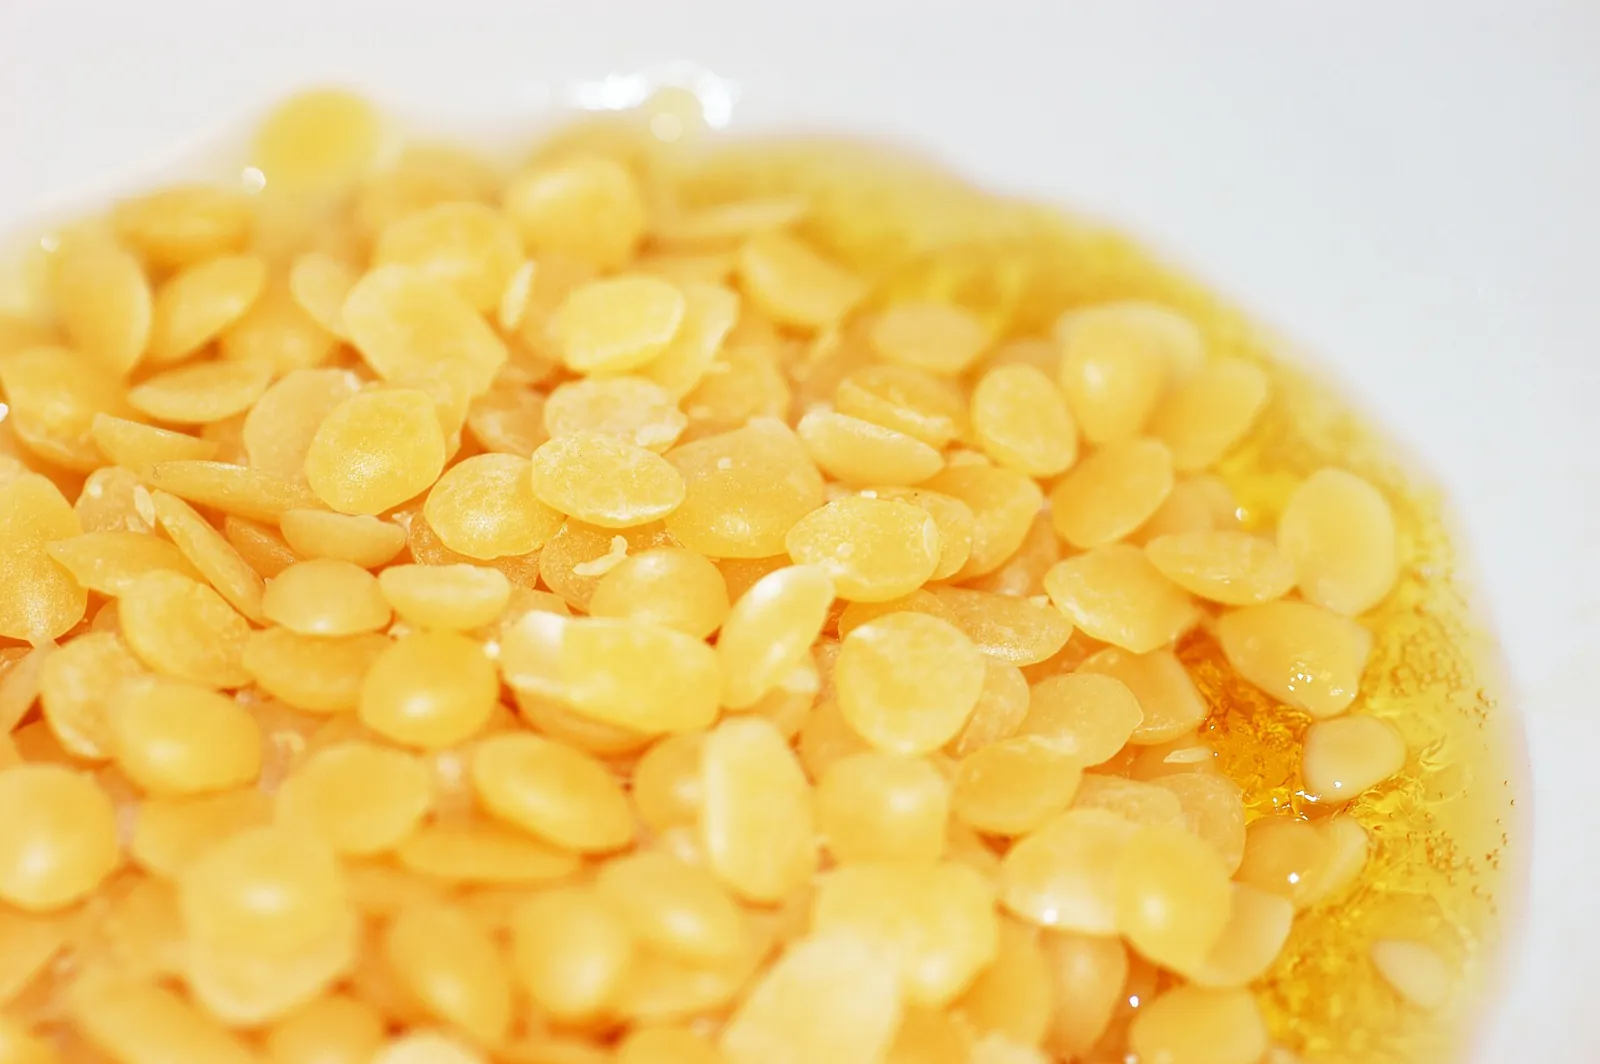
Yellow beeswax keeps its natural color and subtle honey scent; white has been filtered and takes dye more evenly. Pellets melt faster and weigh more easily than a solid block.
Softening the wax
Some makers blend in coconut oil so the candle burns more evenly in a container. USU Extension gives a ratio of one part coconut oil to two parts beeswax as a guide and says never to use more oil than wax. Treat it as optional and note it on the label.
What you need
- 1 lb (454 g) beeswax pellets, yellow or white
- Coconut oil (optional, see above)
- Pre-tabbed cotton wicks: a sample pack in several sizes for your container diameter
- Heat-safe containers: candle tins or thick glass jars made for candles
- Wick stickers or a dab of hot glue, and wick bars or clothespins to hold wicks upright
- Pouring pitcher (or a dedicated metal can) and a large saucepan for a double boiler
- Candy or candle thermometer
- Kitchen scale
- Paper towels, newspaper or a silicone mat for the work surface
- A metal pot lid and a dry chemical (ABC) fire extinguisher within reach
Tip: Wax is very hard to clean out of cookware. Use a pitcher and thermometer you will keep for candle making only, not pans you cook with.
How to choose the right wick
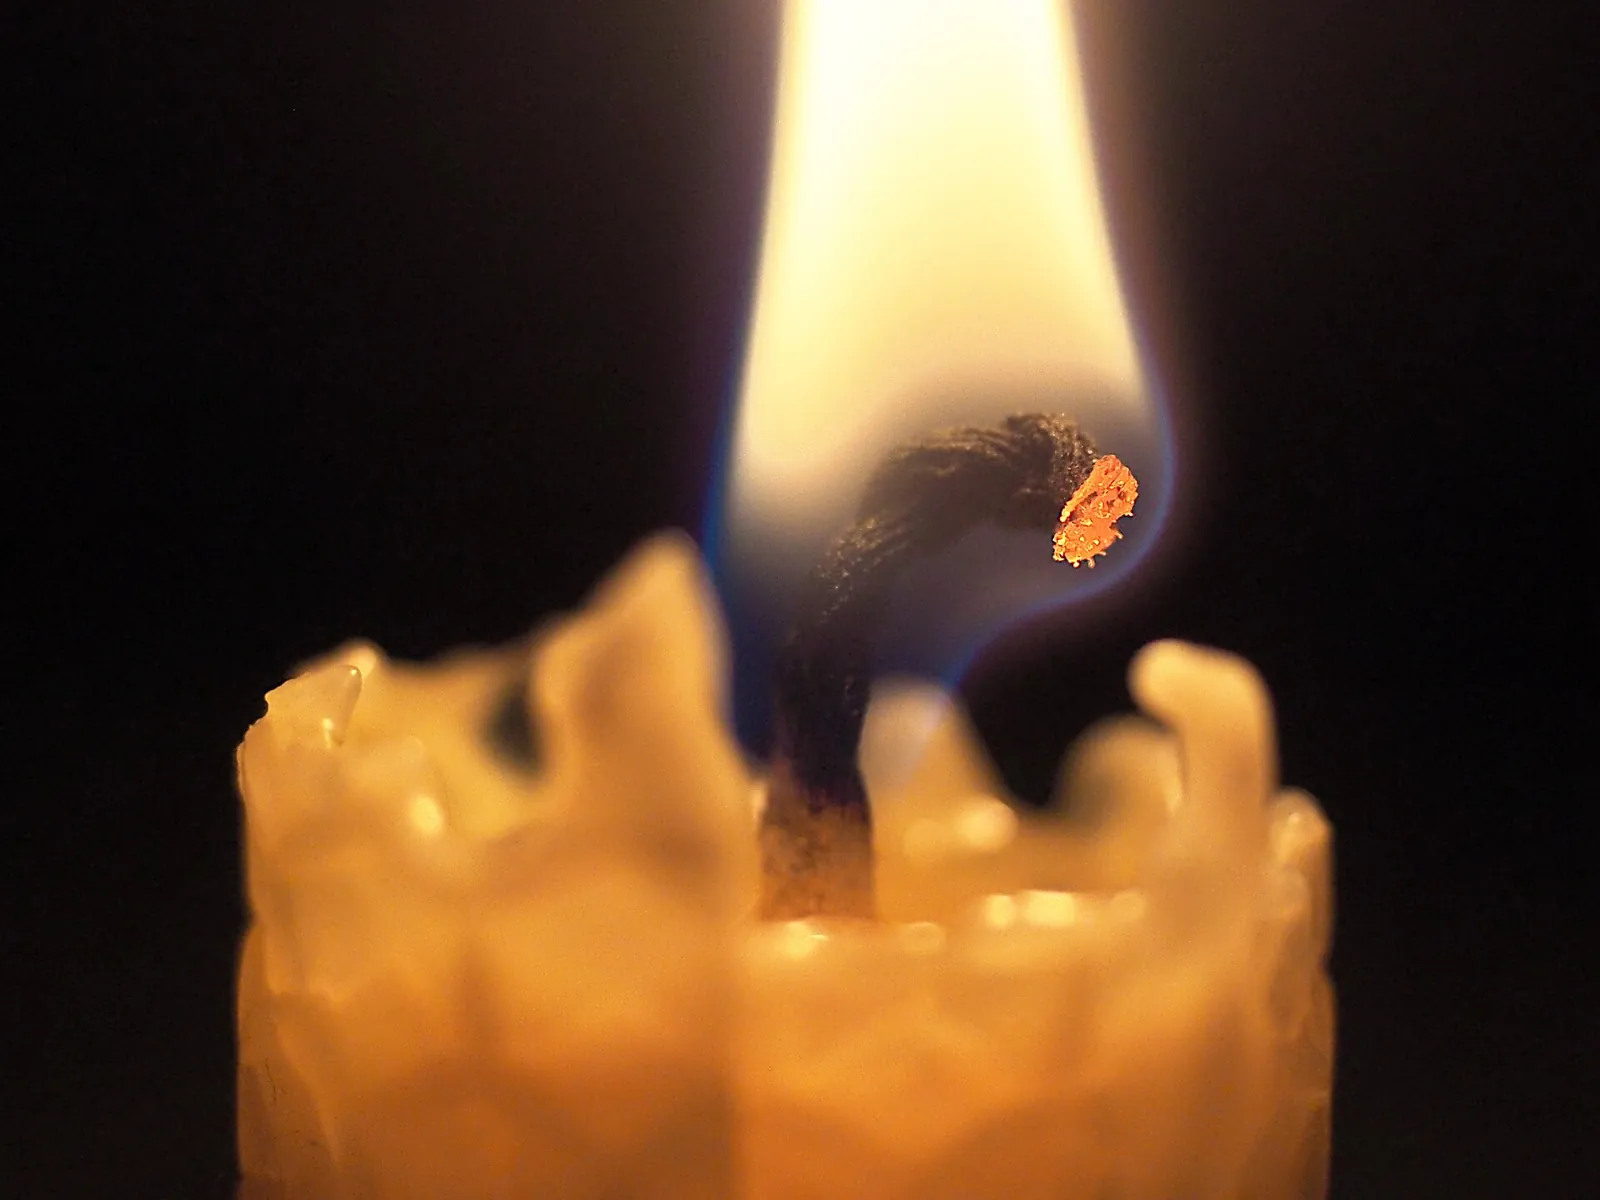
This is where most beeswax candles go wrong. CandleScience says beeswax "can be very difficult to wick," that its performance depends on where and how it was obtained, and that it cannot give reliable size recommendations by container diameter. It suggests testing its ECO wick series. USU Extension notes that square braid wicks are generally preferred by beeswax candle makers, and that wide candles often need two or three wicks.
The practical approach:
- Measure the inside diameter of your container.
- Look up that diameter on your wick supplier's chart, then buy that size plus the sizes either side.
- Make one test candle with each and burn them as described in the final step below.
CandleScience advises starting with the smaller size when you are between two, because a slightly under-wicked candle is safer and easier to fix than an over-wicked one, which can produce a tall flame, soot and a dangerously hot container.
How to make beeswax candles
Set up a safe workspace
Cover the counter, clear away anything flammable and keep children and pets out of the kitchen. Put the lid and extinguisher where you can reach them. Never leave melting wax unattended.
Prepare the containers
Make sure the jars or tins are clean and completely dry. Stick a wick tab to the center of each base with a wick sticker or a small dot of hot glue, then hold the wick straight and centered with a wick bar or a clothespin resting across the rim.
Melt the wax in a double boiler
Fill a large saucepan about halfway with water and set the pitcher of weighed wax inside it. Heat on medium-low, topping up the water so the pan never runs dry. Never put a pot of wax directly on a burner: wax heated directly can overshoot its safe range quickly. Stir occasionally and watch the thermometer.
Add coconut oil, if using
Once the beeswax is fully liquid, stir in the coconut oil until it melts. CandleScience lists no maximum fragrance load for beeswax, so most makers leave it unscented; if you add essential oil, follow your supplier's candle usage rate.
Check the temperature and pour
Aim for the pour temperature your wax supplier lists (CandleScience gives about 175°F to 178°F for its beeswax), and do not let the wax climb past about 180°F, where USU Extension says it starts to discolor. Pour slowly and steadily, leaving about half an inch of space at the top of each container. Save a little wax in the pitcher for topping up.
Cool slowly
Let the candles cool at room temperature, away from drafts. USU Extension warns that rapid cooling causes cracking, so do not put them in the fridge or freezer. If a small dip forms around the wick as the wax shrinks, reheat the reserved wax and pour a thin layer over the top.
Cure, trim and label
Leave the candles for at least 24 hours, as USU Extension recommends. Remove the wick holders and trim each wick to 1/4 inch, the length the National Candle Association recommends before every burn. Add a label with the wax used, any additives, and basic safety directions.
Burn-test one candle
Before giving any candles away, burn one from each wick size. CandleScience recommends test burns in 4-hour sessions, checking each hour, and testing all the way to the bottom of the container, because candles typically burn hotter as the flame gets lower. A well-wicked candle has a steady flame and a melt pool that reaches the edge. Tunneling and a small flame mean the wick is too small; mushrooming, a tall flame or a very deep melt pool mean it is too large.
Safety notes
- Never put water on a wax fire: wax behaves like cooking oil, and water can splatter the burning wax. Turn off the heat, cover a burning pot with a metal lid if you can do so safely, or use a dry chemical (ABC) extinguisher. CandleScience also advises keeping an extinguisher within reach.
- Hot wax causes serious burns. Keep children away from the stove; they can help with labels and wrapping instead.
- Use only containers sold as heat-safe for candles. Thin decorative glass, teacups with crazed glaze and wooden bowls are not safe candle vessels.
- Include burn directions with the gift. The National Candle Association recommends trimming the wick to 1/4 inch before every use, keeping candles away from drafts and vents, and stopping when 1/2 inch of wax remains in a container candle.
About white bloom: Pure beeswax can develop a whitish, powdery haze over time, called bloom. Honey Bee Suite explains that it forms when softer components of the wax migrate to the surface and crystallize; it is harmless and not mold. A gentle pass with a hair dryer or a soft cloth removes it. Mention it on the label so the recipient is not surprised.
How to package beeswax candles as a gift
Tins with lids travel well and are ideal for mailing or for stocking stuffers. For jars, tie a tag around the neck with twine and add a small card with the burn directions above. A pair of candles in a kraft box with crinkle paper makes a simple housewarming gift. If you want something more festive, the decorating ideas in our Christmas candles guide work on beeswax too. Browse more projects in candles and soap.
Frequently asked questions
Why is my beeswax candle tunneling?
Tunneling usually means the wick is too small for the container, so the flame cannot melt wax all the way to the edge. Try the next wick size up in a test candle, and let each burn last long enough for the melt pool to reach the edge.
Can I add essential oils to beeswax candles?
You can, but beeswax already has a light honey scent, and CandleScience lists no maximum fragrance load for beeswax. If you add essential oil, use the candle usage rate your supplier gives, and remember that fragrance can change which wick size works best.
Why did my beeswax candle crack?
Cracks are usually caused by cooling too fast. Let candles cool at room temperature away from drafts, and never put them in the fridge or freezer to speed things up.
Is there an easier beeswax candle for beginners or kids?
Rolled candles made from honeycomb-textured beeswax sheets need no melting at all: you simply roll the sheet tightly around a wick. They are a good project for children with adult help, and lighting the finished candle should be left to adults.
Sources
- CandleScience — Candle wax guide (beeswax melt point, pour temperature, beginner note). candlescience.com
- CandleScience — Candle wick guide (beeswax wicking, ECO series, burn testing). candlescience.com
- CandleScience Support — How to melt wax using a double boiler. support.candlescience.com
- Utah State University Extension — Processing and using beeswax. extension.usu.edu
- National Candle Association — FAQs (wick trimming and burning guidance). candles.org
- LoveToKnow — Safe candle making (double boiler, wax fires). lovetoknow.com
- Honey Bee Suite — Wax bloom: what it is and how to remove it. honeybeesuite.com
Image credits. Top image: Candle wick and flame closeup by Kreuzschnabel, CC BY-SA 3.0, via Wikimedia Commons · In-article image: Melting beeswax by Simon A. Eugster, CC BY-SA 3.0, via Wikimedia Commons
Spotted something out of date or a gift that's no longer available? Tell our editors — we review every correction.