Homemade jam as a gift: how to make it safely
A jar of homemade jam is a classic gift, but only if it is made and canned the tested way. Here is the safe process, a no-canner freezer option, and how to label and wrap it.
Quick answer
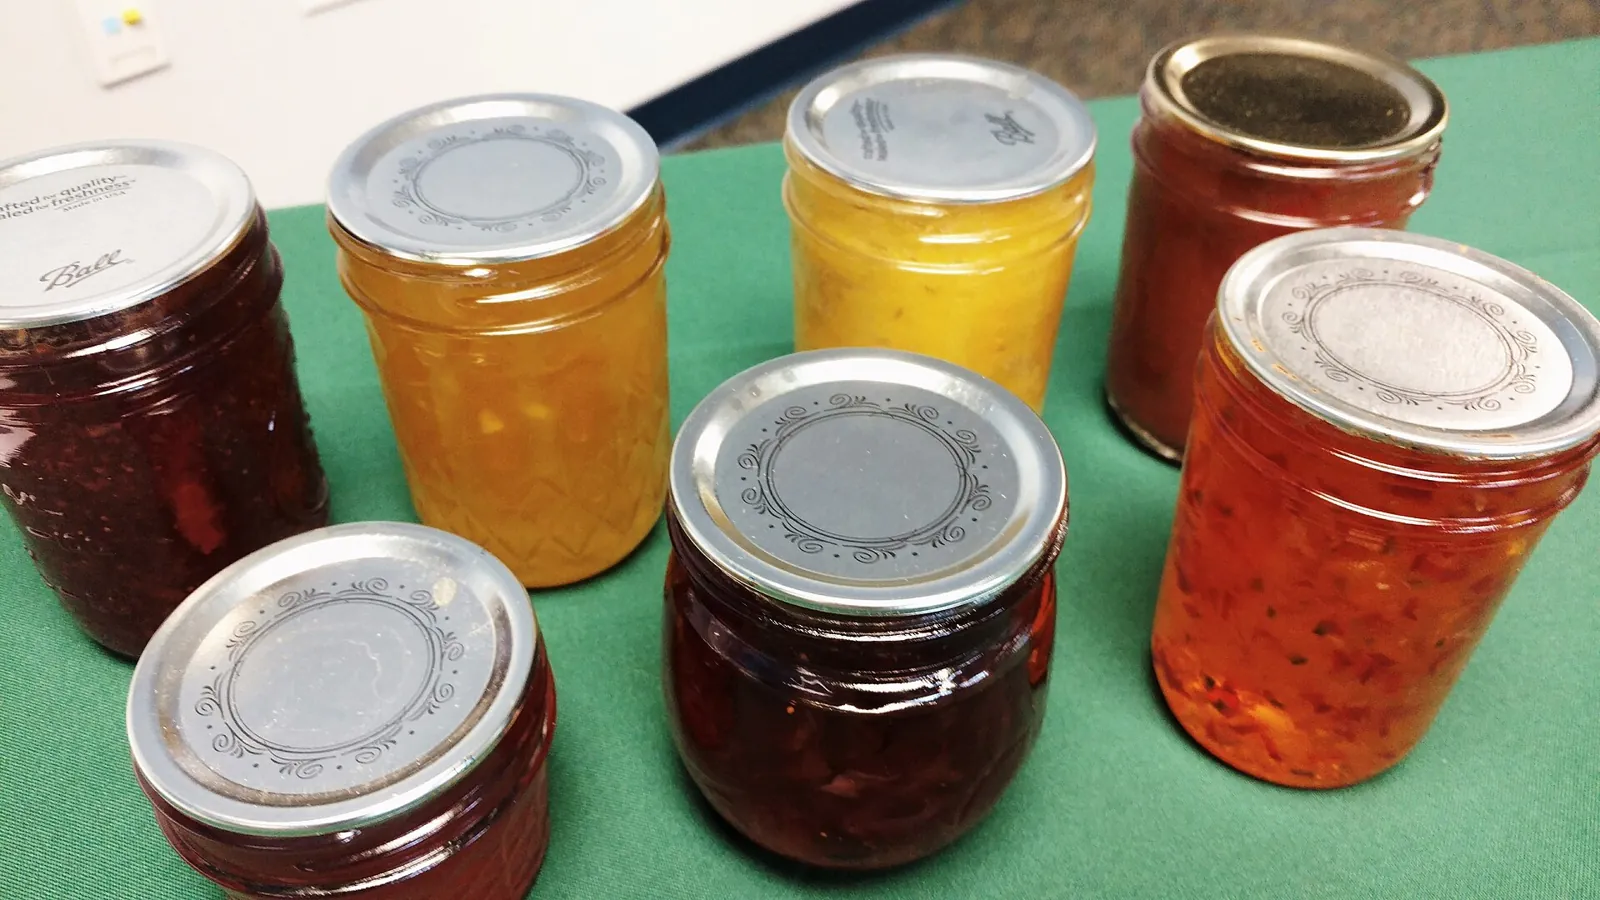
Homemade jam makes a lovely gift, as long as it is made from a tested recipe and processed correctly. Use a current recipe from a trusted source such as the USDA, the National Center for Home Food Preservation, a university extension service or your pectin's package insert, measure exactly, and process jars in a boiling water canner for the time the recipe gives (adjusted for your altitude). Do not seal jars with paraffin wax. If you would rather skip canning, make freezer jam and give it frozen with clear storage instructions.
- Time About 1 1/2 – 2 hours for one batch, plus 12 – 24 hours to cool
- Difficulty Moderate (easy once you have canned once)
- Cost About $20 – $40 per batch, plus a canner and jars if you need them
- Makes Usually 5 – 8 half-pint jars, depending on the recipe
A jar of jam made from summer strawberries or autumn plums is the kind of gift people remember and use to the last spoonful. It also travels well and suits almost anyone: neighbors, teachers, hosts, grandparents. The craft is simple, but the food safety rules are not optional, so this guide focuses on what keeps a gift jar safe on someone else's shelf.
Why a tested recipe matters
Jam is a high-sugar, high-acid food, which is why it can be canned in a boiling water bath rather than a pressure canner. That safety depends on the balance of fruit, sugar, acid and pectin in the recipe, and on correct processing. Change the balance and the jam may not set, may spoil or, if low-acid ingredients are added, may no longer be safe for water-bath canning.
Penn State Extension advises using only current tested recipes from a credible source, and points out that several methods from older cookbooks are no longer considered safe. Washington State University Extension's jam and jelly tips sum it up:
- Measure accurately and follow directions carefully.
- Know your pectin: regular versus low-sugar, cooked versus freezer.
- Process all jam and jelly products in a boiling water canner.
- Never add low-acid foods to jams and jellies.
- Do not seal jams and jellies with paraffin.
Good places to find tested recipes are the National Center for Home Food Preservation, the USDA Complete Guide to Home Canning, the book So Easy to Preserve, your state's extension service, and the instructions inside commercial pectin packages.
What you need
- A tested jam recipe and the exact ingredients it lists
- Ripe, unblemished fruit
- Pectin of the type the recipe specifies (if it calls for one)
- Bottled lemon juice if the recipe calls for it (its acidity is consistent)
- Canning jars with new two-piece lids (flat lids and screw bands)
- A boiling water canner or a deep pot with a rack, deep enough to cover jars by at least an inch of water
- Large heavy pot, ladle, canning funnel, jar lifter and a clean damp cloth
- Timer, labels and a permanent marker
How to make and can jam
Read the whole recipe and check your altitude
Tested recipes give a base processing time plus an altitude chart, because water boils at a lower temperature the higher you live. Find your elevation and note how much time to add. Have everything ready before you start cooking.
Prepare jars and lids
Wash jars, lids and bands in hot soapy water and rinse. Keep jars hot until filling, as your recipe directs, and prepare lids according to the lid manufacturer's instructions. Check jar rims for nicks or cracks.
Prepare the fruit and measure exactly
Wash, hull, pit and crush or chop the fruit as directed. Measure fruit, sugar and lemon juice precisely. Do not reduce sugar unless you are using a recipe or pectin designed for reduced sugar, and do not double a batch unless the recipe says you can.
Cook the jam
Follow the recipe's order for adding pectin and sugar and its timing for the boil. Most pectin recipes call for a full rolling boil that cannot be stirred down, held for a set time. Skim off foam if needed.
Fill the jars
Ladle hot jam into hot jars through a funnel, leaving the headspace the recipe specifies. Wipe the rims with a clean damp cloth so the lids can seal, then apply lids and bands to fingertip tightness.
Process in a boiling water canner
Lower the jars onto the rack in the canner, with water covering them by at least an inch. Bring to a full boil, then start timing for the processing time in your recipe, adjusted for altitude. When time is up, follow the recipe's instructions for removing the jars.
Cool and check the seals
Set the jars on a towel, away from drafts, and leave them undisturbed for 12 to 24 hours. A sealed lid is pulled down in the center and does not flex when pressed. Refrigerate any jar that did not seal and use it first; do not give it away.
Label and store
Wipe the jars, remove the bands if your guide recommends it, and label each with the fruit and date. Store in a cool, dark, dry place.
Tip: Make your gift batch from a single recipe you have already made once for yourself. The first batch teaches you how the set looks and how long everything takes.
Freezer jam: the no-canning option
Freezer jam uses a pectin made for uncooked or lightly cooked fruit and is stored in the freezer instead of being processed. It tastes very fresh and needs no canner. It is not shelf-stable, so give it frozen or chilled, use freezer-safe containers, and copy the storage times from your pectin's package onto the label.
Giving jam safely and beautifully
- Label each jar with the fruit, the date made and "Refrigerate after opening."
- List all ingredients, as Texas A&M AgriLife Extension recommends for food gifts, and say where the jar should be stored.
- Give only jars that sealed properly and look and smell normal.
- Top the lid with a fabric circle or kraft paper and twine, and tie on a small wooden spoon.
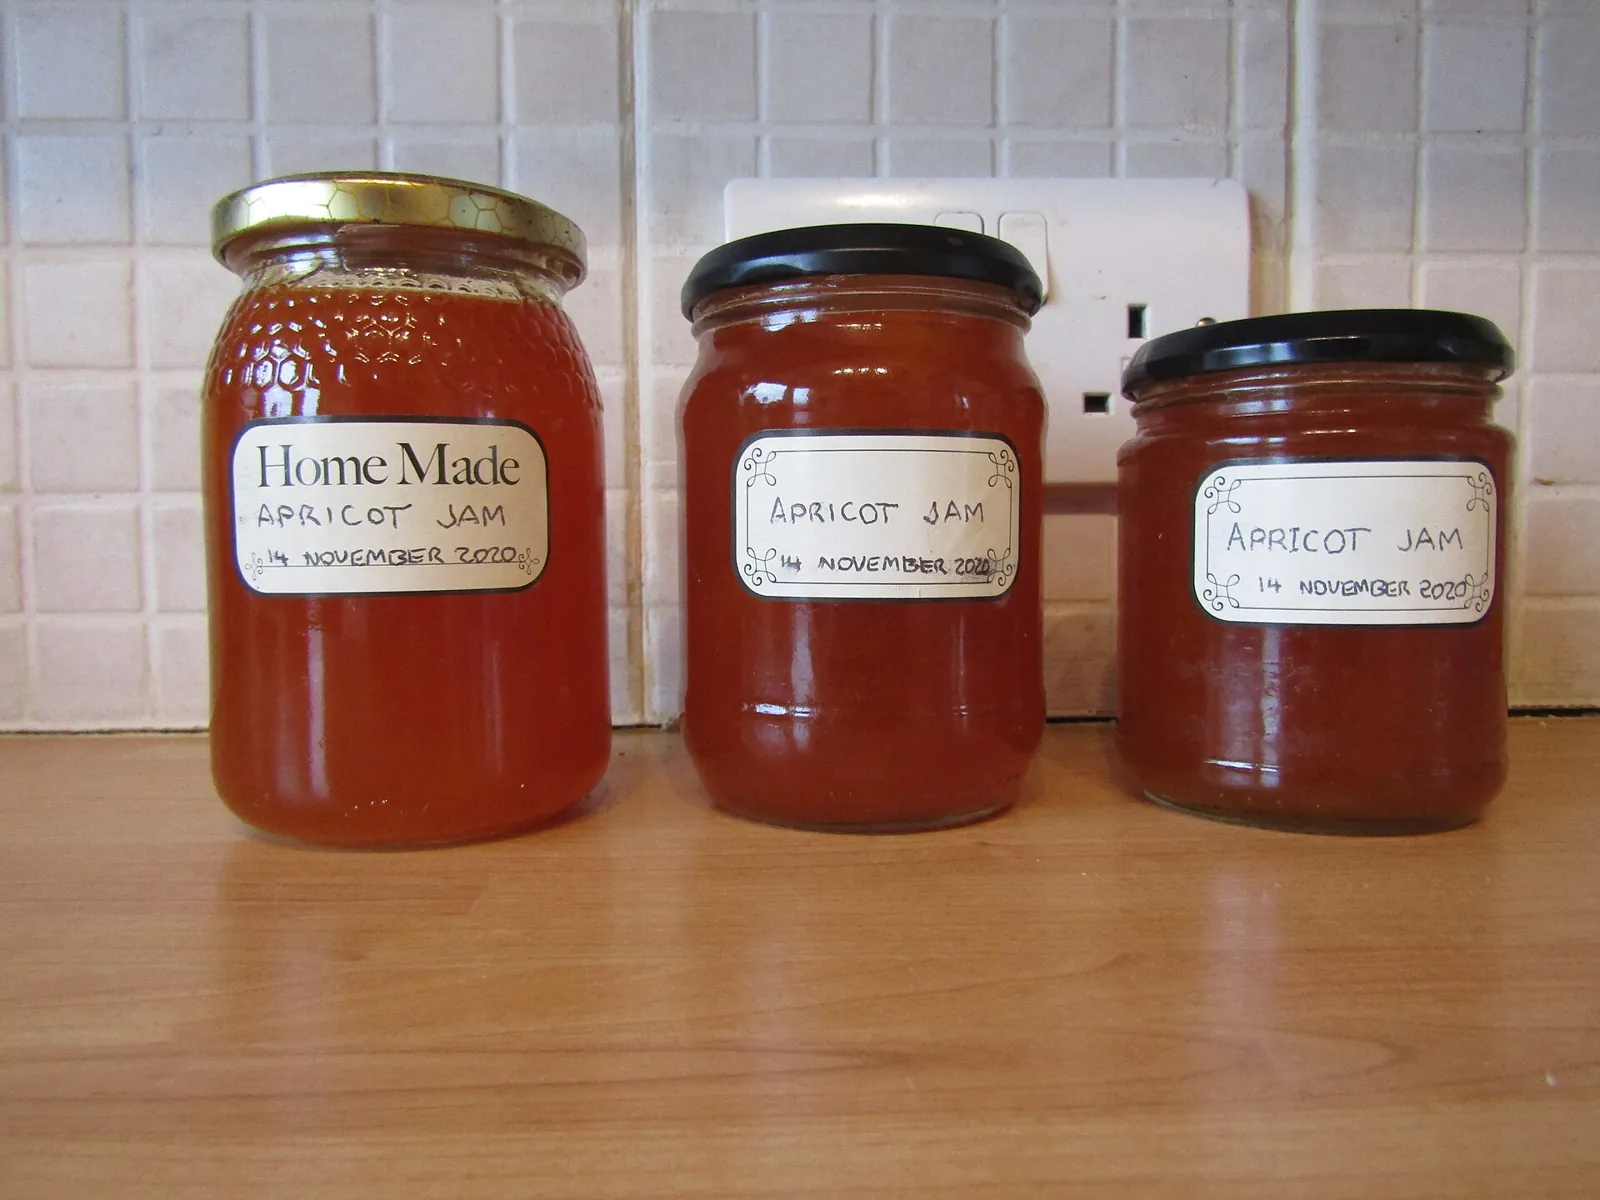
- Do not seal with paraffin wax or rely on turning jars upside down instead of processing.
- Do not invent your own low-sugar version or add vegetables, peppers or other low-acid ingredients to a recipe that was not tested with them.
- Do not give unsealed or freezer jam as a shelf gift.
Jam fits beautifully into a breakfast basket with scones or a loaf of bread; see how to build a gift basket. It is also a classic among holiday treats for neighbors. Browse more homemade ideas in our food gifts section.
Frequently asked questions
Do I really need to water-bath can jam?
For shelf storage, yes. Extension services recommend processing all jams and jellies in a boiling water canner. If you skip processing, store the jam in the fridge or freezer as freezer or refrigerator jam.
Can I seal jars with paraffin wax like my grandmother did?
No. Paraffin seals are no longer recommended: Penn State Extension notes that paraffin shrinks over time and temperature changes can let molds and yeasts grow.
How long does homemade jam last?
Properly processed, sealed jam is shelf-stable, but color and flavor fade over time, so many preserving guides suggest using it within about a year for the best quality. Once opened, keep it in the fridge. Follow the storage advice from your tested recipe source.
My jam didn't set. Is it still safe?
If it was processed and sealed correctly, a soft set is usually a quality problem rather than a safety one. Tested sources explain how to remake runny jam; or use it as a syrup over pancakes and ice cream.
Sources
- Penn State Extension — Why Some Old Canning Recipes Are No Longer Safe. extension.psu.edu
- Washington State University Extension — Food Preservation Tips: Jams & Jellies. wsu.edu
- Texas A&M AgriLife Today — Give a homemade gift from your kitchen this holiday season (2023). agrilifetoday.tamu.edu
Image credits. Top image: Jams and jellies by Nutrition, Food Safety & Health, CC0 1.0, via Wikimedia Commons · In-article image: -2020-11-14 Homemade Apricot Jam, Trimingham by Kolforn, CC BY-SA 4.0, via Wikimedia Commons
Spotted something out of date or a gift that's no longer available? Tell our editors — we review every correction.